- Qualcomm Launches Snapdragon 4 Gen 2 Mobile Platform
- AMD Launches Ryzen PRO 7000 Series Mobile & Desktop Platform
- Intel Launches Sleek Single-Slot Arc Pro A60 Workstation Graphics Card
- NVIDIA Announces Latest Ada Lovelace Additions: GeForce RTX 4060 Ti & RTX 4060
- Maxon Redshift With AMD Radeon GPU Rendering Support Now Available
An In-Depth Look at openSUSE 11.3

Since it’s been quite a while since I last took openSUSE for a spin, I couldn’t resist downloading the 11.3 release that came out in mid-July. To see how the distro fares today, I installed it onto my home PC and used it for just over a week. So, read on for an in-depth look at what’s new and notable, and also for my experiences.
Page 5 – openSUSE 11.3 Experiences Continued…
So far, I’ve just been talking about the unfortunate issues I’ve run into, so let’s talk about the good things. As I mentioned before, the installation and YaST as a whole is great, and general usage of the OS is as well. I’ve been using Gentoo full-time for almost five years, so I’ve gotten quite attuned to certain ways of doing things, but after a couple of days of using openSUSE, I found myself very comfortable.
At no time during my testing did I feel the need to go back to my native install, and to be honest, that’s something I was expecting to happen. It didn’t, because openSUSE offered me everything I needed, and there were no issues strong enough to force me back to my native Linux, even for a few minutes. Most of the issues I ran into that I didn’t mention on the last page have more to do with KDE than openSUSE, as I experience some of the same random KDE-related application crashes in Gentoo as well.
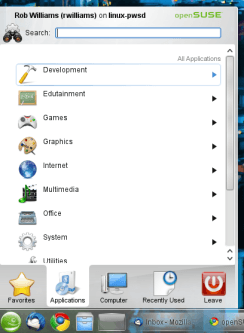
Speaking of KDE, the theme found here doesn’t stray too far from a native KDE install, although there are some tweaks made to set it apart. The result is a theme based off of Air, and is simply called “Air openSUSE”. There’s really not much to say about the desktop environments, although it should be mentioned that openSUSE opts to use the “kick-off” style KMenu – which is no surprise, as it was the SUSE developers that created it years ago. I prefer the old-school style menu, but for those who like big icons and an accessible search, this style works well (you can revert to the old style anytime).
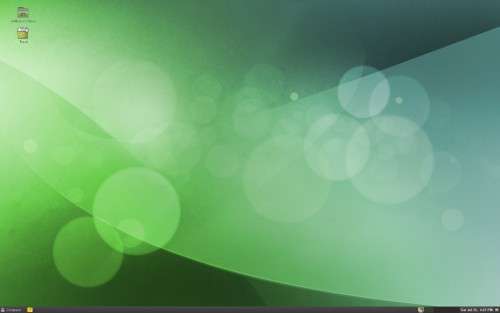
KDE has always been a focal-point of SUSE, but that doesn’t mean that GNOME was left to ship with default settings. Rather, the openSUSE artists spiced things up and gave it a great-looking theme… easily one of the best GNOME themes I’ve ever seen. Similar to Ubuntu 10.04, openSUSE uses a darker theme, but infuses it with some dark green to better fit the typical SUSE color scheme.
Unlike the default GNOME setup, the one found here doesn’t feature a menu up top, but rather a customized taskbar to better mimic KDE, application menu and all. If you’re a GNOME user and don’t like this design, it only takes a few minutes to revert it back to the more “normal” style.
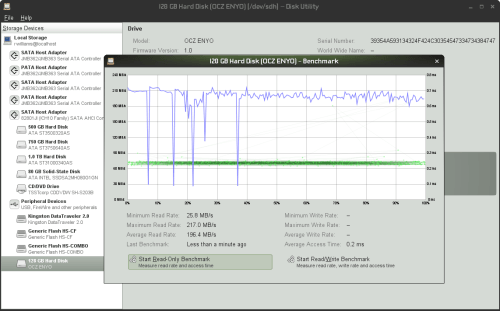
To better show off the cool theme of GNOME, take a look at the application windows:
I’m not usually a fan of dark themes, but I might make an exception for that one, since it just looks so refined. The dark green and gray colors really work well together. You might notice that the screenshot is of the GNOME disk benchmarking tool, with me benchmarking OCZ’s Enyo USB 3.0 SSD. Judging by the performance, USB 3.0 works just fine with openSUSE! Please note the dips in performance aren’t due to the OS, but rather the drive, as it’s very “dirtied”.
Before jumping into my conclusions, there’s just one more topic to discuss: codecs. As a rule, most distros don’t ship with proprietary media codecs due to licensing, copyrights and their “non-free” nature, so it’s usually left to the user to install those that are needed. With openSUSE, the process is fairly simple, but not quite as simple as, say, Ubuntu, where you simply install the proper “Restricted” package via APT.
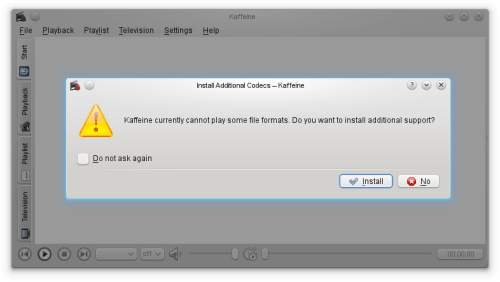
The first time I tried to play a media file through a player, Kaffeine, openSUSE popped-up a message that told me that I’d have to install the codecs. After clicking “Install”, I received an error that told me I’d have to visit the support website to read up on how to install them. There, I was led to yet another website that finally allowed me to install what I needed. All it took there was for me to click on a URL, then type in my password, and allow YaST to do its thing.
Once done, I had no problem playing a variety of files, from .AVI’s to .MKV’s to .FLAC to .MP3 any beyond. Everything I threw at any media player just worked, so while the install process was a wee bit more complex than I would have liked, it was still simple overall as long as you followed the basic instructions.
Support our efforts! With ad revenue at an all-time low for written websites, we're relying more than ever on reader support to help us continue putting so much effort into this type of content. You can support us by becoming a Patron, or by using our Amazon shopping affiliate links listed through our articles. Thanks for your support!


