- Qualcomm Launches Snapdragon 4 Gen 2 Mobile Platform
- AMD Launches Ryzen PRO 7000 Series Mobile & Desktop Platform
- Intel Launches Sleek Single-Slot Arc Pro A60 Workstation Graphics Card
- NVIDIA Announces Latest Ada Lovelace Additions: GeForce RTX 4060 Ti & RTX 4060
- Maxon Redshift With AMD Radeon GPU Rendering Support Now Available
Antec P182 Performance Mid-Tower
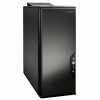
It’s a well-known fact that Antec produces some of the best cases on the market, and the P182 is a perfect example of that. We have here a case that looks great, packs a lot of smarts and is efficient, all at a price that’s easy to swallow.
Page 2 – Closer Look, Inside
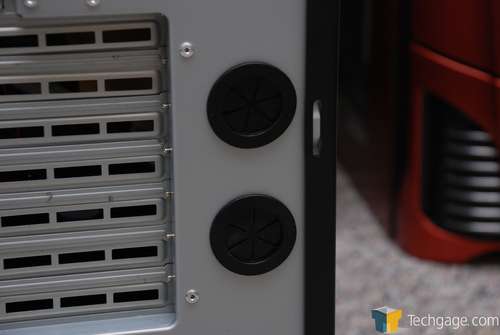
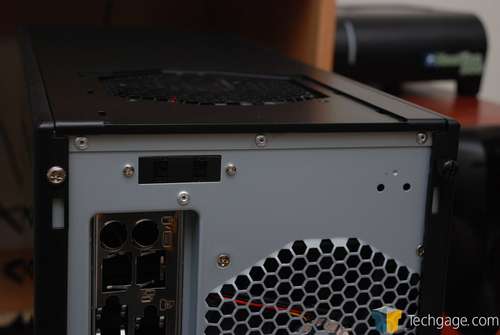
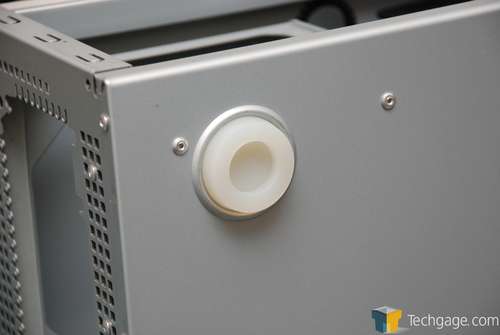
Considering the fact that the P182 is a performance model, Antec expects watercooling buffs to have interest, so they have included two holes in the back that you can run your tubing through. It’s conveniently placed in the center, so that your tubing shouldn’t prove a hassle to route. It also has rubber protection rings to make sure that you don’t cut the tubing.
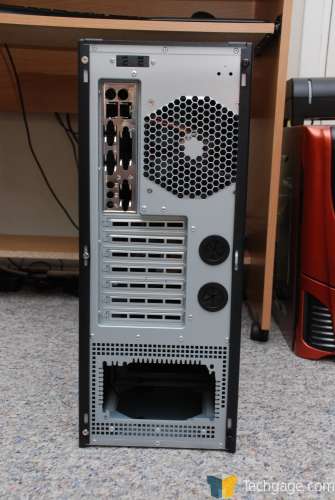
Though hard to see in a small picture, there is a very tiny fan controller at the very top left of the case. These control the top and back mounted fans, with Low, Medium and High being the available options. Sadly, no lightspeed option was present.
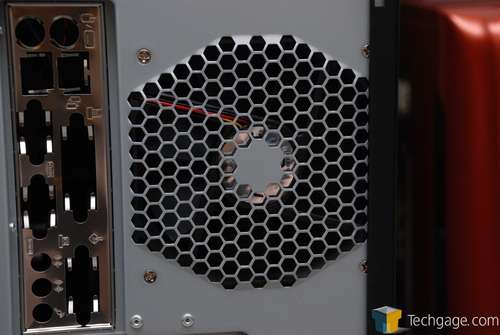
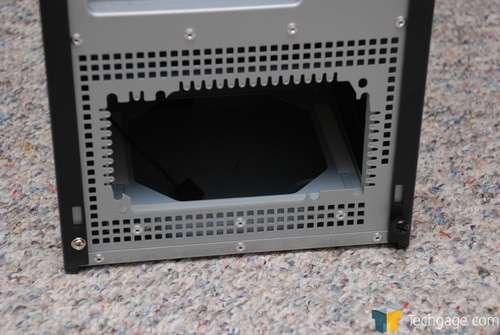
Also on the back you can see the placement for the rear-mounted 120mm fan which also acts as an exhaust, the motherboard slots and the mounting spot for the power supply.
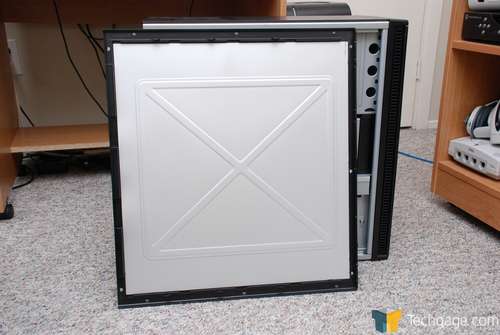
Time to see what’s going on inside. Taking the side door off (and putting back on) is very easy on this case. Remove the back screws and slide back 1/4 of an inch and haul it off. The door feels like no other, because it’s designed for sound dampening. It consists of three layers to achieve this goal.
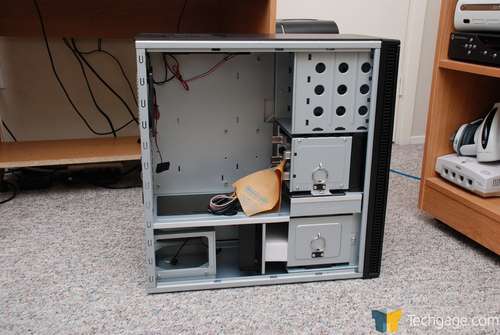
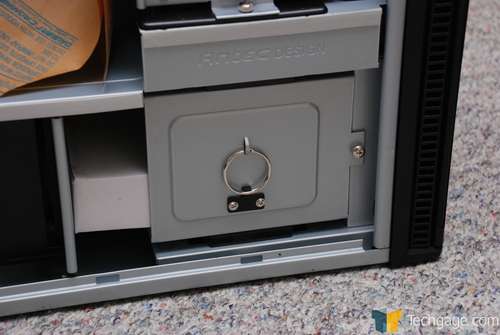
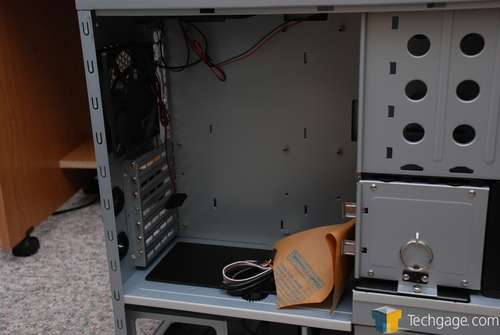
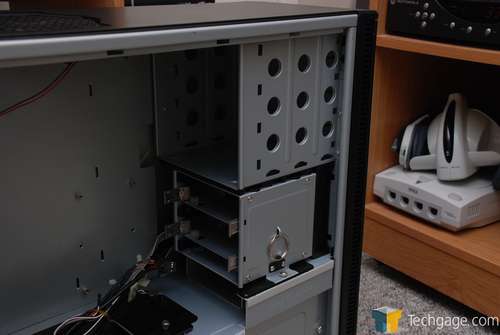
Antec has put a lot of thought into the inside of their case, and when you think about it, it just makes sense. The motherboard goes in at the obvious spot, while the power supply resides underneath. Opposite that spot is where you can store a few of your hard drives. Above that is yet another spot to store hard drives, and upper still are spots for your CD-Roms and other accessories.
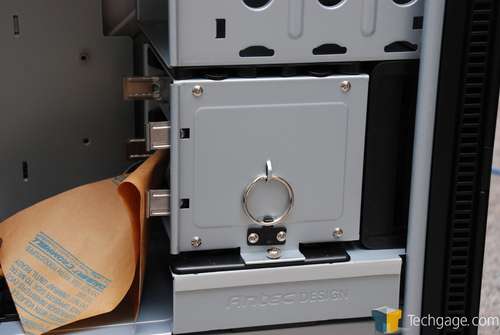
When all of your components are installed, they will be safe. Here you can see the drive bay boxes, which can be easily removed once the single screw is out. The ring is there simply to give you something to pull on.
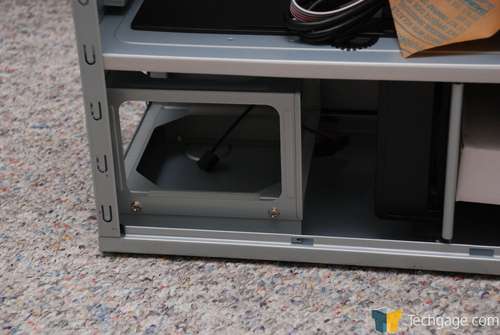
While most cases have you place the power supply at the top of the case, the P182 allows you to keep it at the bottom. This is good for a few different reasons. First is the fact that the heat will stay and the bottom, and not flow into the rest of the case like in other models. Because there is a 120mm fan mounted behind it, the heat produced should be pushed out the back quickly.
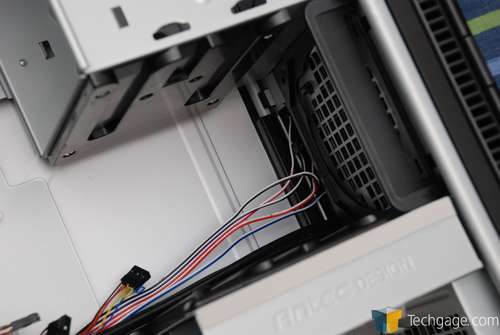
The inside is left clean so that you can get to work quickly. Various fan cords are hanging there, which are attached to the rear and top mounted 120mm fans as well as the fan controller in the back.
With this view, you can see exactly how the drives will sit inside the case. No screws are needed for your optical drives, as we will touch on shortly.
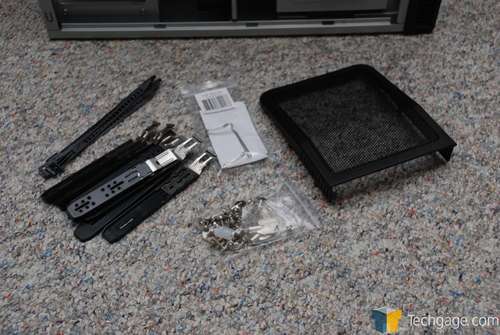
Accessories include hard drive/optical drive bay sliders, screws and a guard of sorts that will be mounted above the top 120mm fan. Its purpose is to slow down any objects from getting near the fan, such as crumbs or people. It won’t do a fantastic job of stopping liquid.
Antec makes great use of soft rubber with the P182, this being the first example. The feet are so soft, that you can feel safe placing it on your expensive flooring. Because of the material, it will also help reduce vibration, although that’s not going to be a huge problem to begin with unless you have a jet motor powered fan cooling your CPU.
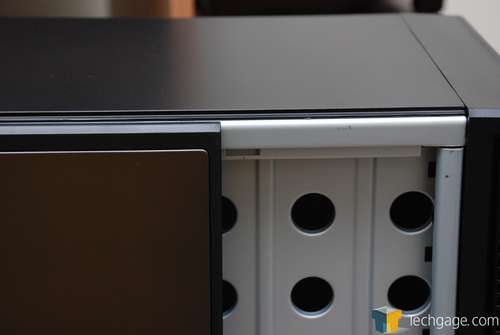
The bays, as mentioned earlier, slide in and out. You can see the grooves which are designed to keep the bays in their place without moving an inch. In behind each one of the boxes is a spot large enough for a 120mm fan. This is a great way to accelerate airflow and also to keep your drives cool.
Now that we have covered all of the bases, lets move right into our installation.
|
|
Support our efforts! With ad revenue at an all-time low for written websites, we're relying more than ever on reader support to help us continue putting so much effort into this type of content. You can support us by becoming a Patron, or by using our Amazon shopping affiliate links listed through our articles. Thanks for your support!


