- Qualcomm Launches Snapdragon 4 Gen 2 Mobile Platform
- AMD Launches Ryzen PRO 7000 Series Mobile & Desktop Platform
- Intel Launches Sleek Single-Slot Arc Pro A60 Workstation Graphics Card
- NVIDIA Announces Latest Ada Lovelace Additions: GeForce RTX 4060 Ti & RTX 4060
- Maxon Redshift With AMD Radeon GPU Rendering Support Now Available
ASUS O!Play Air Media Player
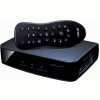
Have media on your PC, but want to watch it on anything but the PC? With ASUS’ O!Play, getting that job done is simple. Take 30 seconds to hook it up to a TV, and you can stream media through a network, or via external storage, such as eSATA or USB. It’s simple, and at $100, it’s not too hard on your pocketbook, either.
Page 2 – Setup and Usage
Because the O!Play is the first media streamer like this I’ve taken a look at, I had figured that the setup and configuration would be a major pain in the ASUS (hah!), but it didn’t take me too long to figure out that I had worried for nothing. Hooking up the O!Play is just as simple as plugging in a set of tin can speakers. You first need to figure out where you want the unit to sit, then connect the HDMI cable to the display, and then connect the power cord. That’s it.
Once the O!Play is powered up, its on-screen menu will be displayed on the screen immediately. For some reason, the first time I plugged in the unit, I didn’t have to turn it on… it simply turned on by itself. I’m not sure if this is by design or not. However, you do have the ability to turn it off and on as you like with a button on the remote control.
Because HDMI has the ability to automatically configure the appropriate resolution, what you should see from the get-go is your display’s native resolution. In my case, that was 1080p, and it was configured as it should be. If you plan to use the O!Play on non-1080p displays, it also supports 480p, 576p, 720p, 1080i and similar modes, along with handling both NTSC and PAL.
Due to the fact that O!Play’s setup screen is almost entirely black, the photographs I took didn’t come out at all. So I’ll instead take a brief moment to explain a couple of the available options. Under the audio section, there’s an option to switch to night mode for a lower volume and less bass, and also the choice to choose between HDMI LPCM, HDMI LPCM Multi Channel, HDMI RAW, SPDIF LPCM and SPDIF RAW.
I already mentioned briefly a few of the video modes you can choose, but further, you can also configure the aspect ratio, brightness, contrast, hue, saturation, noise reduction and also whether or not to allow the resume play feature and the movie preview (when you hover over a movie, it will autoplay in a small box to the right).
The rest of the settings include network configuration, slideshow effects, language, firmware update, date and time, screen saver and so forth. Of some importance might be the power saving option, where the unit will simply turn off after a certain amount of time (between 5 and 120 minutes).
As the above “screenshot” showcases, the O!Play has a familiar menu, as almost all HTPC-type software has a similar interface. It’s simple, just as it should be. You have the option here to look for movies to play, pictures to look at and music to listen to. There’s also an option for “All Media”, which throws the categorization out the window and lets you play whatever you feel like. From this same menu, you can also copy files to external storage and enter the configuration section.
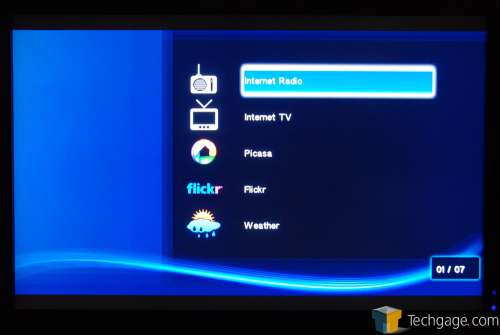
Then, there’s “Online Media”, which was the first thing I checked out. In that sub-menu, there’s options to search for Internet radio, Internet TV, browse Picasa and Flickr, check out the weather, view stocks and also view RSS feeds.
The addition of Internet radio and TV is rather new for the O!Play, and its implementation is just as I expected. The feature takes advantage of the service by Muzee and for the most part, feels “free”. What I mean by that is, none of the content here doesn’t feel special, but it can be convenient.
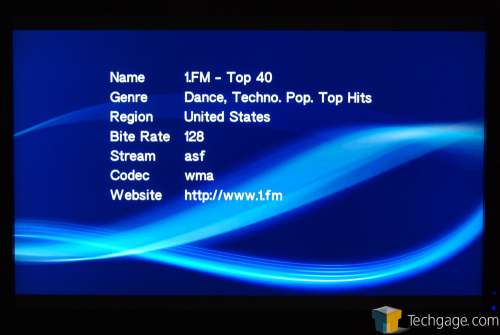
Under the radio section, you have a wide-range of different categories to choose from, and also stations. I chose the top genre category and quickly found myself with a large selection of dance/trance stations to choose from. For an entire afternoon, I listened to music streamed this way, and didn’t have as much as a single hiccup.
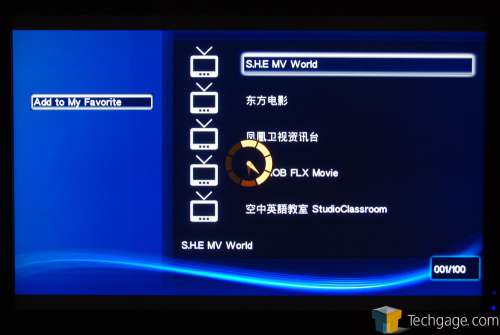
The TV section of the O!Play leaves a bit to be desired, though. At first, my only selections were all Chinese, and while that’s not a major problem within itself, this is a US model. There are other languages and areas/countries to choose from, but most of the “channels” are local, or news-related…
… and as you can see, the quality leaves a bit to be desired. I do admit, this example is the worst I’ve seen, and some of it is better, but don’t expect anything on par with even standard-definition television. At best, what’s available is on par with YouTube video quality.
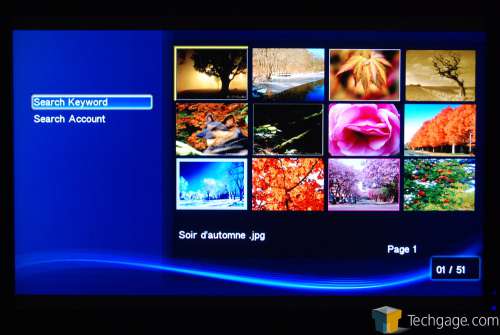
In case you want to simply sit back and enjoy some pictures, you can take advantage of the Picasa and Flickr sections, where you can search by account or keyword and view many different related images. In this example, I simply searched for “tree”.
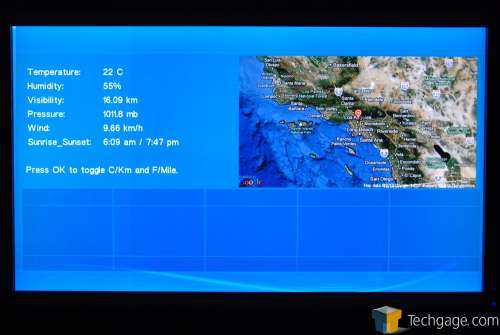
Like most of the “Online Media” up to this point, nothing screams out as being too special, and the weather sure isn’t an exception. It’s not that the information isn’t quick to load and informative, it’s that unless you live in one of the pre-defined cities, you’re going to be out of luck. I live in a small-ish city in the eastern corner of Canada, and my city wasn’t listed… but in the grand scheme, not many are.
What would be nice is if this software tapped into an online weather service that seemingly has any city listed, like so many browser extensions allow.
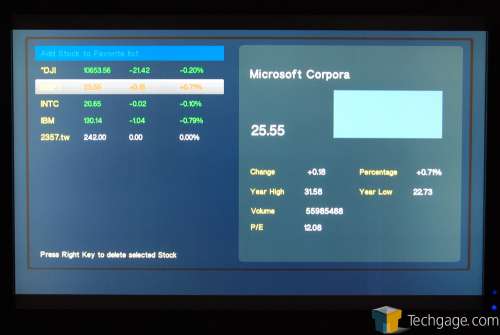
Here’s a look at the stocks section… one where I couldn’t quite figure out how to edit anything.
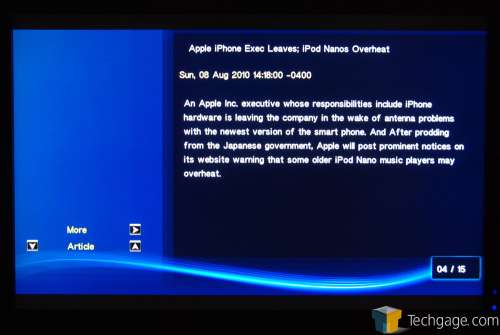
The O!Play allows you to add any RSS feed you like, and then read the updated feeds. You will only get a preview of the full article, though, so don’t expect this to be a replacement for a real Web browser.
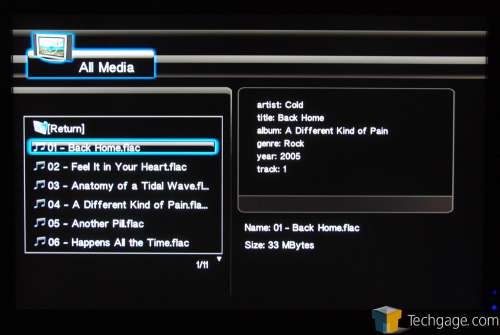
Back offline, navigating through the O!Play for your media is quite simple. You simply choose the media type, and then decide where to look for it… a memory card, external storage, UPnP device or network storage. For almost all of my testing, I used network storage… my NAS box to be exact.
If you have a UPnP media server setup on your PC or home server, it should be picked up by the O!Play no problem. My desktop PC was picked up just fine, and I was able to log in with my username and password. Since my NAS box doesn’t require a username or password, it went right into it without issue. I had problems connecting to my notebook, but I blame the notebook since the configuration there was exactly the same as my desktop, yet the O!Play picked up on that just fine.
If you decide to listen to music while surfing the O!Play, you can navigate to other menus and it won’t halt the playback. You can even pause if you need to. Once you begin a movie, or stop the music, you’ll have to go fish it out again. This is a good design, since it allows you to put on some music while viewing photos or to browse for other media.
On this page, I’ve just barely touched on my experiences with the O!Play, so I’ll leave the rest of it for the next page, along with my final thoughts.
Support our efforts! With ad revenue at an all-time low for written websites, we're relying more than ever on reader support to help us continue putting so much effort into this type of content. You can support us by becoming a Patron, or by using our Amazon shopping affiliate links listed through our articles. Thanks for your support!


