- Qualcomm Launches Snapdragon 4 Gen 2 Mobile Platform
- AMD Launches Ryzen PRO 7000 Series Mobile & Desktop Platform
- Intel Launches Sleek Single-Slot Arc Pro A60 Workstation Graphics Card
- NVIDIA Announces Latest Ada Lovelace Additions: GeForce RTX 4060 Ti & RTX 4060
- Maxon Redshift With AMD Radeon GPU Rendering Support Now Available
ASUS P5E3 Premium WiFi-AP @n
X48 is new, but there are many boards already begging for your dollars. We are taking a look at the most robust of them all, the P5E3 Premium, which includes built-in WiFi, a great board design and fantastic overclocking abilities. It would almost be a perfect board if it weren’t for the $375 price tag.
Page 3 – Checking out the BIOS
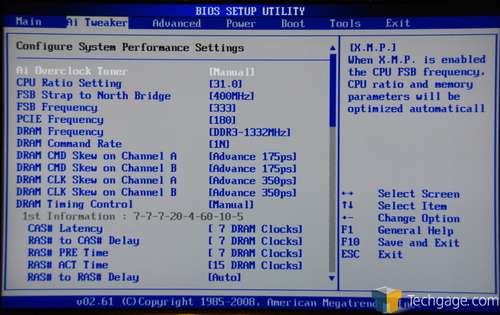
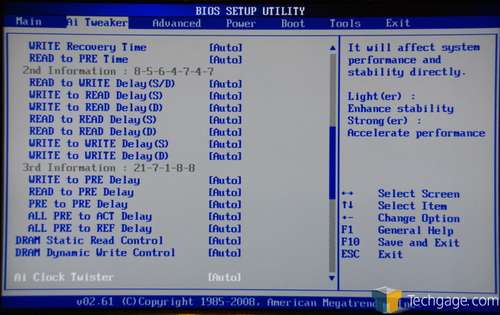
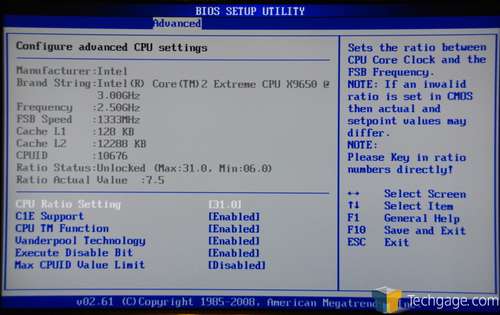
Though not touted as an overclocking board, the P5E3 Premium is filled to the brim with such options in the BIOS. To some, it might even prove overwhelming. I’ll admit that I don’t care about overclocking to the extent that I’ll spend hours in front of the PC tweaking all the various options, but it’s nice to know that they are there, for those who are passionate about it.
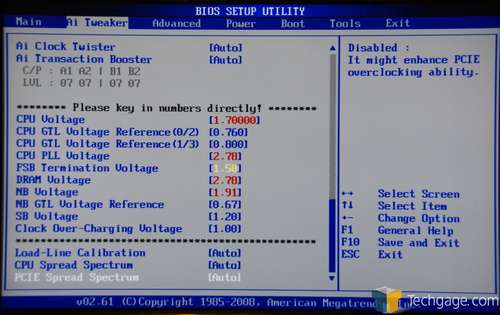
The skies the limit, as they say. The options feel almost endless, and the voltage allowances are asinine as usual, allowing upwards of 1.7000V for the CPU, 2.78V for the CPU PLL and another 2.78V for the DDR3 (stock is 1.5v). Truly, ASUS expects people to overclock with this board, whether they brag about the capabilities or not.
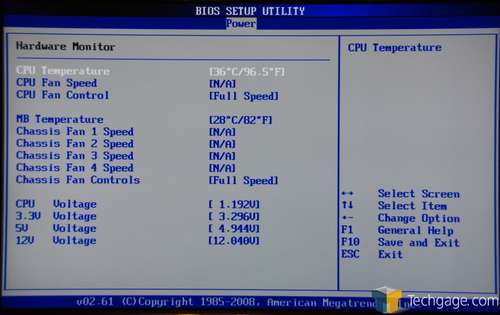
One benefit that their gaming and enthusiast motherboards have over this one is the loading of the hardware monitoring page. For some reason, this page loads slow on all of the P5E boards I’ve used in the past, which can be frustrating sometimes. On the Maximus Extreme, for example, it loads instantaneously, which would be nice here (especially if you want to quickly check temps to make sure the CPU heatsink is on right).
This page also lacks a lot of what I’d like to see, such as current voltages for secondary components, such as the northbridge, DRAM, CPU PLL and et cetera. I believe ASUS deliberately omits these because it’s not so much an overclocking-focused board, but having them included would have been nice.
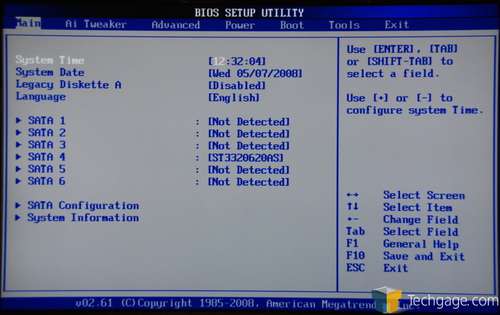
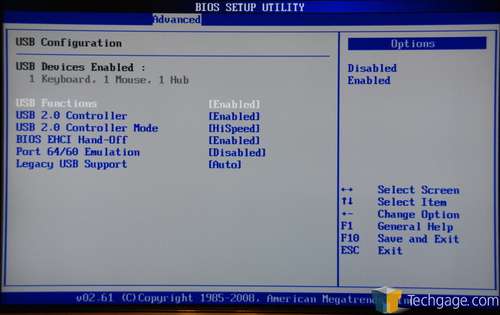
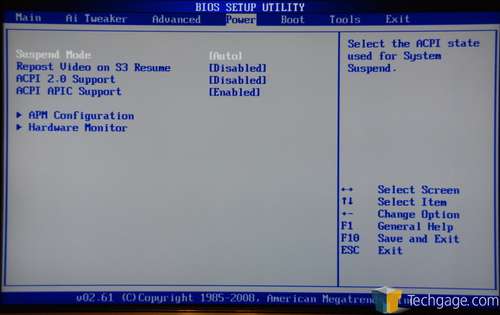
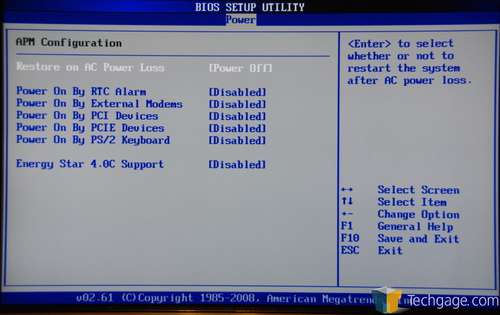
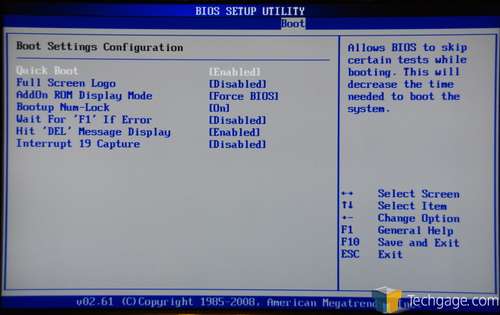
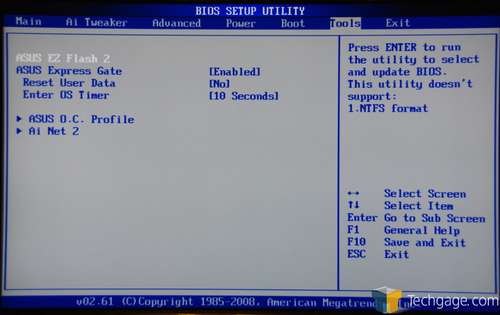
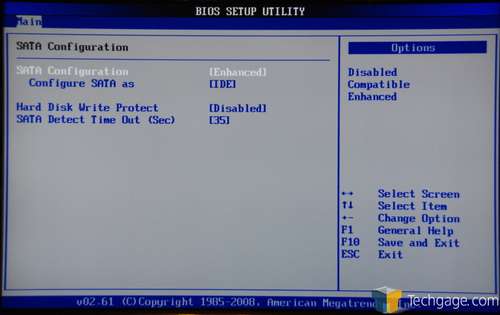
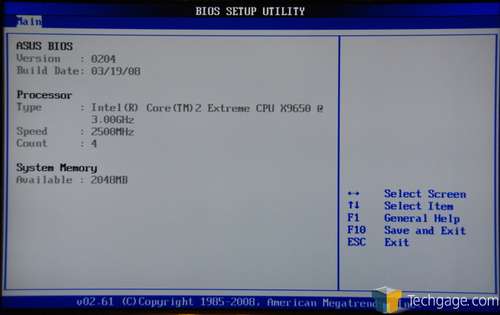
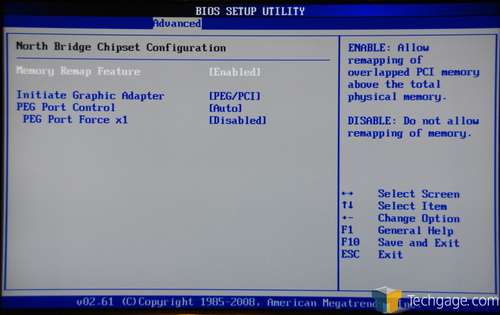
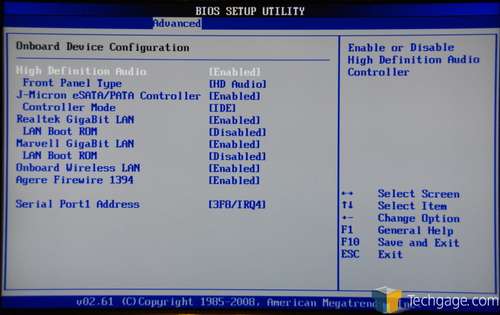
Most BIOS’ are not that different from board to board, and most screens are there to allow you to alter mundane things, such as enabling a floppy drive. For those interested, I’ll finish off this page with a slew of screenshots taken from around the BIOS.
On the next page, we’ll take care of our testing methodology, and following that, testing!
|
|
Support our efforts! With ad revenue at an all-time low for written websites, we're relying more than ever on reader support to help us continue putting so much effort into this type of content. You can support us by becoming a Patron, or by using our Amazon shopping affiliate links listed through our articles. Thanks for your support!


