- Qualcomm Launches Snapdragon 4 Gen 2 Mobile Platform
- AMD Launches Ryzen PRO 7000 Series Mobile & Desktop Platform
- Intel Launches Sleek Single-Slot Arc Pro A60 Workstation Graphics Card
- NVIDIA Announces Latest Ada Lovelace Additions: GeForce RTX 4060 Ti & RTX 4060
- Maxon Redshift With AMD Radeon GPU Rendering Support Now Available
ASUS WL-520gU Wireless Router
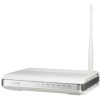
Need a new router but not ready to take the 802.11n plunge? We’re taking a look at a brand-new ASUS model that boasts tried and true 802.11g and offers it at a great price. It lacks in certain ways, but makes up for it in others, such as with the inclusion of a real print server.
Page 2 – Deconstruction, Setup
|
|
A member of our forums made the comment not to long ago that they would like to see more information about what is found underneath the hood of the devices we review. Although the comment was made in an outdated thread from our D-Link DIR-655 review, the suggestion was taken to heart none the less.
I have included chipset, memory and other relevant information about NAS boxes, so why not provide the same in our router reviews? Let’s take the WL-520gU apart and do a bit of investigation!
Please know that taking these steps on your own router will more than likely void your warranty. If said warranty is violated in repeating our steps, Techgage accepts no responsibility for any action misuse of the information provided in the review. Basically, don’t do this at home if you’re not secure in your hax0ring skills, or you can’t operate a simple Phillips screwdriver.
I have taken the time to professionally mark the four screws that need to be removed in order to get into the inside the router . Also marked is the area providing the default admin information. Notice that ASUS decided to play “hide the screws under the pads” game as so many other companies do. Then again, most companies don’t expect you to dismantle their devices, either.
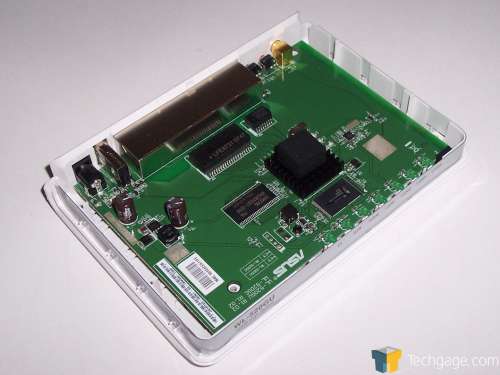
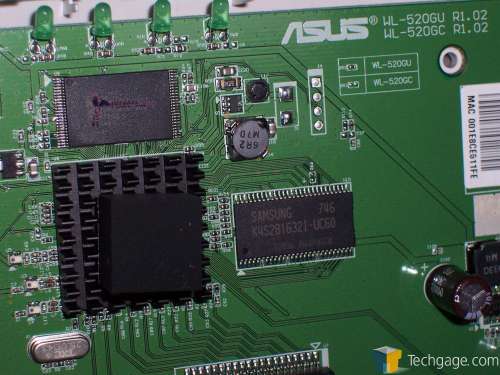
With the four screws removed, the top of the WL-520gU comes right off, giving us access to the mainboard of the router. On that board is the router’s chipset, a 266MHz Broadcom 5354, 16MB of RAM memory and 4MB of flash. The chipset not only controls the four LAN ports but also the single WAN and USB ports as well.
We can see that the onboard memory is provided by Samsung and the board itself is manufactured by ASUS… makes good sense. There is a small heatsink on top of the Broadcom processor with a chunk of foam sitting on top of it (no doubt there to keep the top of the router from being pushed in and crushing the internals as there isn’t any plastic posts in the middle of the board to perform this function.
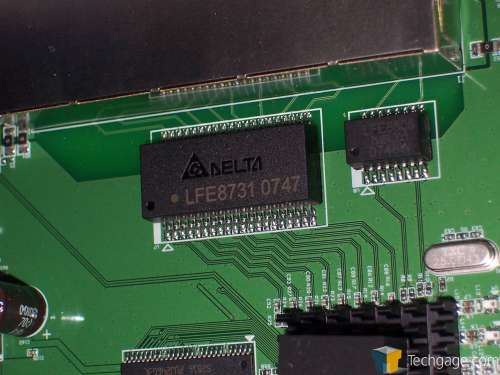
There is also a small chip just below the Broadcom CPU with Delta labeling. I was unable to find any information regarding this chip but for those who are interested, a picture is included.
When plugged in and operational, the front lights of the WL-520gU glow a pleasant green. The picture doesn’t indicate this but even from a good distance away, they can still be seen flickering as data moves through.
WL-520gU Setup
Setup of the WL-520gU is as straight-forward as it comes. Without a setup disk full of wizards, we are at the mercy of the user interface of the router itself. I for one am perfectly fine with this but there are others that might appreciate a utility disk.
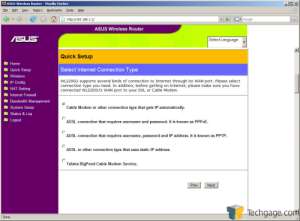
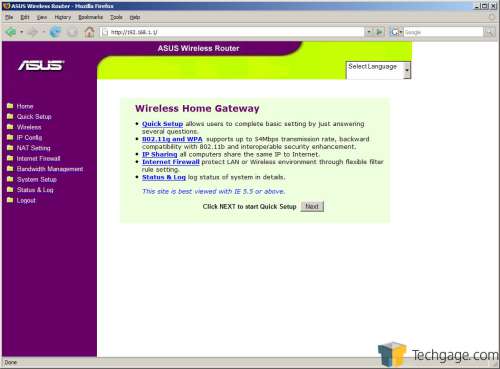
Entering in the default IP address, 192.168.1.1, the router prompts us to choose whether or not we want to start a quick setup guide (so much for wizards.) Clicking yes lets us proceed while a no answer will take us to the routers home page.
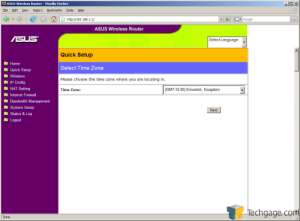
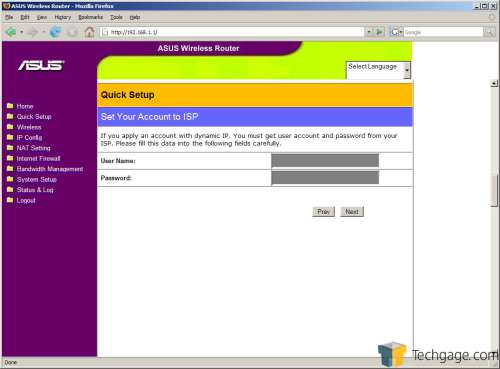
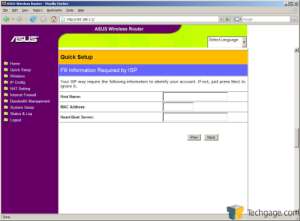
Let first take a swift look at the quick setup. Starting out, we are asked to fill in our ISP information provided by said ISP.
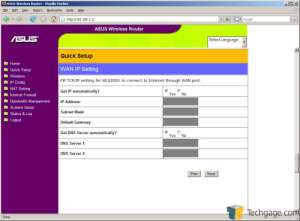
Once that information is completed, we can now setup the router to either get its WAN IP automatically or assign a static one if needed. Check your ISP documentation if you are unsure of the values needed here.
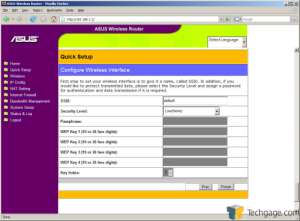
The next step in the process is creating a wireless security profile. By creating a unique SSID and setting its security level (more on the available security options shortly) we are done with the quick setup and continue our look at the rest of the available options.
The home page gives us a few hotlinks to important functions or areas of the routers options. Allowing us to quickly jump back into a quick setup, wireless settings, IP and firewall settings and even view the router’s log files, as these might be the most commonly used functions on the router. Sadly we were not able to change these around to reflect what we use most. Also stated is the claim that the interface is best viewed with Internet Explorer 5.5 or greater. It should be noted that the setup of this router, as well as every screen grab were done in Firefox but IE 7 was tested as well without any complications at all.
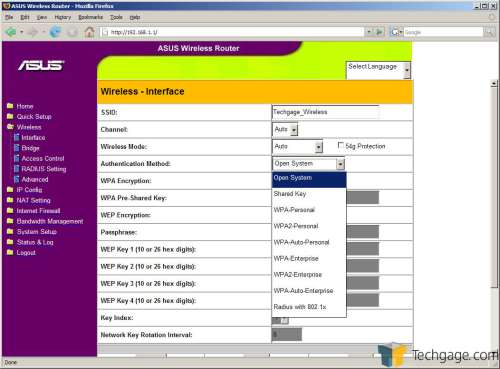
In the wireless category, we find exactly what one expects, wireless settings. The most important wireless settings of all is the authentication (security) settings. This restricts anyone lacking your passphrase from accessing your network wirelessly. Available encryption methods include WEP and WPA. While WPA and WPA2 are far more secure than WEP, if you’re more comfortable using WEP, for whatever reason you might have, you are still quite safe in using it.
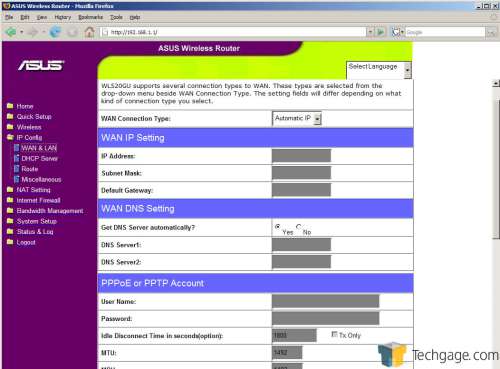
In the IP Config section, you can setup your WAN and LAN ports, create routes and enable DHCP serving. Pretty straight-forward here.
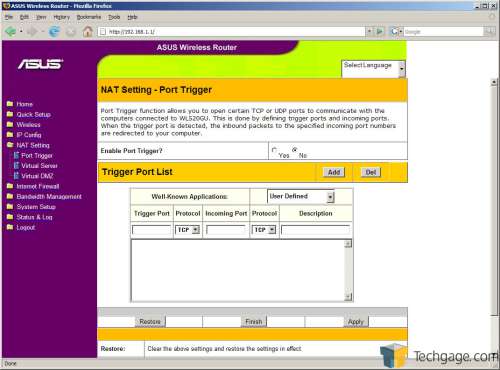
For gamers and file sharers, port forwarding is nothing out of the ordinary. Here you can select from a set list of popular applications or you can create your own. ASUS calls this port triggering but it’s no different than port forwarding.
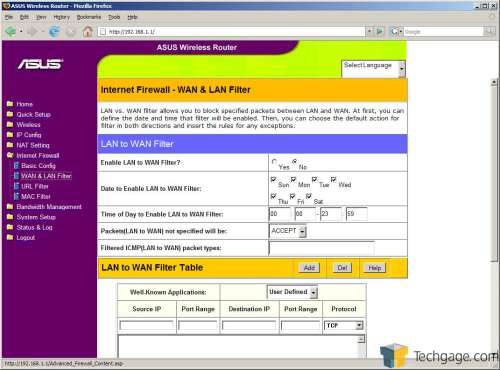
If filtering is your thing, you can do that under the firewall tab. For those that want to stiffen your networks security at the firewall level (never a bad idea) this is where you want to start. This allows you to setup time and dates for the filters to be active and define what you want them to do.
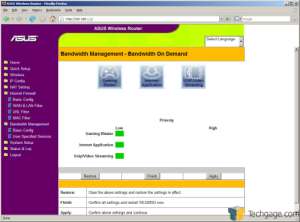
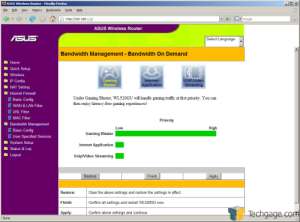
The bandwidth management area is something that ASUS really stresses as a selling point for their routers and because of this, has marketed their “Bandwidth on Demand” heavily. This is QoS on any other router but as usual, ASUS as decided to call it something unique. A rose by any other name is still a rose, right?
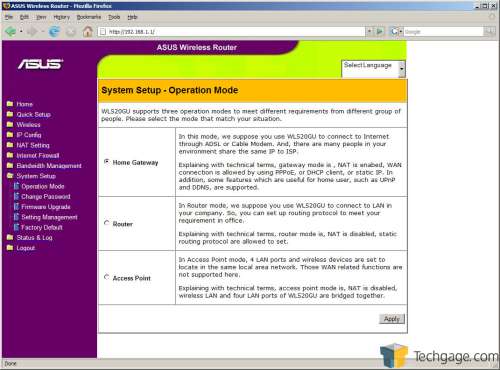
In the system setup – operation mode tab, we can decide how we want to use our router. Given are options to setup the WL-520gU as a home gateway (what 95% of home users will want), as a router (internal routing to other local networks, businesses) and as an access point (the other 5% of home users will use this feature.) While this can be confusing to many, ASUS has given a decent enough explanation of each setting and what you want to use it for.
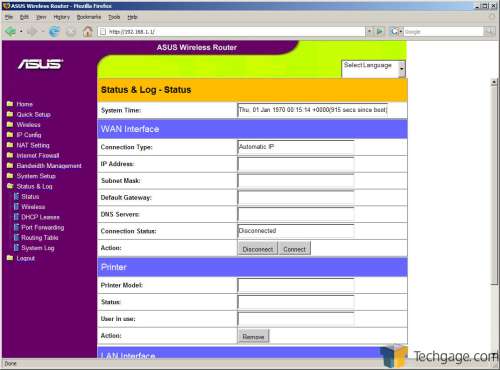
The final area in the WL-520gU ‘s user interface allows you to view your configurations as well as the system log.
With the nitty gritty taken care of, I’ll give the router a good test and then conclude with my final thoughts.
|
|
Support our efforts! With ad revenue at an all-time low for written websites, we're relying more than ever on reader support to help us continue putting so much effort into this type of content. You can support us by becoming a Patron, or by using our Amazon shopping affiliate links listed through our articles. Thanks for your support!


