- Qualcomm Launches Snapdragon 4 Gen 2 Mobile Platform
- AMD Launches Ryzen PRO 7000 Series Mobile & Desktop Platform
- Intel Launches Sleek Single-Slot Arc Pro A60 Workstation Graphics Card
- NVIDIA Announces Latest Ada Lovelace Additions: GeForce RTX 4060 Ti & RTX 4060
- Maxon Redshift With AMD Radeon GPU Rendering Support Now Available
CoolIt Eliminator CPU Cooler
Page 3 – Installation
If you read the Freezone’s review, one thing that we loved about it was that installation was incredibly simple. Not only did having everything put together for you, the thermal paste was installed. All that really needed to be done was place the controller board somewhere in your PC case, install the 120mm adapter and mount the unit with the 4 provided bolts. From there, its just plug and play. Very simple, especially for a water cooling kit. The most annoying part, and this has nothing to do with CoolIT per se, but more with the 775 platform, was installing the mounting standoffs onto the motherboard.
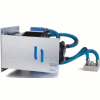
I am glad to say that the installation of the Eliminator was just as easy. CoolIT was able to even eliminate the need to install the controller board and the fan adapter by installing it for you.
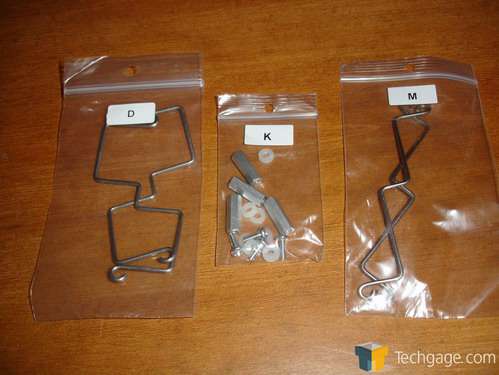
The first thing that needs to be done is to remove the motherboard and install the stand offs. Aside from having to remove the motherboard from the case, this is a painless process. Simply place one of the included nylon washers onto the bolt, run it through the mounting hole on the motherboard, place another washer on the top and then screw on the stand off. Simply tighten the two together and repeat 3 other times. If you have a small wrench, you can use it to hold the stand off in place while you screw down the bolt, or you can use the provided wrench. Simple but effective.
Since there is virtually no difference in the installation of the Freezone and the Eliminator, a few pictures from the Freezone review will be used. This is an easy way to make up for my poor photography skills and if some pictures look familiar, it’s because they are recycled from the previous review.
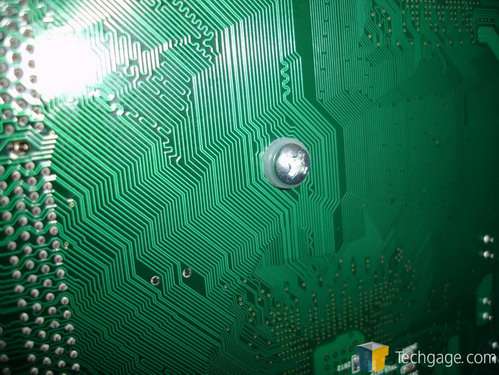
Here is the back of the motherboard.
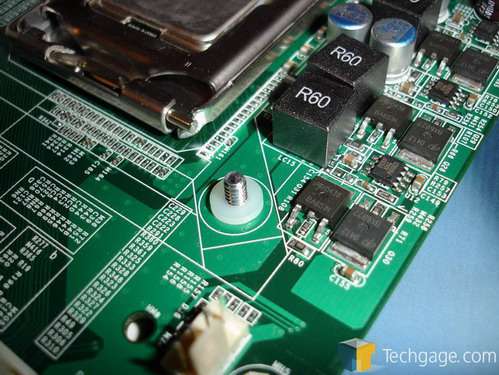
The front of the motherboard looks the same. The nylon washers are there to prevent any metal to metal contact, as well as protect the motherboard itself when users torque down the screws.
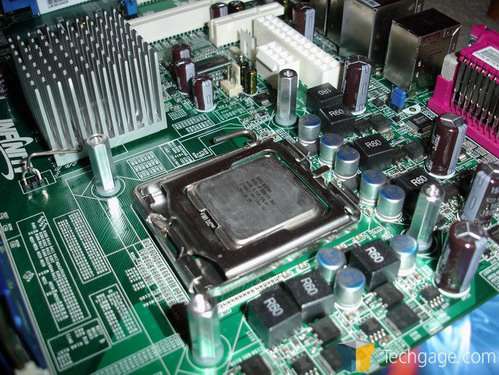
Once everything is installed, it should look like this. The screws shouldn’t be tightened down to terribly hard as you don’t want to potentially damage your motherboard but as long as you tighten them down within reason, you shouldn’t fear them coming loose.
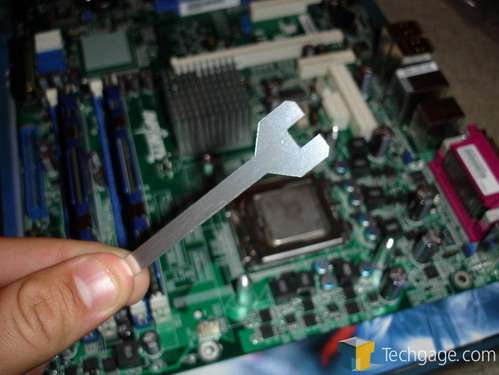
Finally, we see the provided wrench. Not a big deal but it’s definitely something nice to have on hand when you go to install your cooler.
Once everything is installed, we need to get the Eliminator’s block onto the CPU and the unit itself into the case. If you do not have a case with a removable motherboard tray, you will do yourself a favor by laying your case on its side when installing the Eliminator. This is assuming there are no Shokans using CoolIT’s hardware (sorry for the Mortal Kombat joke.)
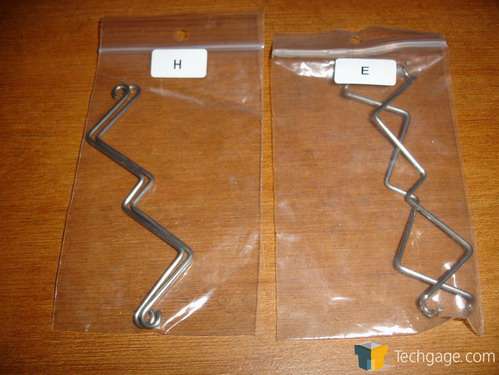
The first thing you will want to do is install the block onto your CPU. This is rather easy and with a little patience, it is something that can be done in little to no time. Using the included 775 brackets, you simply install one and then the other.
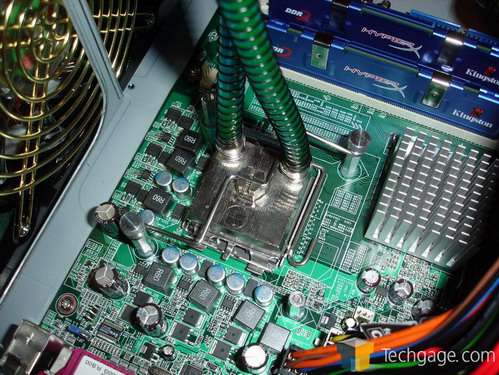
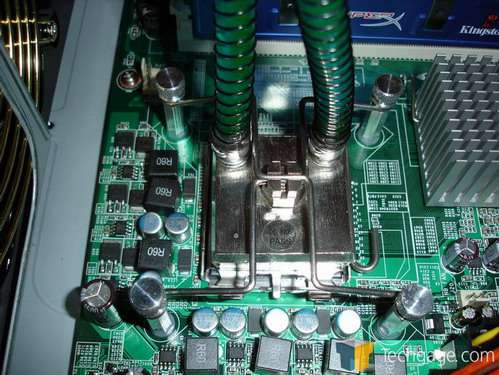
Once on the motherboard, things should look like this. I like to place one down, and screw one side in. Then you can move to the other hole just to hold it in place. Then move to the second bracket and evenly screw them all down. Pretty simple.
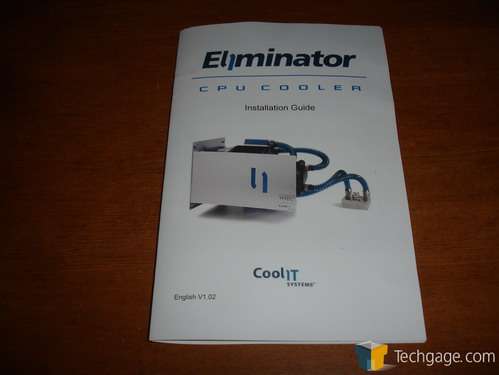
Should anyone run into problems installing this unit, or the Freezone, CoolIT has provided a very complete and thorough manual that you can follow.
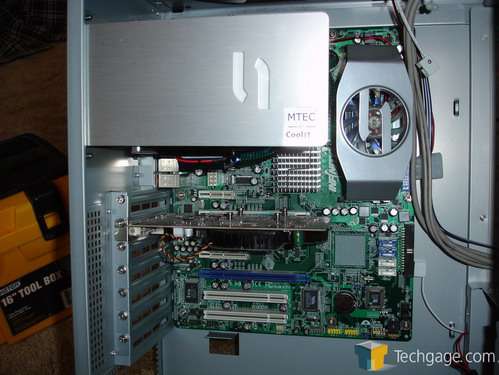
Once installed, the Eliminator doesn’t take up much space at all. It does block the view of your CPU and the surrounding area but on most motherboards, there really isn’t anything of much interest so nothing to worry about.
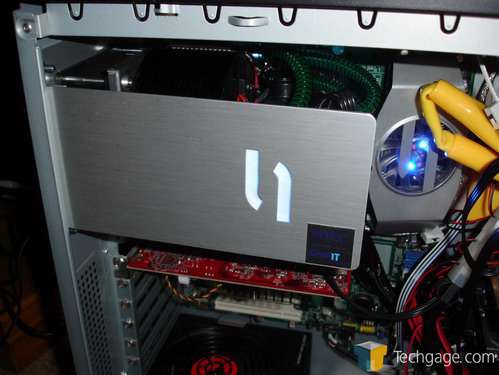
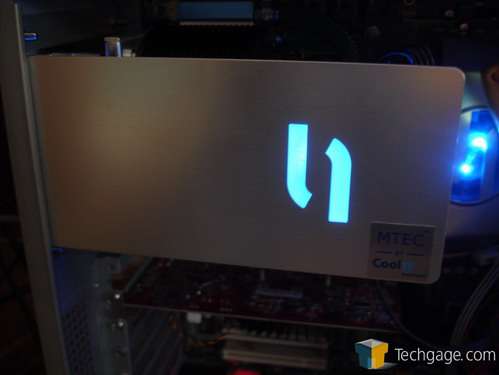
As stated earlier, the logo in the middle of the aluminum “shield†lights up. This is a nice addition and should certainly look good in a dark LAN hall. Notice that we are also using the CoolIT RAM fan. They were gracious to hand these out to the press and generally anyone that asked for them at CES. While they look cool and perform exceptionally well, I fully expected mine to take flight at any moment. They cool well but are incredibly loud.
Getting back to the point, lets see how the Eliminator looks when on. The first picture is with the lights on in the office and the second one is with the lights off.
With everything in the case and installed, let’s see how the Eliminator performed.
|
|
Support our efforts! With ad revenue at an all-time low for written websites, we're relying more than ever on reader support to help us continue putting so much effort into this type of content. You can support us by becoming a Patron, or by using our Amazon shopping affiliate links listed through our articles. Thanks for your support!


