- Qualcomm Launches Snapdragon 4 Gen 2 Mobile Platform
- AMD Launches Ryzen PRO 7000 Series Mobile & Desktop Platform
- Intel Launches Sleek Single-Slot Arc Pro A60 Workstation Graphics Card
- NVIDIA Announces Latest Ada Lovelace Additions: GeForce RTX 4060 Ti & RTX 4060
- Maxon Redshift With AMD Radeon GPU Rendering Support Now Available
Danger Den TDX Block, MAG Pump, DD MAG II and Maze 4 GPU Block
Are you looking to delve into the world of water cooling, but don’t know where to start? Danger Den has sent us a slew of products to get our rig up and running, including the new AMD TDX block. Since this is also my first high-end water cooling rig, I relay my experiences to you.
Page 4 – MAG II, Installation
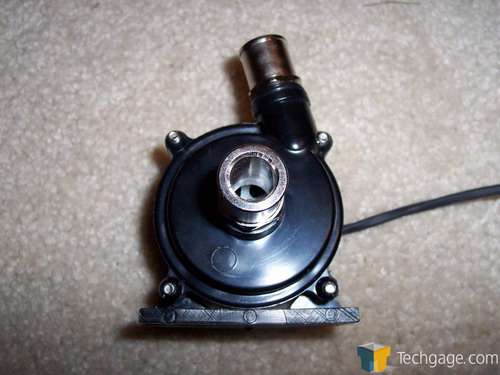
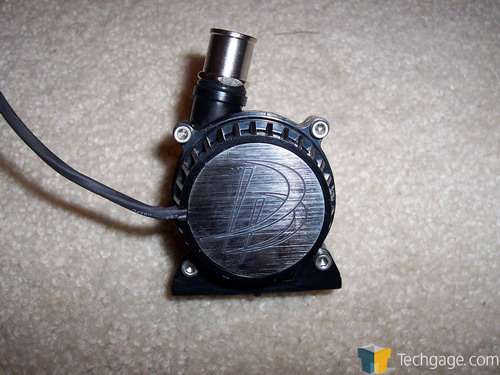
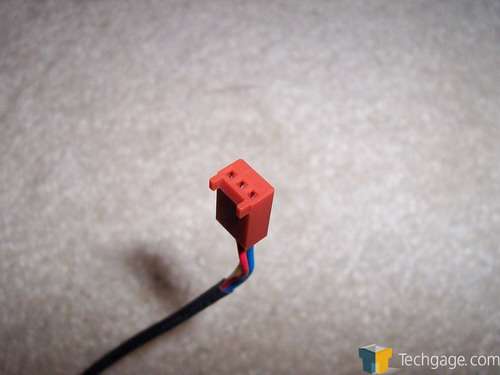
The Danger Den MAG II LE is a tiny little guy and runs off of a 3 pin header on your mother board. It too has the perfect seal fittings on it. Lets get into some of its specs and find out what its all about.
- Technical Specifications
- Nominal Voltage: 12 VDC
- Nominal Power: 8 W
- Maximum Head: 2.5 M (3.5 PSI, 97″ H20)
- Maximum Flow: 567 l/hr (150 GPH)
- Connection Size: G 1/4 BSPP
- Power Connector: 3-Pin (Fan Header Style)
- Motor Type: Brushless DC
- Pump Bearing Type: Polished Sapphire
- Size: 2.1″ W x 2.1″ H x 1.74″ D
- Weight: 241 g (8.5 oz)
- Warranty: 30 Months (2-1/2 Years)
- 50,000 Service Hours MTBF
- Extreme Service Life : This pump is designed with extreme service life (50,000 hours*)
- Bearings: The MAG features dual in fluid bearings, using the best material available, jewels. These bearings are made of highly polished Sapphire. This is an extremely hard and long lasting material, often found in expensive watches, high precision instruments, and gyroscopes used in the aerospace and military industries.
- Leak Proof: The MAG has no shaft seal, eliminating the possibility of leaking occurring due to long term seal ware. The stator assembly has a plastic barrier between the rotor and the fluid operating on magnetic coupling. The drive and impeller housing is plastic, to reduce the chance of long term fouling.
- Brushless DC motor: The MAG features a brushless DC motor designed with an operational component life in excess of 50,000 hours. All heat generating components are thermal conductive bonded to the thermoplastic case. This provides a large heat sink area allowing the motor to run under constant high efficiency.
- Small Size: The dimensions are 2.1 x 2.1 x 1.74″. This is the smallest most reliable pump available to customers.
- Direct RPM: The pump features a hall sensor that directly reads the rotation of the impeller. The impeller RPM can be monitored using your standard fan mother board utilities via the fan port.
- Power Supply: This unit requires 12V DC and is equipped with a Tx3 connector.
- Ultra low noise: The pump operates at a very low noise level due to the sealed motor compartment and improved pump housing design.
- Easy Installation: Purchase the industrial Velcro to mount anywhere in case.
- Flow Direction: The MAG features a side inlet and top outlet for flow direction. The pump is now available with 3/8″ OD or 1/2″ OD High Flow or Perfect Seal straight fitting.
- Ports: The MAG features a top outlet and side. The pump is now available with G 1/4 BSPP straight fitting ports.
- Finish: The MAG features a new thermal plastic housing to ensure long term corrosion protection and motor heat transfer properties.
- Multi-Unit: The small size and low power consumption of the MAG allows multi-unit installs. Though it will not increase the flow beyond a single pump unit (150 GPH) but it will help obtain the maximum flow rate possible in the system.
- Additional Features:
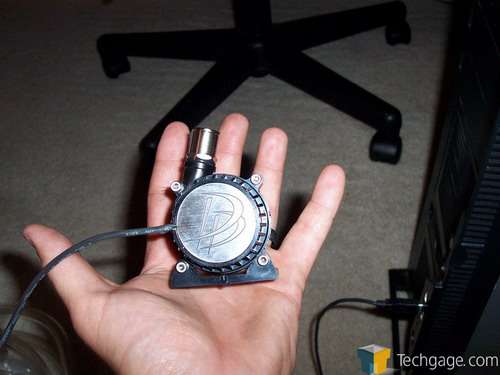
And one more to show you the size of the pump in relation to my hand. It really is that small of a pump.
To most, the first water cooling setup install can make one a bit nervous. While I have built many water cooled computers in the past, this is the first high quality setup that I have ever put into my own case. I am picky about how my setup looks as well so I took my time when installing all this.
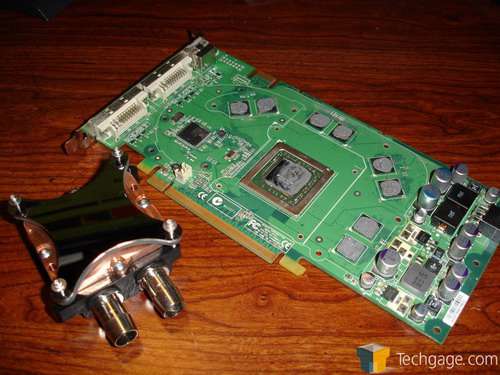
The installation of everything was pretty easy. For the Maze4, you simply remove your current heatsink
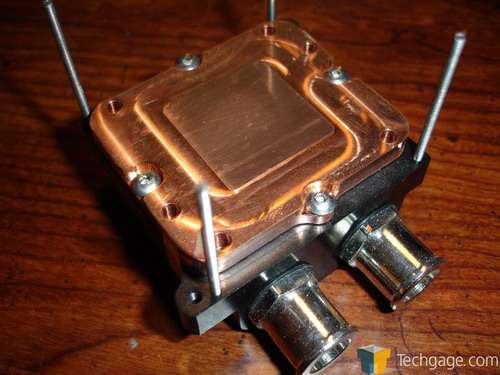
You then want to install the all thread into the 4 mounting holes on the edge of the block.
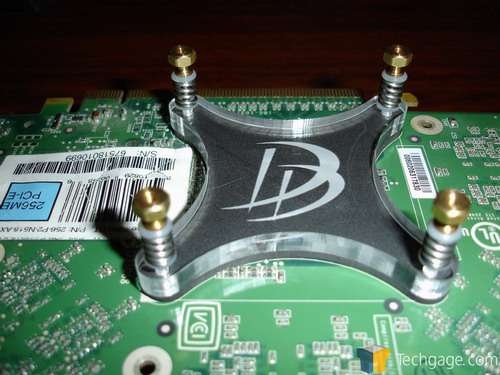
From here, you apply your TIM. In my case, I am using Arctic Silver 5 as I just ran out of the ceramique but it will work just as well. With arctic silver, you have to be careful not to put too much on your chips because if you do, it will push out onto your PCB. Since AS5 is conductive, it could short out your hardware if it comes into contact with it. That is the only reason I use ceramique. After your TIM is applies, slip your all thread through the mounting holes. From here, you need to put on the foam pad, then the acrylic backplate, a plastic washer, the tension spring, another plastic washer and finally, the brass screws. This all needs to be done in this order for a correct install.
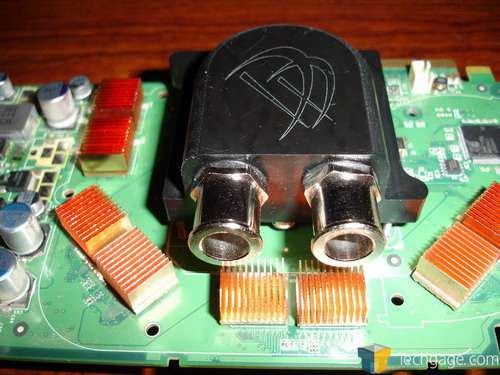
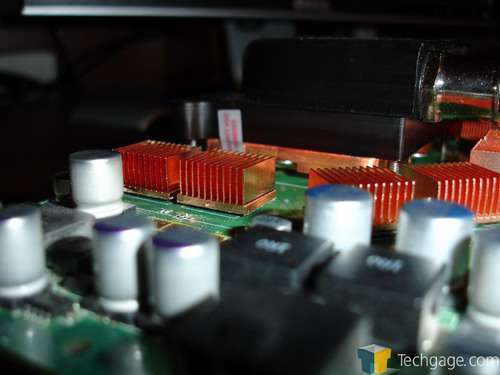
From here, you will want to install RAM sinks. For this, I chose some OCZ copper RAM sinks. While you do not have to install RAM sinks, I do as I think they look better than just having bare chips.
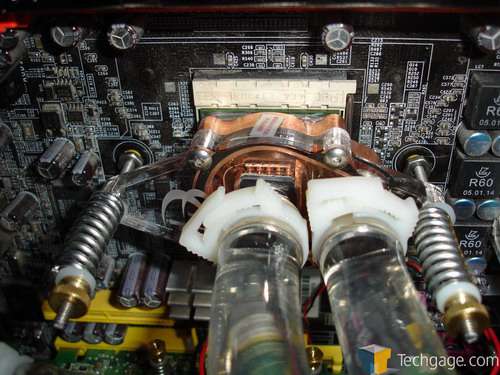
Installation of the CPU water block was just as easy. You use the existing back plate, screw in the all thread, put a nut on the all thread to hold them in place, slide the water block on, the throw on the plastic washer, spring, plastic washer and finally the nut. Its that simple.
I mounted the radiator in the back, for obvious reasons and the reservoir in the front under my optical drives.
|
|
Support our efforts! With ad revenue at an all-time low for written websites, we're relying more than ever on reader support to help us continue putting so much effort into this type of content. You can support us by becoming a Patron, or by using our Amazon shopping affiliate links listed through our articles. Thanks for your support!


