- Qualcomm Launches Snapdragon 4 Gen 2 Mobile Platform
- AMD Launches Ryzen PRO 7000 Series Mobile & Desktop Platform
- Intel Launches Sleek Single-Slot Arc Pro A60 Workstation Graphics Card
- NVIDIA Announces Latest Ada Lovelace Additions: GeForce RTX 4060 Ti & RTX 4060
- Maxon Redshift With AMD Radeon GPU Rendering Support Now Available
Dell 19″ UltraSharp E196FP LCD Monitor
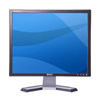
A few weeks ago we took the 1907FB for a spin, and now it’s the E196FPs turn. It features a bright 19″ viewing area and supports up to 1280*1024 at 75Hz. Let’s see how it performs..
Page 2 – Further features
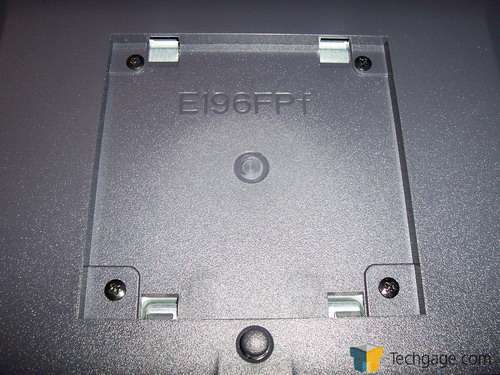
As stated earlier, there is an inset on the back of the monitor that is there to allow you to connect the stand to the monitor.
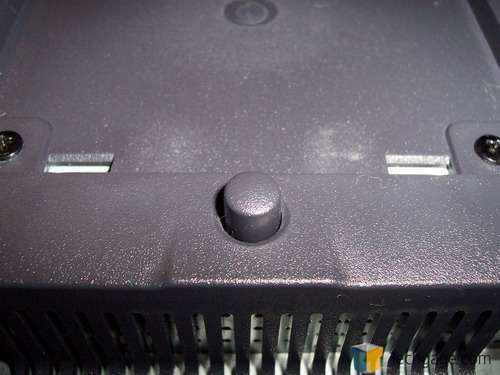
If you noticed, there is a button on the bottom of the stand mount. This allows you to remove the stand once it’s installed. All you do is push it in and remove the stand; it’s as simple as that.
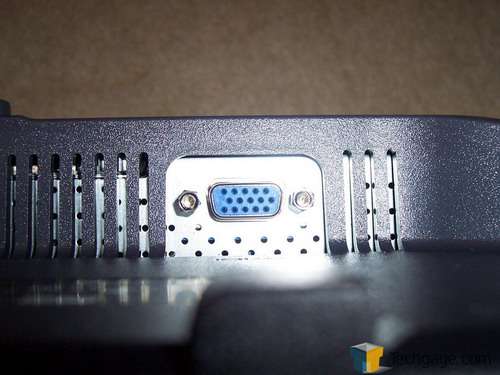
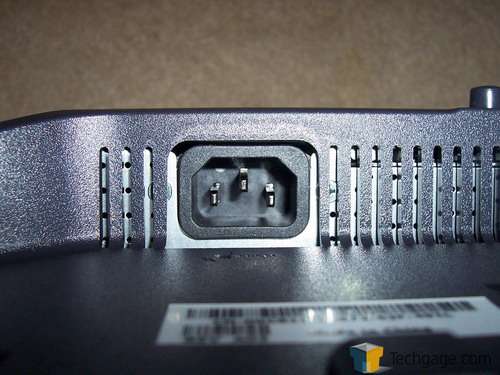
Moving on to the connectors, we see that there is only one analog out connector and one power connector. In an earlier review, I looked at the 1907fp by Dell and it provided you with a DVI out as well as an analog out. This was nice because one could hook the monitor up to two separate video sources if they so desired and change between those same two video sources with a touch of a button. As stated earlier in the review, this is a ‘budget’ display from Dell and therefore does not have all those bells and whistles that the 1907 does.
We can see a better example of the connectors in the following pictures.
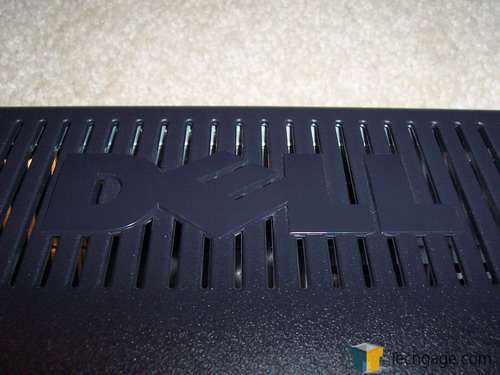
The final picture is that of the vent slots on the back of the monitor. These allow heat that is generated by the monitor to escape out and away of the monitor. This helps in keeping the monitor within an acceptable thermal range.
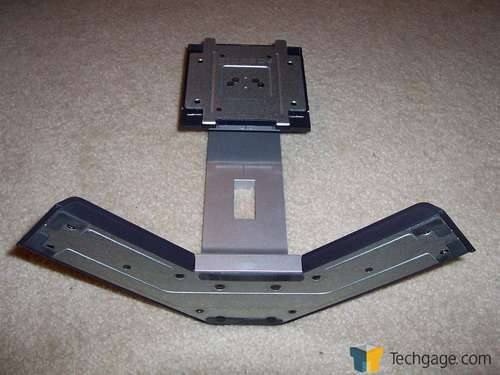
Moving away from the monitor itself, I want to take a look at the stand that the 196fp sits on.
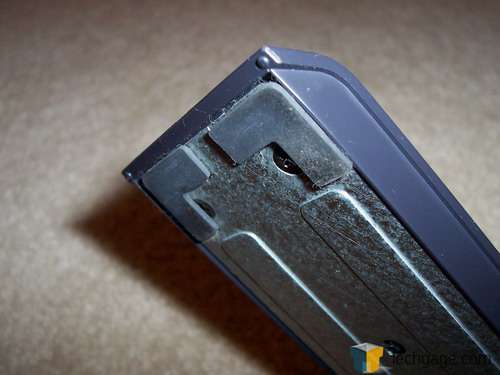
The stand is a robust little piece of hardware comprised of metal and plastic. Starting with the base of the stand, we see that the stand has a rather large footprint and has rubber pads on the bottom for added stability and to insure that the stand does not slide around on your desk, scratching it up.
Well, that was a rather suggestive picture, was it not?
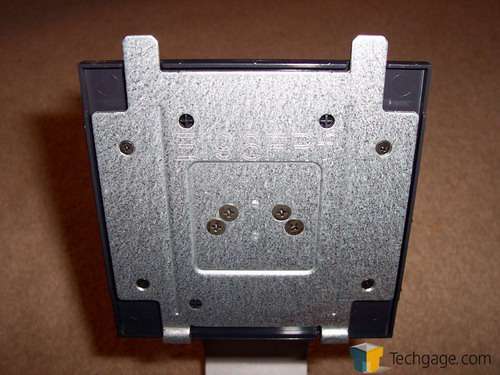
From there we move to the area of the stand that connects directly to the back of the 196fp. On the top of this piece, there are 2 flat metal prongs that stick out of the top. These are positioned into place and then the bottom of the plate locks into the bottom of the inset on the back of the monitor itself. As mentioned earlier, the stand can be removed by pressing the small black button on the back of the monitor, releasing the bottom of the mounting bracket and then rotating the stand upward to pull out the two metal tabs from the back of monitor.
|
|
Support our efforts! With ad revenue at an all-time low for written websites, we're relying more than ever on reader support to help us continue putting so much effort into this type of content. You can support us by becoming a Patron, or by using our Amazon shopping affiliate links listed through our articles. Thanks for your support!


