- Qualcomm Launches Snapdragon 4 Gen 2 Mobile Platform
- AMD Launches Ryzen PRO 7000 Series Mobile & Desktop Platform
- Intel Launches Sleek Single-Slot Arc Pro A60 Workstation Graphics Card
- NVIDIA Announces Latest Ada Lovelace Additions: GeForce RTX 4060 Ti & RTX 4060
- Maxon Redshift With AMD Radeon GPU Rendering Support Now Available
Do-It-Yourself Cloud Storage: WD My Cloud 2TB Review
WD poses this question: Why store your sensitive data online, when the storage space is limited, and the security out of your control? Its answer: WD My Cloud, a NAS-like device that enables you to create a personal cloud in your home, quickly and easily. Say hello to huge storage (2~4TB) and no recurring subscription fees.
Page 2 – Setup & Dashboard
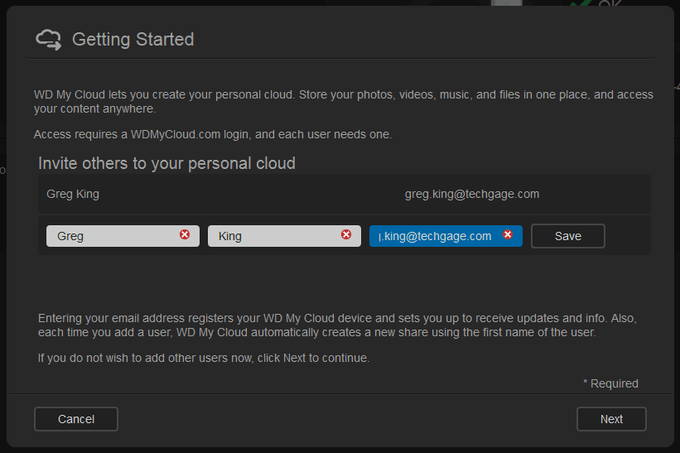
Setting up the device is a straight forward affair. When you first power the My Cloud up and connect it to your network, you browse to http://wdmycloud on a Windows box and http://wdmycloud.local on a Mac. Once there, you are asked to create an account and share your “personal cloud” with others by entering in their email address. I chose not to do this and simply set it up with a single account.
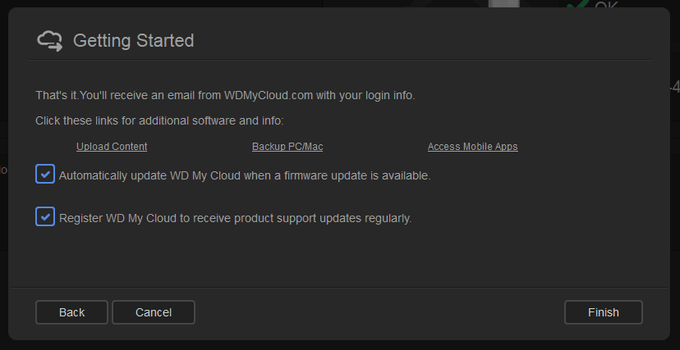
The next option is to let the unit update itself when newer code becomes available. I don’t personally like this feature but for most, a set it and forget it type approach will work best. On this page are links to FAQ sections concerning uploading content, backups, and mobile apps. Once “Finish” is clicked, the setup of My Cloud is complete.
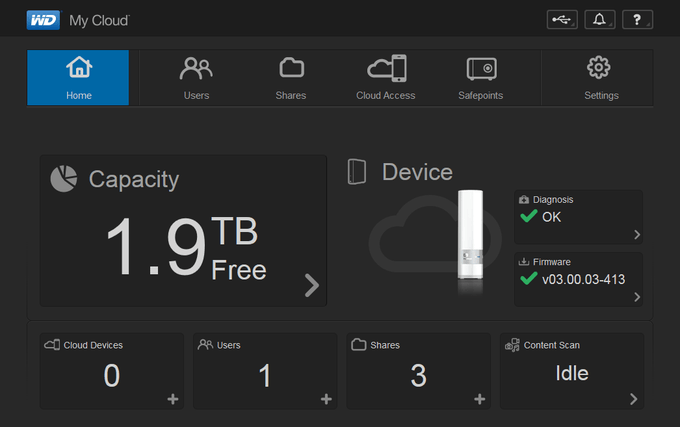
After setup, or subsequently after logging in, we come to the dashboard, which is a Web-based control panel for the My Cloud. From here, all options for the various uses the device allows for can be found. The home panel, which loads first by default, will show the available space, current status, firmware version, connected devices, users, shares and whether or not a content scan is taking place.
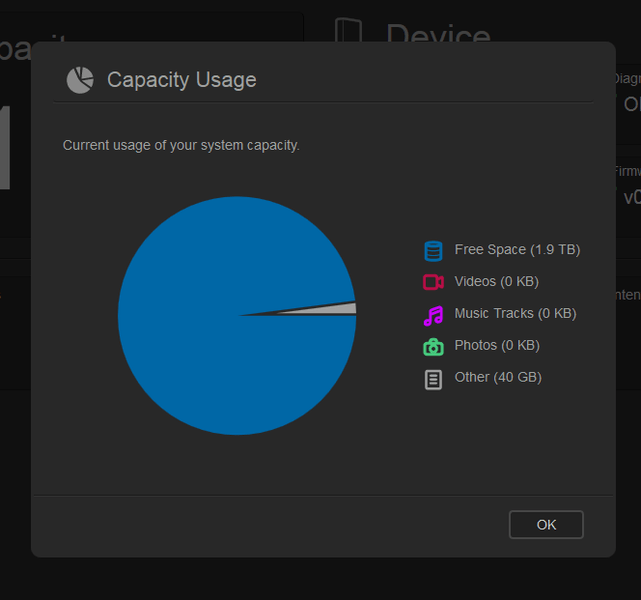
Each of the areas found on the home screen can be expanded. For example, if one wants to check the capacity of their My Cloud, simply clicking the arrow in the lower right-hand corner of the capacity pane will give us a more granular breakdown. I assume that the My Cloud software determines the type of data being stored by extension type, showing us how much data is consumed by videos, music, photos, and everything else. The below snapshot was taken when the unit was first powered up, so obviously there isn’t much in the shares. The 40GB found in “other” must be for system files and black usable system space.
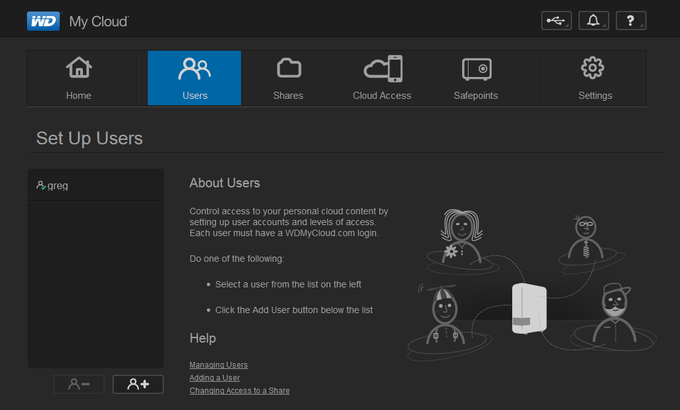
The Users tab is where one handles permissions: who can access each of the shares that reside on the My Cloud. You can grant read, write, or both to users at a per share level.
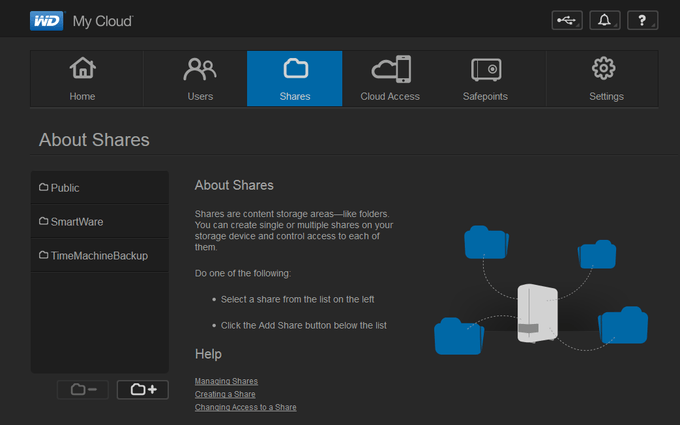
Speaking of shares, by default, there are three. They are public, SmartWare and TimeMachine. Others can be added and the defaults can be deleted.
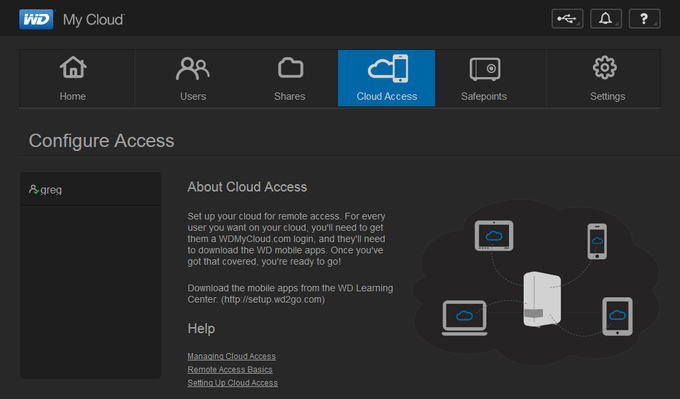
On the Cloud Access tab, this is where one would grant access to others through the My Cloud mobile apps. This can be used to share files, collaborate or simply browse your own files while on the road. As with the setup page, there are links for basic FAQs.
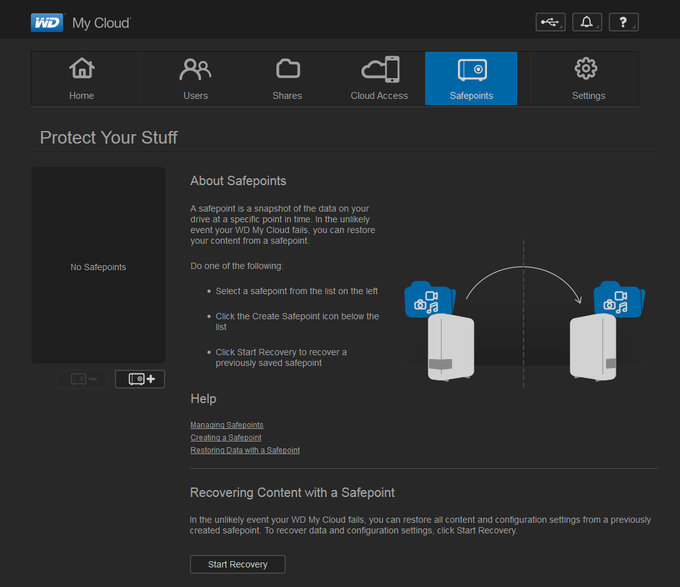
The “Safepoints” tab allows the snapshotting of data on the My Cloud unit to either a connected USB device or a compatible one on the network. For testing, we used a simple USB drive and did not address a network backup. Recovering from a safepoint allows the restoration of not only your data, but also your configuration as well. This is something that I would personally recommend. The My Cloud is still just a single drive after all.
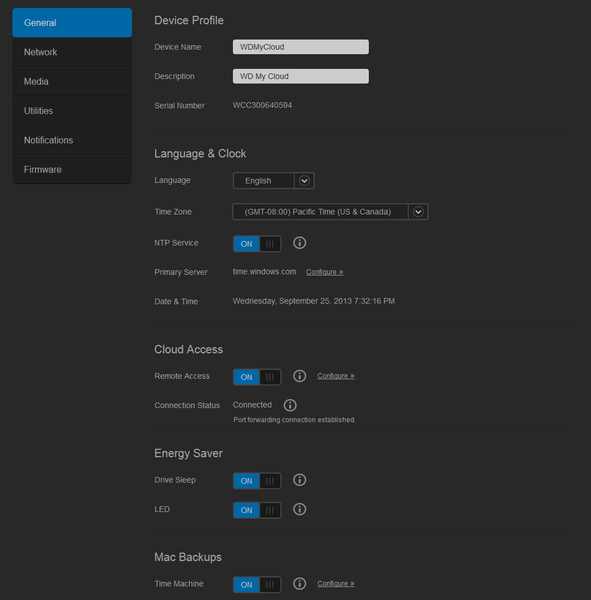
The settings tab is a deep section with many options. You can give the device a hostname, find the serial number, change the language and time zone and even point it to an NTP server of your choosing. You can also turn on cloud access, set the drive to sleep and enable Mac TimeMachine.
On the network tab, you can view the IP address of the My Cloud device and assign a static one if that’s how you roll. What about SSH and FTP? They can be enabled on the unit as well. If you don’t intend to use the My Cloud as a private cloud option, you can simply use the My Cloud to stream media… which is my favorite use of a home network! With built-in DLNA and iTunes server functionality, you can use the device to stream music and videos all across your network. I was honestly nervous about this ability as it’s a single drive, but streaming a high quality 1080p Blu-ray rip of The Avengers was done without a single hiccup or instance of buffering.
Also available for the user is the ability to run a diagnostic test (SMART among other low-level health checks), reset to defaults, shutdown/reboot, adjust notification emails and manage updates. Pretty simple, but all the basics that make up what one would need is there.
With a look at the dashboard out of the way, we’ll now take a look at the mobile app and then wrap up with some final thoughts.
Support our efforts! With ad revenue at an all-time low for written websites, we're relying more than ever on reader support to help us continue putting so much effort into this type of content. You can support us by becoming a Patron, or by using our Amazon shopping affiliate links listed through our articles. Thanks for your support!


