- Qualcomm Launches Snapdragon 4 Gen 2 Mobile Platform
- AMD Launches Ryzen PRO 7000 Series Mobile & Desktop Platform
- Intel Launches Sleek Single-Slot Arc Pro A60 Workstation Graphics Card
- NVIDIA Announces Latest Ada Lovelace Additions: GeForce RTX 4060 Ti & RTX 4060
- Maxon Redshift With AMD Radeon GPU Rendering Support Now Available
eVGA nForce 680i SLI
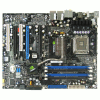
eVGA has released numerous motherboards in the past two years, but we are going to take a look at their most recent top offering, the nForce 680i SLI. Coming from a company who knows how to cater to enthusiasts, will the board leave us impressed like their graphics cards do?
Page 2 – Board Layout
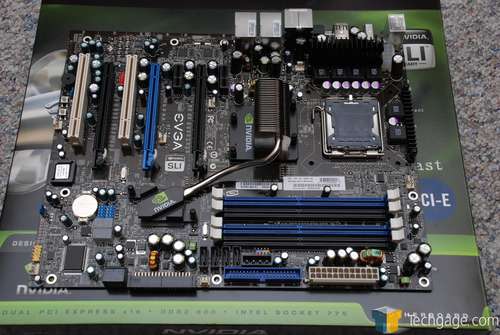
In all of it’s black glory, here it is. At first glance, there are no problems I have with the overall layout. There are two S-ATA ports on the side, which is handy for drives closest to it. There is also an LED BIOS code readout, a handy feature if you run into problems at POST.
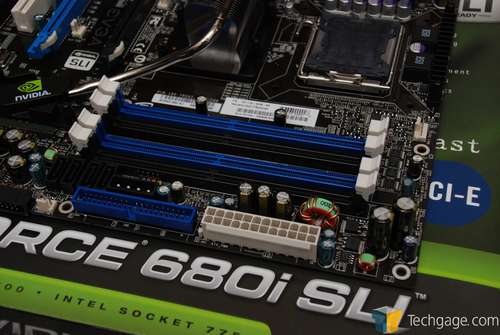
The only issue I really have, is the fact that the ATX case connectors are placed in between the DIMM slots and a molex connector. This is a very tight squeeze, and considering that these cables are small, more room would have been nice.
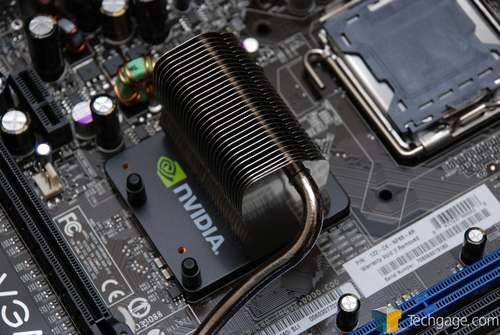
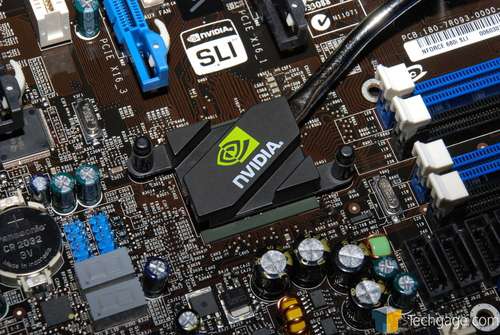
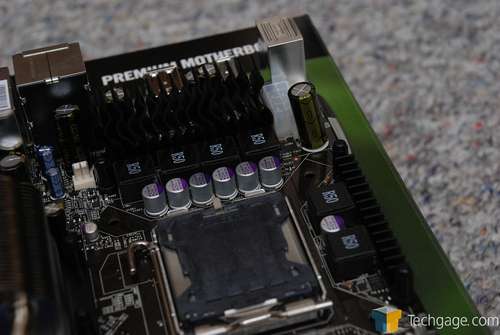
You will also notice that by default, the board is entirely passive cooled. A single copper heat pipe runs between the north and south bridge, with the PWM having it’s own tall heatsink for heat dissipation.
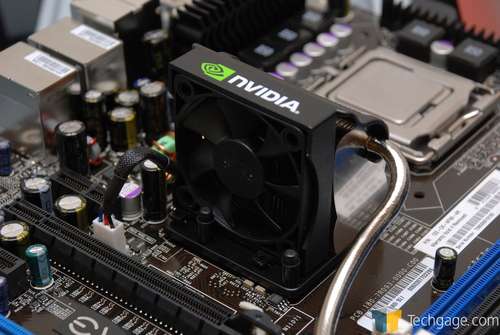
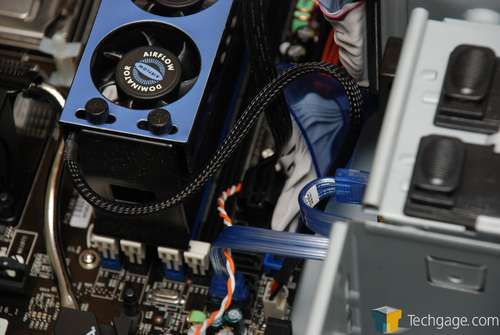
The northbridge is kept cool via a passive heatsink with many fins. For those who with to overclock, eVGA includes a small fan that clips on, as you can see below.
The south bridge utilizes no fan at all, which I didn’t find to be an immediate problem during any of my testing.
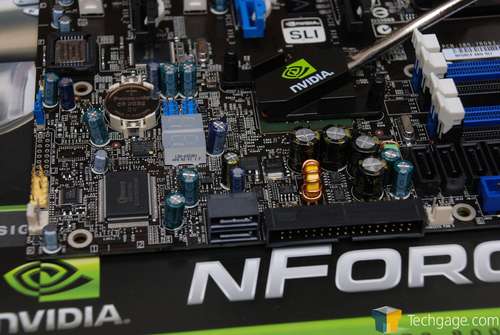
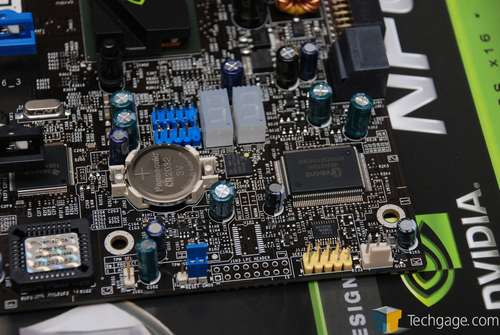
Here is the Winbond W83627DHG chipset which handles much of the I/O for the motherboard, including PS/2 peripherals, printer, joystick, et cetera. It is also responsible for passing along the boards temperatures to you. You can also better see the two side S-ATA ports.
To the right of the DIMM slots are the ATX connectors as we mentioned, an IDE connector and also the 24-Pin motherboard power connector. Four more S-ATA ports can also be found here.
At the bottom of the board you will find the CMOS reset switch, serial port connector and a 3-pin fan header. The location of the J1H3 LPC header would have been great for the front panel connectors.
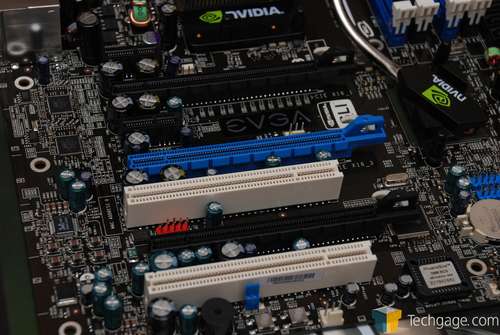
The board includes two PCI-E 16x, one PCI-E expansion slot and two PCI-E 1x slots, in addition to two classic PCI slots.
Instead of a boring PWM heatsink, eVGA added some flair with a ‘cool’ wavy design.
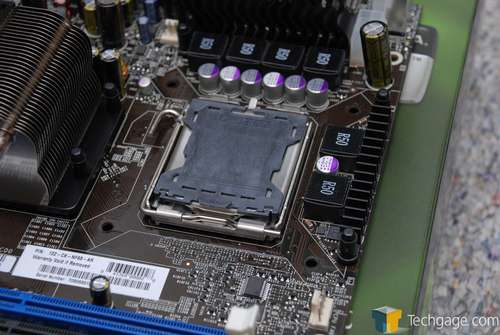
If your CPU cooler is a tank, you might have a hard time installing it as there is not an abundance of room around the socket. Most people should have sufficient space to install their cooling though. I installed the Zalman 9700LED cooler with no issues.
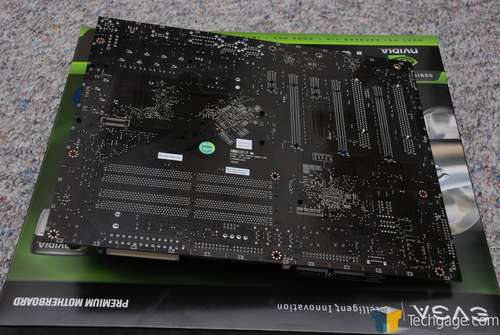
For those who enjoy staring at the back of motherboards for fun, here you go.
Before we wrap up, I will elaborate on the ATX connectors a little more. As you can see in the picture, I only had patience to install the ATX PWR SW connector. I think the only problem with their location is the fact that a 4-Pin molex connector is to plug in directly beside it. It’s not a big problem, but better placement would have been appreciated.
Next, we will take a look through the BIOS, which offers plenty of options for overclocking enthusiasts.
|
|
Support our efforts! With ad revenue at an all-time low for written websites, we're relying more than ever on reader support to help us continue putting so much effort into this type of content. You can support us by becoming a Patron, or by using our Amazon shopping affiliate links listed through our articles. Thanks for your support!


