- Qualcomm Launches Snapdragon 4 Gen 2 Mobile Platform
- AMD Launches Ryzen PRO 7000 Series Mobile & Desktop Platform
- Intel Launches Sleek Single-Slot Arc Pro A60 Workstation Graphics Card
- NVIDIA Announces Latest Ada Lovelace Additions: GeForce RTX 4060 Ti & RTX 4060
- Maxon Redshift With AMD Radeon GPU Rendering Support Now Available
Gigabyte 3D Aurora 570
Although they are one of the most popular motherboard manufacturers in the world, Gigabyte is not often referred to for their cases. With the 3D Aurora 570, they look to build on the momentum they have with their other products to make an impact in the gamer chassis market.
Page 3 – Interior
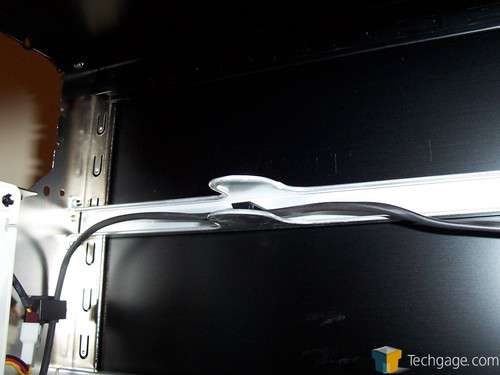
Another beautiful feature that I wish other companies will follow is that Gigabyte has run all of the case fans, 3 in total, into one cable. This then can easily be plugged into the motherboard and forgotten about instead of three separate cables on different ends of the case. Instead of letting this cable hang down, Gigabyte has chosen to run it along the top, inside one of the power supply support bars. This is such a simple thing to do, and can easily be done with a zip tie on the end user’s side but Gigabyte took the liberty and did it for us.
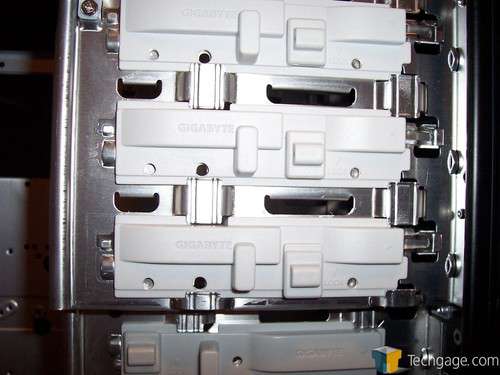
Out first experience in the Aurora 570’s tool less design is the media drive bays. In most cases, the optical drives are installed either on rails like the hard drives are in this case, or they are physically screwed onto the case itself. While there is nothing wrong with this, Gigabyte has taken a slightly different route. With their system, the middle tab is pressed up which unlocks the horizontal slide. Simply install the drive into the bay, press the horizontal slide all the way towards the front of the case and lock it in place with the vertical slide. It’s a simple process and for the most part painless.
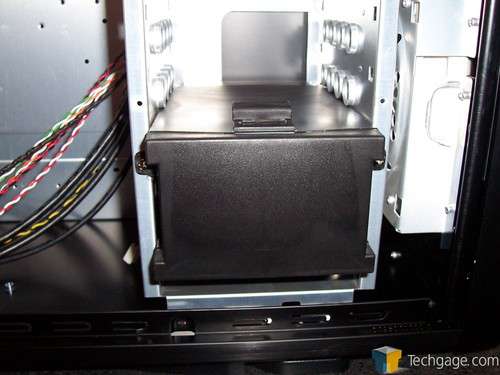
At the bottom of the hard drive cage, there is a small black box. This can be used to store spare parts, manuals, the occasional Red Bull. Or, you could even put your weed in there.
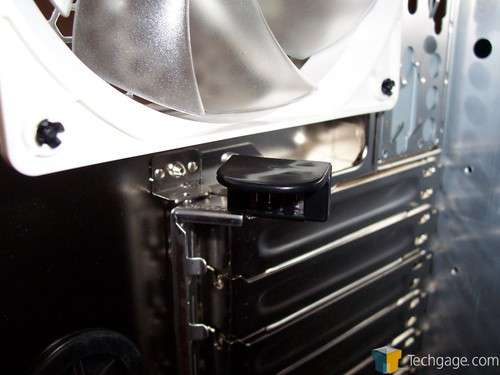
The back of the case continues the tool less theme of the Aurora 570. The PCI slots are covered on the end with a long piece of aluminum that runs the entire length of the brackets. When locked in, the PCI adapters -should- be locked into place. This was the case for us in our testing except for the bottom bracket. When we installed our Ageia PhysX card, the card would hang down a bit as if there was nothing holding it in place. To fix this, we simply placed a screw in the back to hold it in place and since the aluminum PCI lock was flexible, this was not a problem at all although it is something that Gigabyte should address.
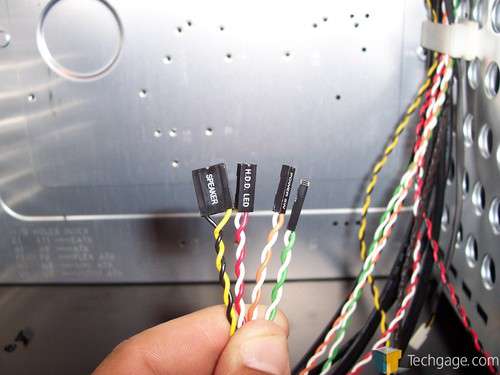
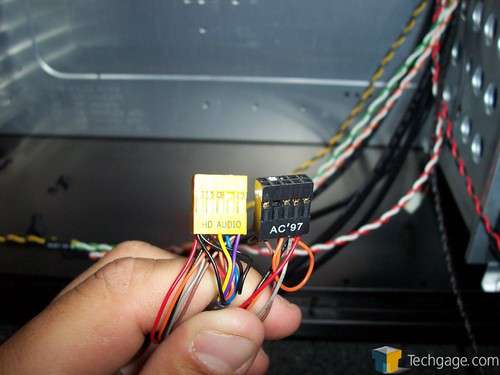
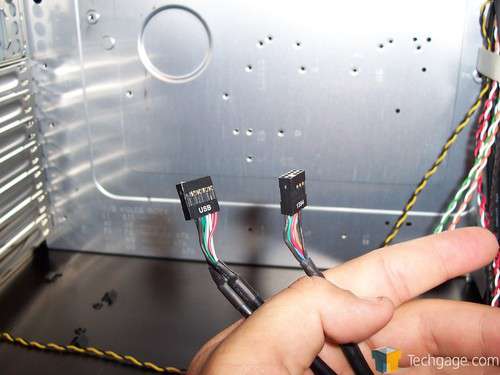
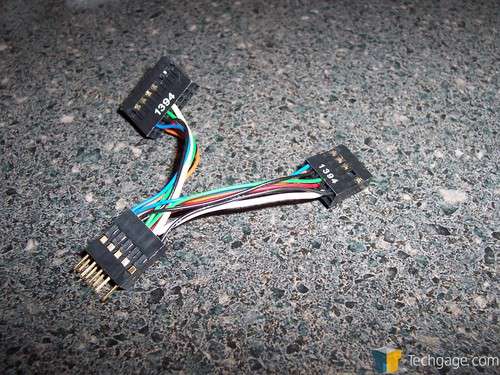
To connect the front buttons and ports, the Aurora 570 comes with plenty long enough cables. Not only are there the usual power and reset buttons, hard drive activity, USB, FireWire and audio ports, but Gigabyte also included adapter cables for those who might have hardware that does not match up with the FireWire pin settings.
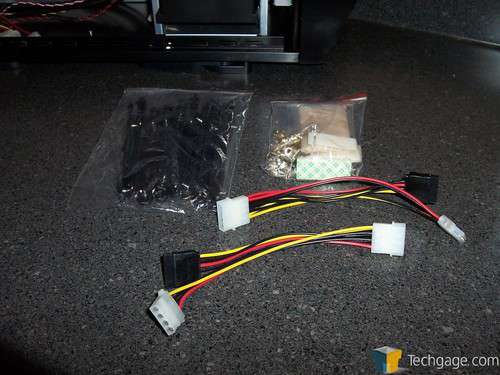
Also included in the bundle are the necessary drive rails to mount the hard drive into the drive cage, but also the motherboard standoffs, screws, an extra set of keys and cable organizers. Nothing over the top, but rather just enough to get everything installed. For those of us who might not have a power supply with SATA connectors on it, there is also a pair of 4-pin Molex to SATA adapters.
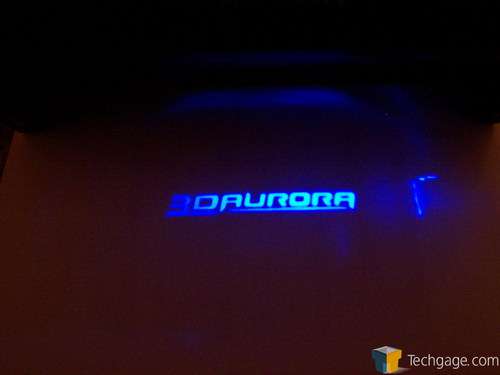
One of the most unique features of the Aurora 570 is the use of a small light at the front that projects the Aurora logo down onto the desk that the case is sitting on. This is done with an LED shining through a black piece of plastic with whatever logo you want displayed cleared out.
It’s a rather simple idea but one that some might find appealing. Others might not care for this but personally, I fall into the first group. Any and all DIY information on how to manufacture your own logo can be found here.
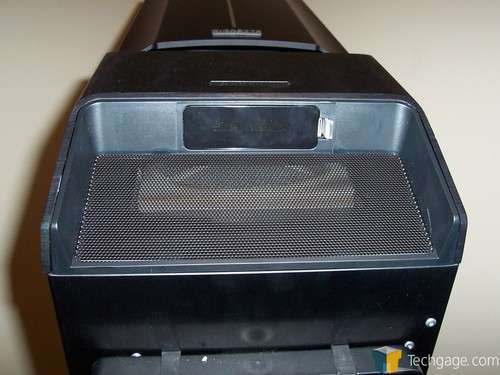
As we covered, the projector is housed at the front of the case, just underneath the “belly†of the chassis. It’s a simple premise and easily accessible by removing a plastic “door.â€
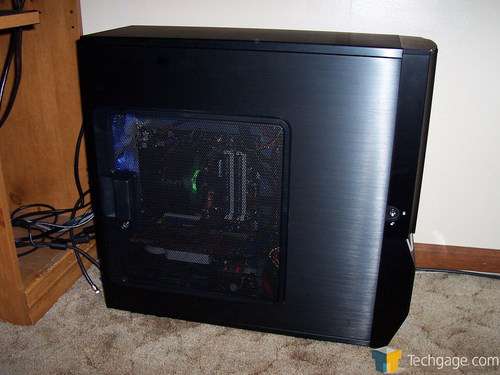
When the PC is on, the Aurora 570 will project the logo in blue on whatever surface the case is sitting on. The text is clear and easy to read which for the most part, was surprising considering how simple of a device it is.
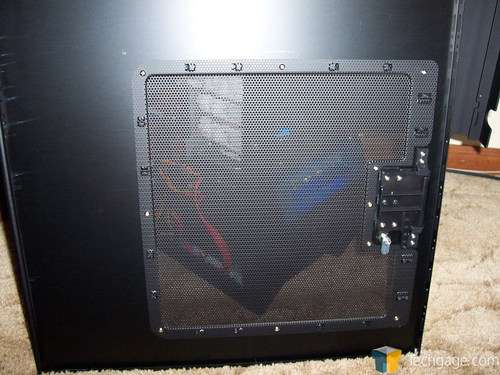
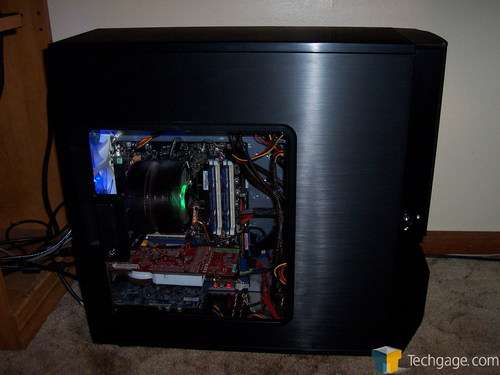
For those who are interested in swapping out the mesh side for the window, the process is a simple one and can be done by removing 10 screws on the inside of the side panel and because of this, the panel must be removed from the case prior to installation.
When everything is put back into place, the results should look similar to ours.
Whew, let’s move on to testing!
|
|
Support our efforts! With ad revenue at an all-time low for written websites, we're relying more than ever on reader support to help us continue putting so much effort into this type of content. You can support us by becoming a Patron, or by using our Amazon shopping affiliate links listed through our articles. Thanks for your support!


