- Qualcomm Launches Snapdragon 4 Gen 2 Mobile Platform
- AMD Launches Ryzen PRO 7000 Series Mobile & Desktop Platform
- Intel Launches Sleek Single-Slot Arc Pro A60 Workstation Graphics Card
- NVIDIA Announces Latest Ada Lovelace Additions: GeForce RTX 4060 Ti & RTX 4060
- Maxon Redshift With AMD Radeon GPU Rendering Support Now Available
Social & RSS Feeds
Latest Videos


Latest News
Maxtor OneTouch 4 Plus 500GB External Hard Drive
by Nate Marion on November 23, 2007 in Storage
Choosing the right external HDD can be tough. In order to sell, products such as the OneTouch 4 rely on their robust software bundle to help move off the shelf. People should be given a solid backup suite, especially given the price. This is exactly where Maxtor fell short, with their OneTouch 4 Plus.
Page 2 – Installation, Software
|
|
Getting the drive working was a snap in both XP and Vista (I don’t have a Mac). Although the software is not compatible with 64 bit operating systems, the drive itself was automatically detected and fully functional regardless of the Windows operating system.
One thing that I (and the lone Newegg reviewer) found slightly annoying was that there is no power switch on the drive. This may increase simplicity, but it also means that the drive spins up every time the system is powered on, even though it may not be needed. The drive will spin down (and the light will turn off) after a few minutes of idling, and will spin up again when commanded to read/write.
While I would prefer that the One Touch 4 Plus not spin up until needed, I will point out that I generally have connection issues with my other external drive (similar to the Maxtor OneTouch 3) that has a power switch – specifically, when I power it on, I must import/enable the drive in the ‘Disk Management’ menu before I can use it, which is a considerable inconvenience. So while some may prefer a power switch, I can testify that there is also something to be said for simplicity.
Once the drive is plugged in and working, we can get the software installed.

As was mentioned earlier, the software is contained on the drive itself, and is ONLY compatible with 32 bit operating systems. I have performed all of the software testing with 32-bit Windows Vista. Also on the drive are the user guide and a product registration link. Software installation went without a hitch, so let’s have a look at the tools the Maxtor Manager gives us.

Here’s the main menu where you can change the general drive settings, create/edit backup programs and syncing, create a recovery image with SafetyDrill, and setup security passwords and encryption. We’ll take a tour of each of these features, starting with the basic drive settings, reached by clicking ‘settings’ in the window above.
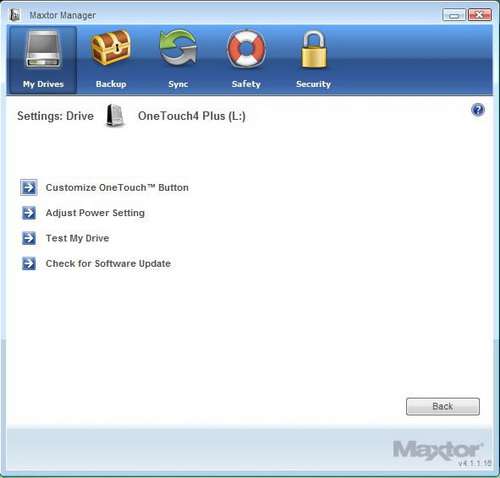
This brings up the settings menu, which we’ll examine from top to bottom.
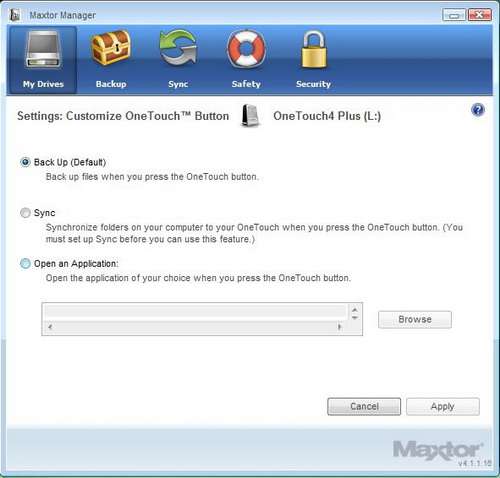
Here you can set the function of the OneTouch button. Most users will probably use the button to either perform a backup or sync, but there’s also an option to run a program of the user’s choice, which is a nice addition.
It’s worth noting that on occasion I found that the drive was not detected when the PC was first booted up – it seemed to spin down before the operating system loaded, and then when the Maxtor Manager was opened, very little could be done until the drive spun up. It would be nice if the OneTouch button took the drive out of its power saver mode when pressed, so that I wouldn’t have to unplug/plug in the power cord in order to get the drive fully powered up.
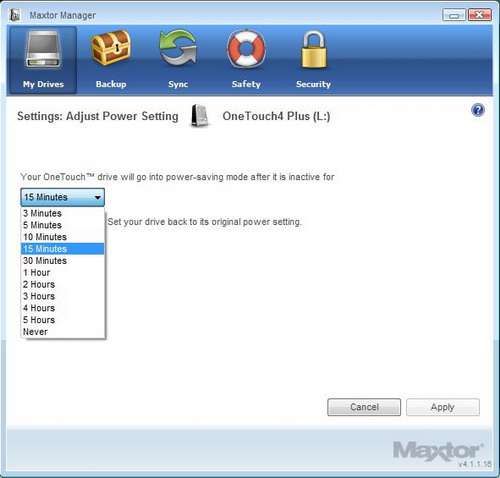
The Power Settings menu allows the user to change the amount of idle time that must pass before the drive spins down.
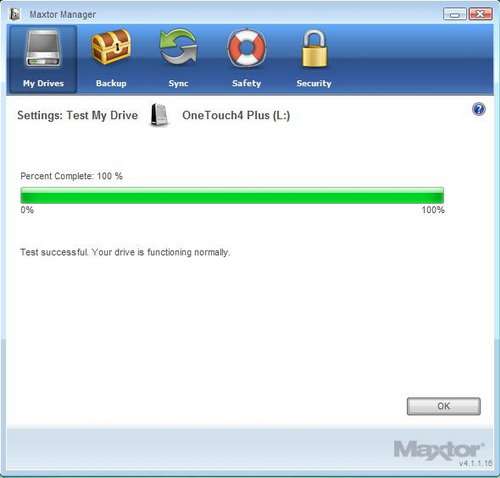
The Testing menu allows the user to scan for bad sectors – this test takes about a minute to complete. Having not encountered any bad sectors, I cannot comment on the effectiveness of this test.

Lastly, there is an option to check for software updates. Again, I cannot comment on the effectiveness of this because at the time of this review there were no updates.
Moving on, there is the backup menu.
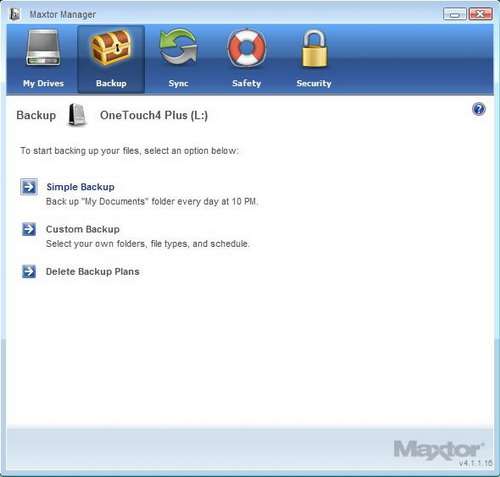
This menu will allow the user to create backups that can be run at scheduled times or when the OneTouch button is pressed. Most users will probably want to create a custom backup, because it is rare that everything worth saving is contained entirely in the ‘My Documents’ folder.
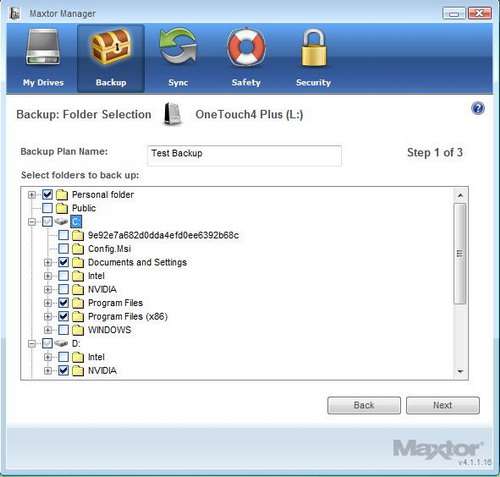
Having chosen to create a custom backup, the user may now select any folder or folders available on the computer, regardless of where they’re located. In this way, users can be sure that email databases, game data, or any other sensitive information not found in the ‘My Documents’ folder is backed up.
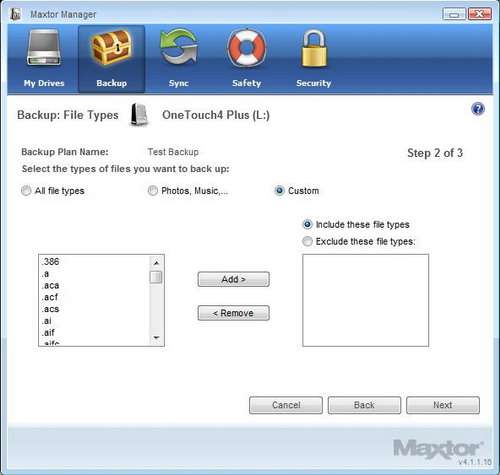
Once the folders are selected, the user can then adjust the file types to be included in the backup to a very extensive degree.
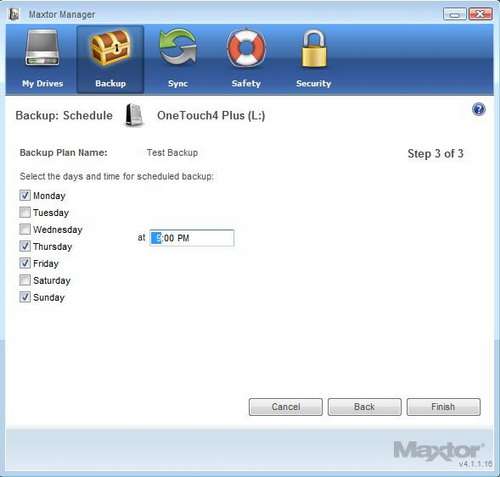
The user can then determine the scheduled time(s) that the backup process will occur.
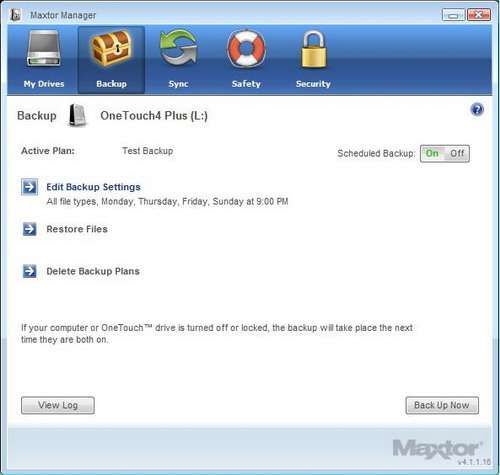
Once a backup routine is created, the user can edit it, delete it, restore backed up files, and toggle the automatic backup feature on/off.
The amount of flexibility provided in the backup process is very nice to see. Using this software makes backing up data as easy as locating the folders where the data is stored, and remembering to add those folders to the backup routine.
There is one glaring shortcoming though, and that is the inability to have more than one backup routine saved at any given time. I searched the entire PC for the name that I gave the backup routine hoping that I could solve this problem by copying the routine file to a safe location, but searching for the routine name turned up nothing.
It shouldn’t be a huge problem, but this could result in a lot of manual searching for files in order to run different backup routines. It seems like the ability to save a backup routine for later would be a very easy feature to add that could save users a lot of aggravation.
|
|

Support our efforts! With ad revenue at an all-time low for written websites, we're relying more than ever on reader support to help us continue putting so much effort into this type of content. You can support us by becoming a Patron, or by using our Amazon shopping affiliate links listed through our articles. Thanks for your support!