- Qualcomm Launches Snapdragon 4 Gen 2 Mobile Platform
- AMD Launches Ryzen PRO 7000 Series Mobile & Desktop Platform
- Intel Launches Sleek Single-Slot Arc Pro A60 Workstation Graphics Card
- NVIDIA Announces Latest Ada Lovelace Additions: GeForce RTX 4060 Ti & RTX 4060
- Maxon Redshift With AMD Radeon GPU Rendering Support Now Available
Spire Pininfarina
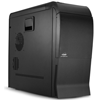
If you’re a PC enthusiast chances are you’ve heard of Spire and if you’re a car enthusiast the chances are you’ve heard of Pininfarina. If you’re into both the chances are good that when you heard those two words together your first thought was "WTF?". Well, Spire just didn’t pull a name out of a hat for this case, it was indeed designed by the folks at Pininfarina. This begs the question "Just what do car designers know about PC cases?" Read on to find out.
Page 2 – Features Cont.
While I can see the reasoning behind this since most users put their tower down low on or just above floor level, I personally find having the switches up top are a bit awkward. Of course I keep my PC on my desk where the chance of having my PC double as a floor vac are reduced.
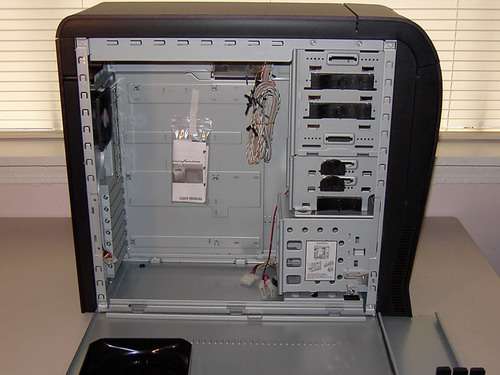
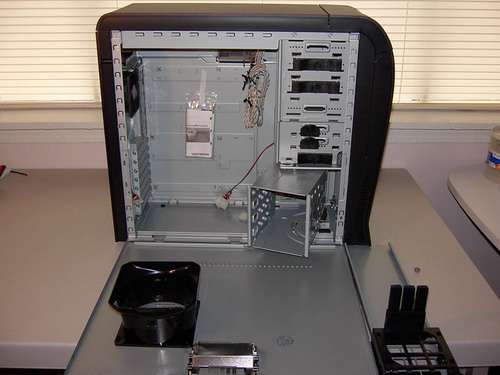
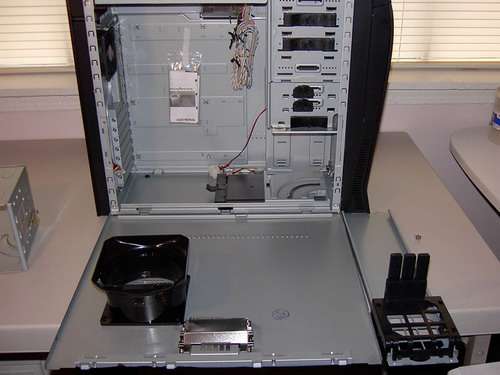
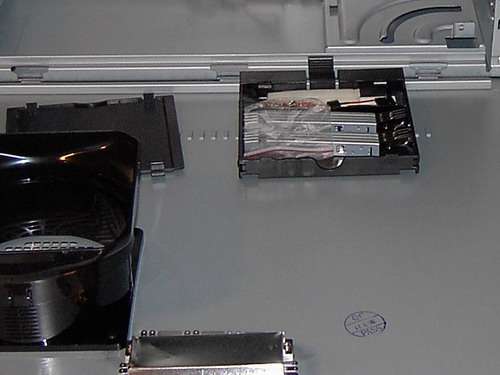
With the left side of the case open and the brace removed we’ve got a clear view of the drive cage. The drive cage is tooless and holds a total of four drives. It’s held in with a combination of a clip and a thumbscrew. Removing the thumbscrew and lifting the tab on the clip allows the cage to slide back slightly then pivot back and out to allow for easier loading. Pulling the cage further out removes it completely and hidden away underneath it is the accessory box containing the drive rails, the PC case speaker and the screws and standoffs.
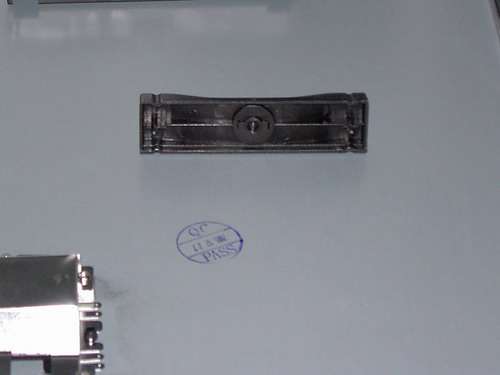
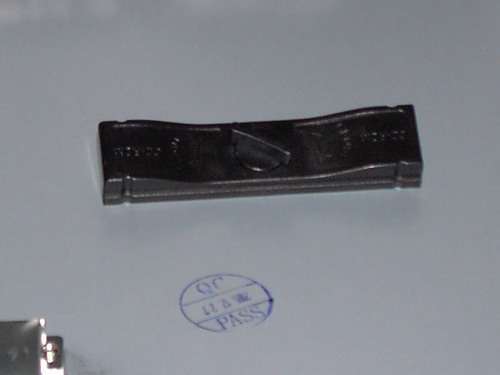
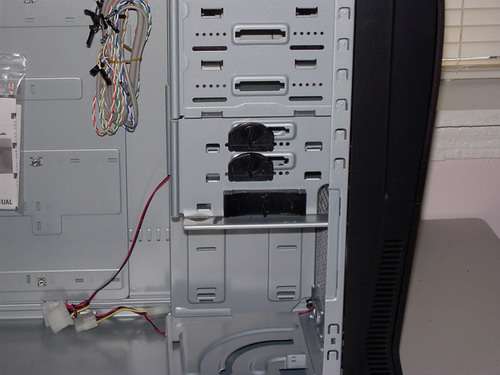
The 5.25" bays, the external 3.5" bays and the upper HDD bay all share unique locks. They’re two piece affairs consisting of a main body and a center toggle. The main body has two dowels that go through the case and lock into the drive’s screw holes and the toggle has locks that engage the drive bay when rotated to the "locked" position. The beauty of this design is that it allows for non-standard devices with the same distance between the front and rear screw holes (naturally) but with the faceplate in a non-standard distance from the mounting holes to still be mounted in this case AND be located properly in relation to the front panel.
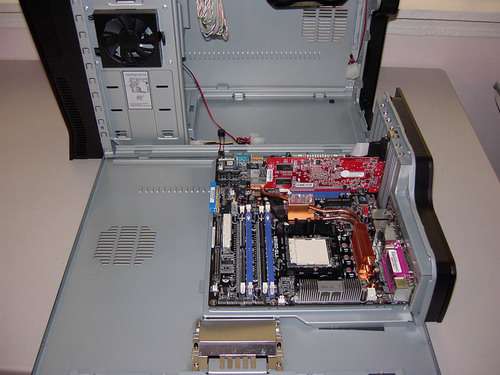
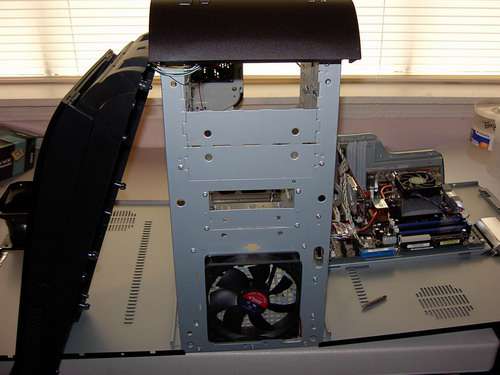
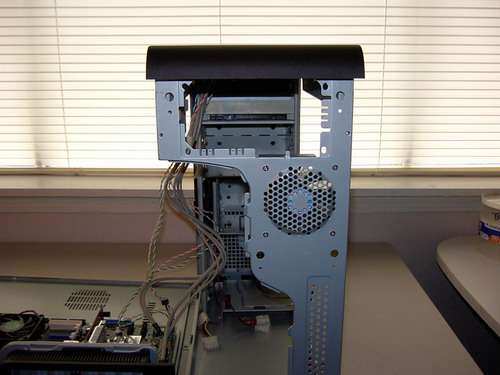
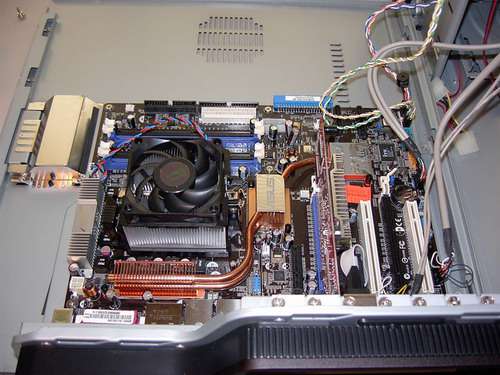
Looking at the pic of the mobo on the case side/mobo tray look at the hinge points. These hinges are simple tabs on the case sides that fit into slots in the case frame. If you open the sides and swing them down a few degrees from vertical at about 10 degrees from vertical you can lift up and out on the side to remove it entirely. I’m touching on this because there are a couple of shots where the case side has been removed.
The front of the case features a 120mm fan with a nicely punched stock grill which allows the fan to breathe with minimal restriction, on the rear though the fan grill is a shabbily punched affair that’s pretty restrictive. This grill coupled with the grill in the rear facade add up to such a restriction that I was barely able to feel airflow from the exhaust fan. Oh for shame! This lead to some interesting finds later in my testing once the whole thing was up and running. I’ll discuss these in a bit.
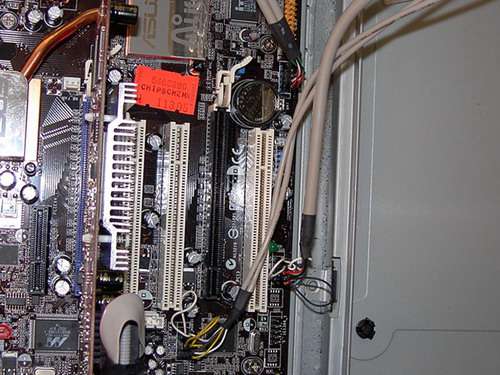
Once the motherboard is mounted and the wiring connected it’s time to fold the case door up to attach the power cables. I’ve included a shot of the USB/firewire/audio wiring for those curious about it. The USB ports are mounted in a pretty universal keyed 10 pin header connector while the firewire and audio ports are individually pinned to the mobo. I sincerely hope that the mobo MFG’s can get together and come up with universal wiring for the audio and firewire front panel connectors. This would allow for the wires to be on header connectors so that guys with big paws like me would not have to play with a bunch of tiny wires and plugs.
|
|
Support our efforts! With ad revenue at an all-time low for written websites, we're relying more than ever on reader support to help us continue putting so much effort into this type of content. You can support us by becoming a Patron, or by using our Amazon shopping affiliate links listed through our articles. Thanks for your support!


