- Qualcomm Launches Snapdragon 4 Gen 2 Mobile Platform
- AMD Launches Ryzen PRO 7000 Series Mobile & Desktop Platform
- Intel Launches Sleek Single-Slot Arc Pro A60 Workstation Graphics Card
- NVIDIA Announces Latest Ada Lovelace Additions: GeForce RTX 4060 Ti & RTX 4060
- Maxon Redshift With AMD Radeon GPU Rendering Support Now Available
Synology DS209+ 2-Bay Disk Station
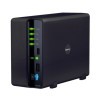
Synology has become well-known over the years for producing some of the highest-quality NAS boxes on the planet, some of which we’ve taken a look at in the past, and the new DS209+ is no exception. Though expensive, it has a huge feature-set and superb performance to back it up, which makes it a good buy for anyone with a fairly lenient budget.
Page 2 – DS209+ Internals, Software
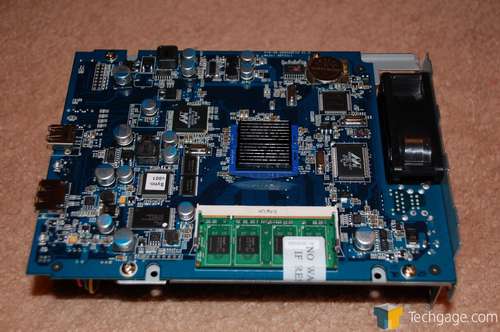
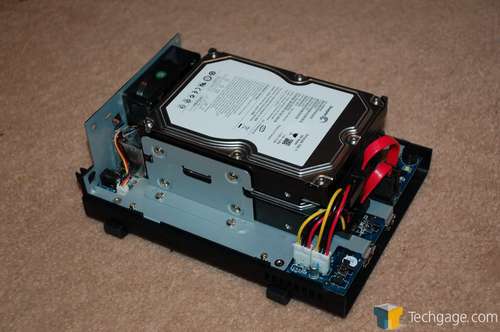
Breaking open the DS209+, we see that from an installation standpoint, there isn’t anything new to report. Synology still employs a stacked hard drive arrangement and the connection locations have not moved. Once we remove the motherboard however, the differences are quite noticeable.
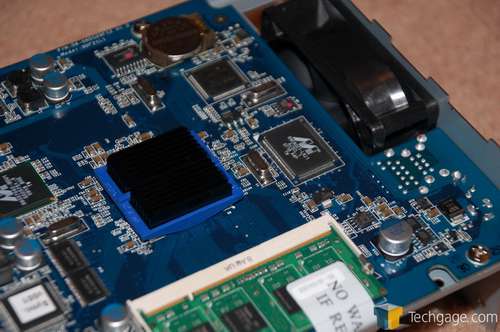
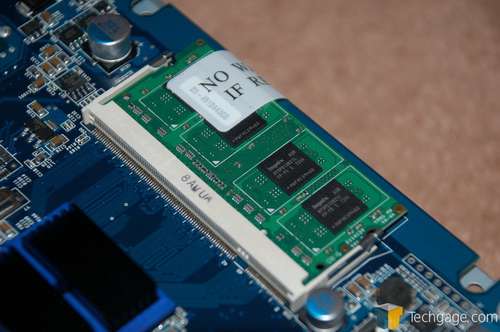
New to their 2 drive line is the addition of a SODIMM slot for DDR2 notebook memory. There is a “NO WARRANTY IF REMOVED” sticker across the module, so upgrading your internal memory while retaining your manufacturer’s warranty is out of the question, sadly. There is also a small heat sink over the 800 MHz CPU with fins that run parallel with the airflow from the fan.
We have no word from Synology as to how much memory you can install in the DS209+ or how much of an increase in performance you would see if you decided to go that route. While this would invalidate the warranty, I would like to think that if the benefits were there, a fairly competent systems engineer for a small company could upgrade with a larger stick of memory.
Synology chose to send our review unit pre-installed with the new Disk Station Manager 2.1 software and a pair of Seagate 7200.11 500GB drives with 32MB cache. These were setup in a RAID 1 configuration initially but in our testing, we used both RAID 1 and RAID 0. For a NAS, I personally do not recommend RAID 0. The added performance is marginal, and any redundancy is lost. So unless you need the additional performance, RAID 1 is a far better option, especially for those whose primary need is a simple and reliable place to back up their data.
Disk Station Manager 2.1 Software
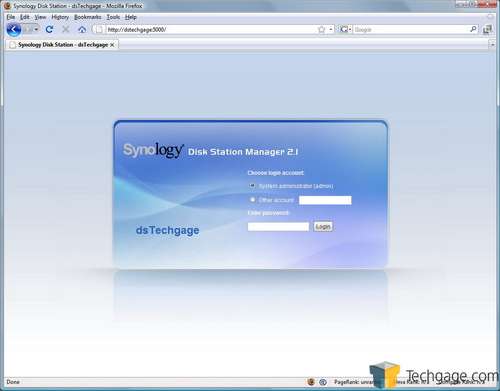
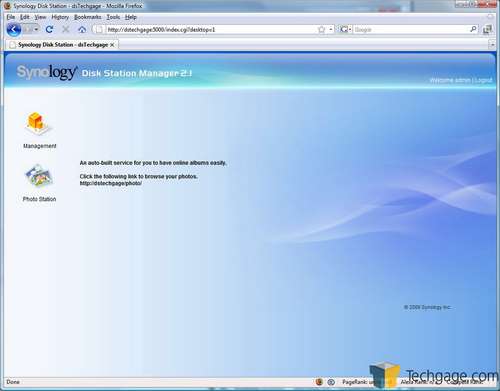
The Disk Station Manager software is a pretty straight-forward affair with many options available to the administrator. Logging into the admin console is simple and once in, you are presented with the administrator console. If you happen to have any of the available services enabled, you will be able to choose which one you want to access first.
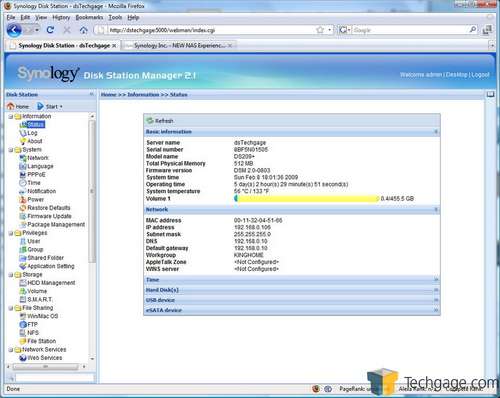
The admin console allows many settings to be enabled, disabled, tested, changed and installed. These are organized in a vertical column on the left side of the screen. On the home screen, you are given the option to drag and drop icons from the column into a central location thanks to their use of AJAX. This is useful for areas of the software that you access frequently. I personally use the user, volume and firmware update icons the most, so I dragged them into place for easy access for when they are needed.
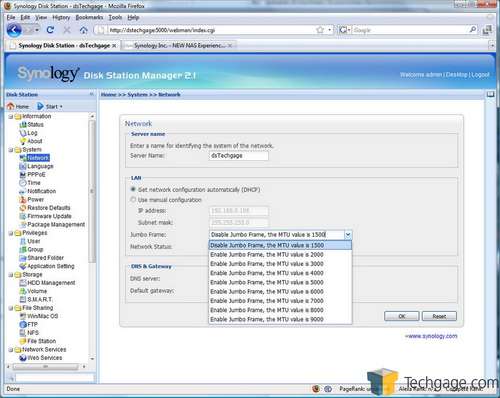
For those that use Jumbo Frames, you have a fair amount of available options if your network it setup to utilize these features.
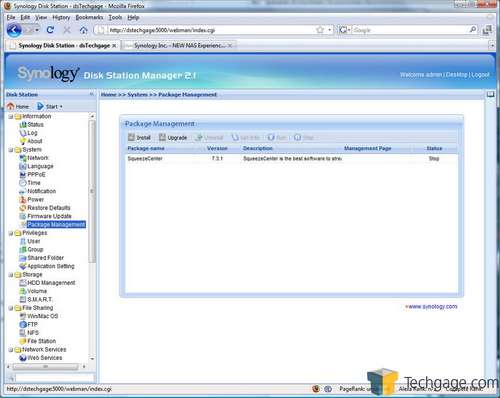
A new feature that Synology has incorporated into their software since the original DS 2.0 is the packet manager. This allows the installation of additional services onto the NAS. For example, we browsed to the Synology web site and downloaded the Logitech Squeezebox SqueezeCenter software. Once installed, this allows the popular streaming devices to access the DS209+, rather than a host PC, allowing you to turn your PC on and off as you choose without the fear of preventing access to your media library.
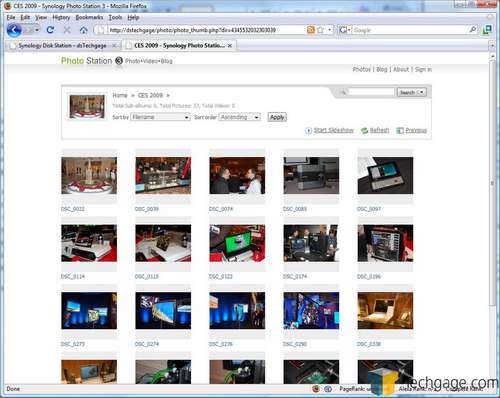
Before we get into testing, I would like to point out what is possibly my favorite option on the Synology NAS boxes and one that I use regularly. Incorporated into the software is what Synology calls “Photo Station 3”. Here, we can upload photos, sort them into groups and then share them online with anyone you want.
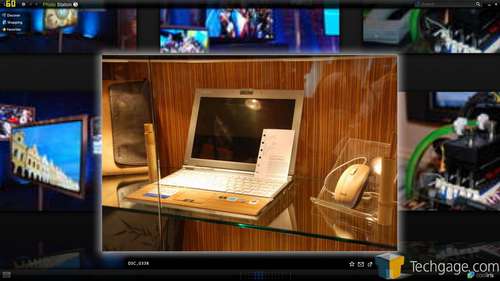
That’s a great way to share your photos with family and friends, regardless of where they live. Another cool feature is the incorporation of a third party app called “Cooliris”. Cooliris is essentially a browser plug in that allows the user to view their photos in a “3D wall” environment. This is actually a neat little add-on, and while not earth-shattering, it’s fun to use, especially if you have a large amount of photos to go through.
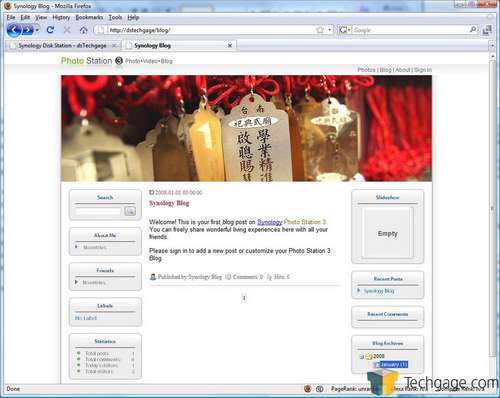
Another feature that I use is the blogging section. This is an area that allows you to post updates to you blog (everything is stored locally on your Synology NAS) and change the features of your page. Using a dynamic DNS account, you can make this so it can be browsed from anywhere on the net.
In truth, Synology’s software is so robust, it could have its own devoted article. But take our word for it… the company really puts effort into their products as a whole, and their passion especially shines through in their software. With that all said, let’s get right to our performance testing and then my final thoughts.
Support our efforts! With ad revenue at an all-time low for written websites, we're relying more than ever on reader support to help us continue putting so much effort into this type of content. You can support us by becoming a Patron, or by using our Amazon shopping affiliate links listed through our articles. Thanks for your support!


