- Qualcomm Launches Snapdragon 4 Gen 2 Mobile Platform
- AMD Launches Ryzen PRO 7000 Series Mobile & Desktop Platform
- Intel Launches Sleek Single-Slot Arc Pro A60 Workstation Graphics Card
- NVIDIA Announces Latest Ada Lovelace Additions: GeForce RTX 4060 Ti & RTX 4060
- Maxon Redshift With AMD Radeon GPU Rendering Support Now Available
Thecus N1200 Single-Drive NAS
The first-ever NAS we took a look at was a dual-bay Thecus N2100. We are returning to those roots today by now taking a look at the single-bay N1200. We were pleased to see that Thecus once again delivered a well-built NAS that’s not only strudy, but packs in numerous useful features as well.
Page 2 – Software, Setup
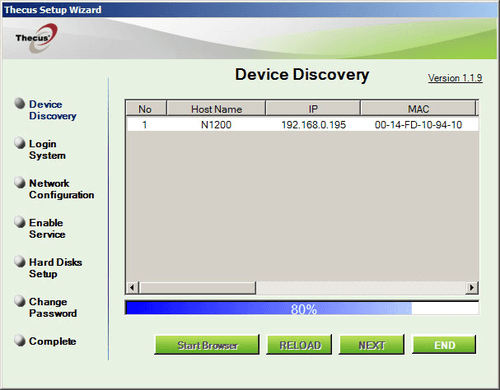
The first step to installing your NAS onto your network is to run the setup wizard provided on the included CD. This can also be downloaded from the Thecus website should you misplace your disk. Once installed, simply run the wizard and it will begin by scanning the entire network for any attached Thecus devices. Once you have found the NAS you’re looking for, select it and click on next.
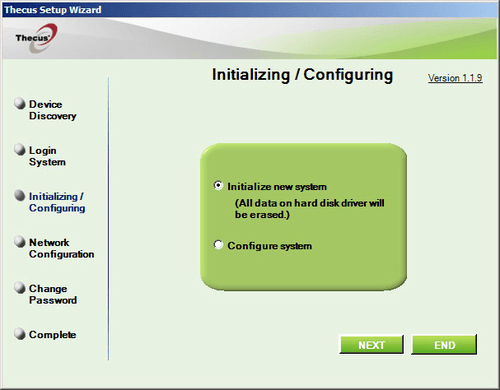
You are now given an option to either initialize your hard drive or configure the system (assuming you have already got the NAS setup.) In our case we will be selecting the initialize a new system option.
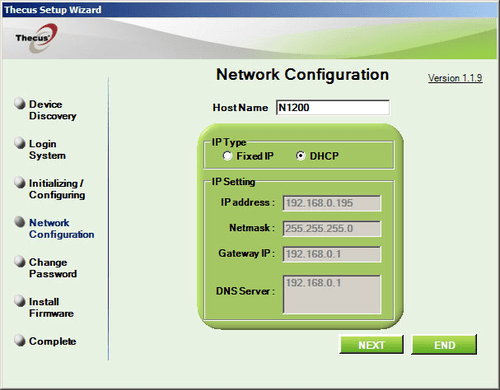
The next screen allows us to configure how the N1200 will behave on the network. You can either assign it a static IP address or allow your DHCP server (usually your router) to give it an IP address as soon as it’s connected to the network. You’re also allowed to change the device name. This is nice because thanks to DNS, all that you need to do is type this device name in a web browser and it will navigate to the UI page automatically. This is the alternative to typing in the IP address of the N1200, that will take you to the exact same page.
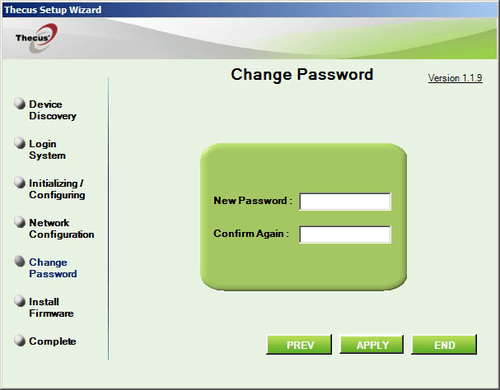
You’ll want to setup an administrative password. This is especially important when using the N1200 outside of a home environment such as a dorm room or hotel room.
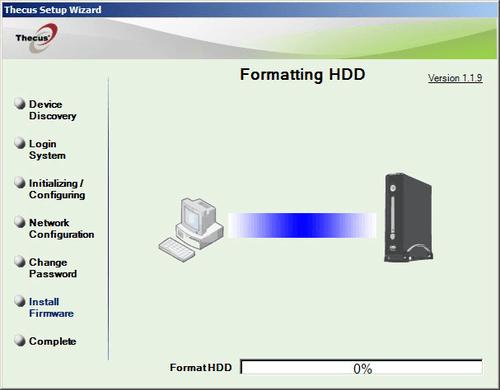
After setting up your password, the software will take over and do the rest. Simply click next and it will begin to format your hard drive and install the system software. This is really a waiting game and will take longer depending on the size of the installed hard drive.
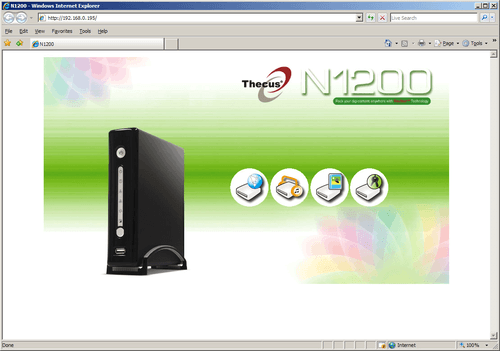
Once the setup procedure is complete, simply navigate your web browser of choice to the UI of the N1200 and get to configuring. The home screen of the NAS gives us the option to go into one of four areas of the device. For this review, we are going to focus on the administration options but will touch upon the rest in a bit.
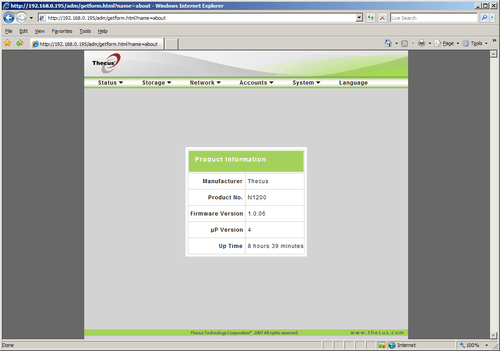
The first screen we see gives us basic information about the device such as firmware version, model number and uptime.
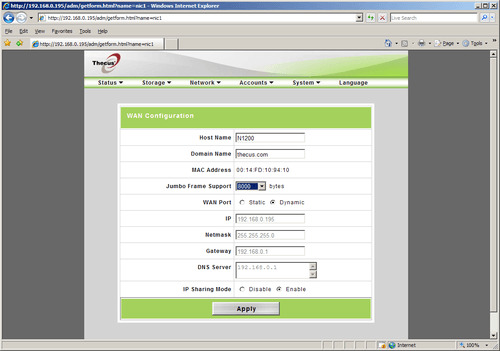
In the WAN configuration page, we see that the N1200 supports jumbo frames up to 8000 bytes. For networks that support this, this technology greatly increases throughput of data.
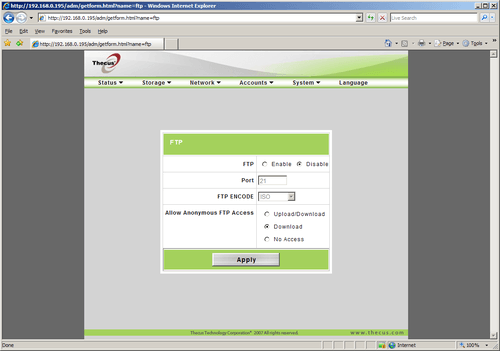
Also offered on the N1200 is FTP setup. This allows the user to setup their own FTP to host files for those on the local network as well as those outside of the network as well. Thecus also gives us an option to allow anonymous access to the FTP.
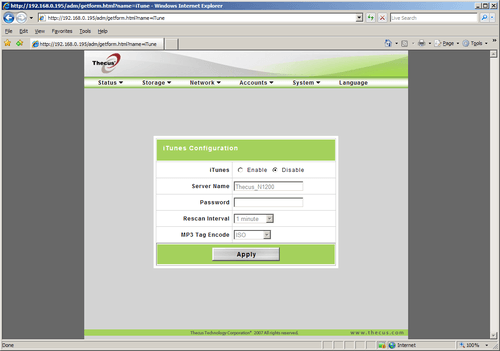
What’s a good NAS without the ability to serve iTunes? Like most all other NAS devices available today, the N1200 too allows serving of iTunes across the network. You can setup the name of your server and even protect it with a password, limiting access to the added functionality of the N1200.
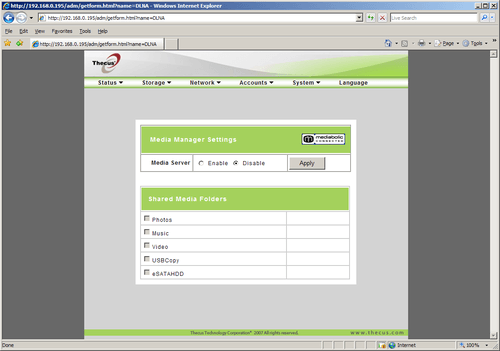
One of the more popular features of the N1200 is the mediabolic media functionality. This basically allows the N1200 to connect to all other supported devices with little or no effort on the part of the user. This can be enabled or disabled and even lets you choose what folders to share and what ones to leave private.
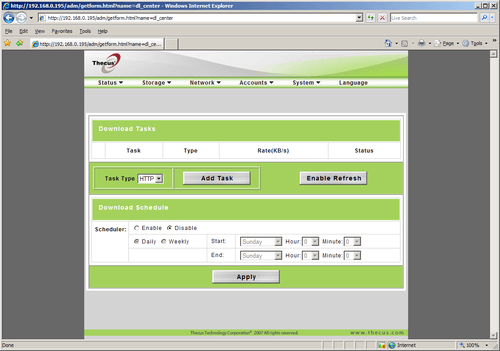
If unsupervised downloading is your thing, you won’t be upset with the ability to setup different tasks and even assign them a set time to run. This is a “set it and forget it” approach to downloads and it works wonderfully.
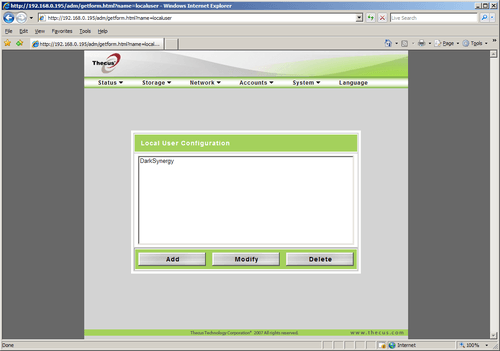
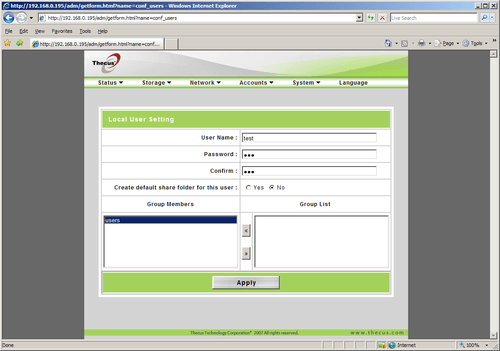
If you’re using the N1200 in a multi-user environment (those not using the NAS strictly for backups), you can setup different user accounts as well as assigning each user to a specific group, each with their own permissions. Users can bet setup with their own passwords to further secure the data coming in and out of your NAS. This is ideal for small office settings where not everyone needs access to every single file housed on the N1200.
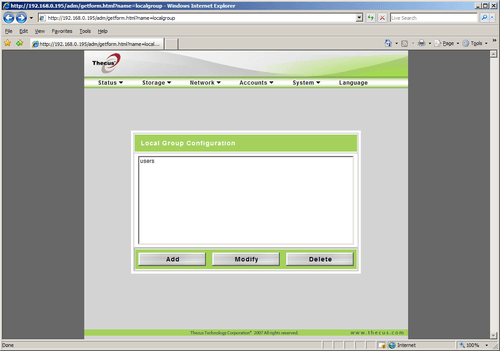
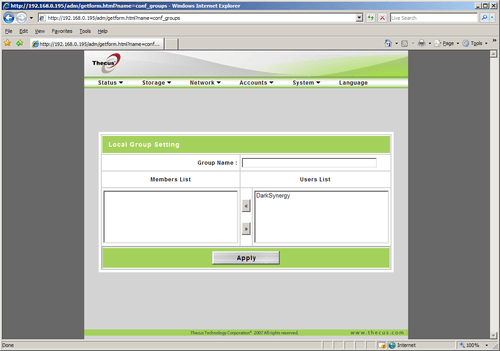
For groups, you simply setup the group name and designate which users are members and which ones are not. Again, this is great when wanting to grant access to certain folders for some but not others.
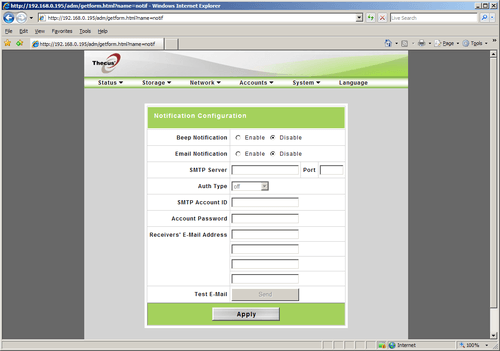
For all you administrators out there, the N1200 can be setup to send out email alerts when an event occurs. Up to four email addresses can be entered in to let more than one person know if the disk dies or it’s reached capacity.
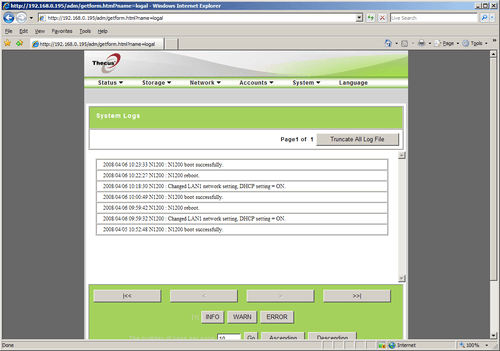
Logs are another important piece in administering any piece of network hardware and the N1200 is no exception. You can sort between information, warnings and errors when browsing the logs to help condense the information you’re looking for. The events are time stamped as well.
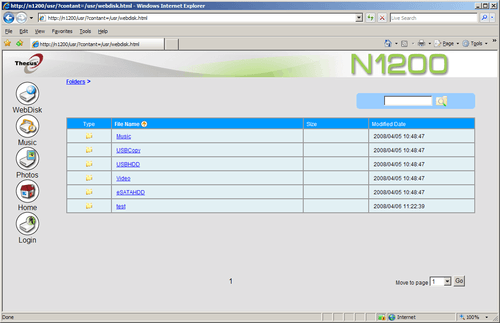
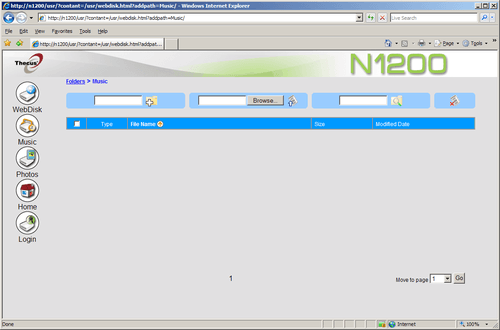
Take a look at the media functions of the N1200, we first see the web disk page. This is basically a visual of the folders setup on the NAS allowing them to be browsed through a web browser. If protected, a password prompt will pop up when trying to access a folder with permissions setup.
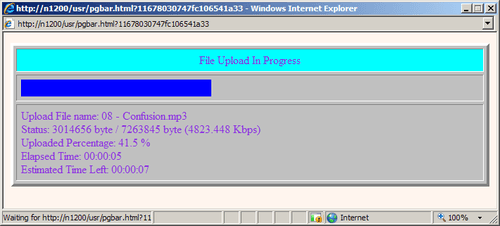
In the audio page, you can upload music tracks to share with anyone else on the network. Once uploaded, the songs will appear on the screen allowing all to see.
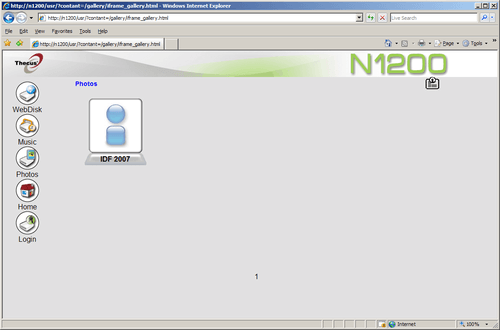
If sharing photos is your thing, Thecus offers this as well. Allowing the user to setup multiple galleries, each containing a many photos as needed, the N1200 allows users to share their favorite pictures with anyone they please, local to the network or not.
Let’s wrap the review up with some testing, and also my final thoughts.
Support our efforts! With ad revenue at an all-time low for written websites, we're relying more than ever on reader support to help us continue putting so much effort into this type of content. You can support us by becoming a Patron, or by using our Amazon shopping affiliate links listed through our articles. Thanks for your support!


