- Qualcomm Launches Snapdragon 4 Gen 2 Mobile Platform
- AMD Launches Ryzen PRO 7000 Series Mobile & Desktop Platform
- Intel Launches Sleek Single-Slot Arc Pro A60 Workstation Graphics Card
- NVIDIA Announces Latest Ada Lovelace Additions: GeForce RTX 4060 Ti & RTX 4060
- Maxon Redshift With AMD Radeon GPU Rendering Support Now Available
Thermaltake Mozart TX
Are you in the market for a roomy server case? Tired of the small cases that don’t offer enough room for all your bits and bobs? Today we take a look at a case that can run the gamut from HTPC to server to gaming case and gives you more room than you can shake a stick of Rambus at.
Page 2 – Closer Look
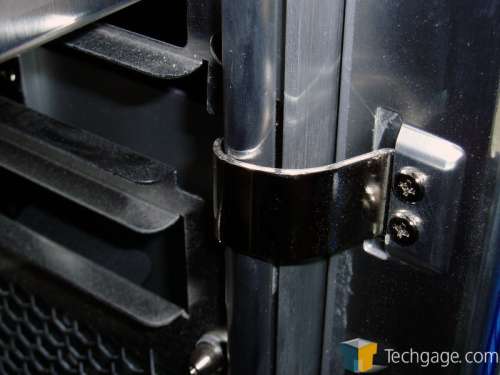
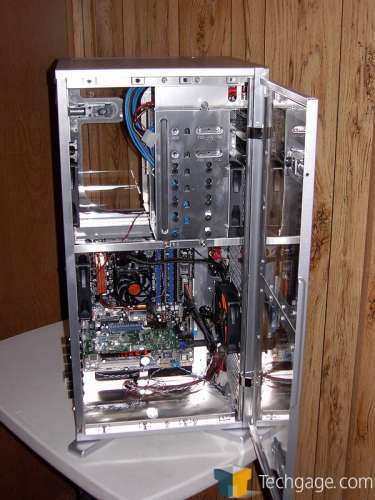
As you’ll notice, the sides don’t come off the case, instead they’re hinged and you’re stuck with them unless you want to pull the screws holding the hinges to the panels. This isn’t a huge issue but it does make laying the case down and installing hardware a bit of a challenge. The doors open only 90 degrees so unless you prop them open they tend to keep closing with the slightest bump.
I’d like to see a prop rod incorporated into the case to keep the doors open in the event that you’re laying the case on it’s side to install hardware as trying to install a motherboard in a standing case is like herding cats.
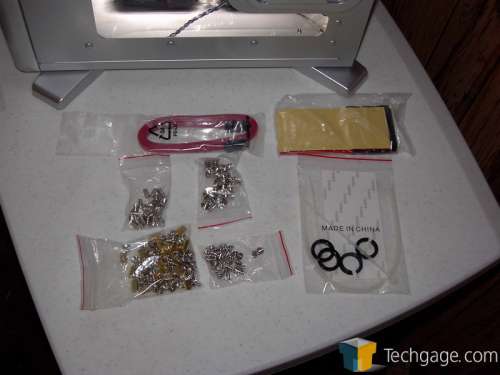
Inside the box pictured earlier resides the screws and standoffs normally associated with PC cases along with four grommets for passing tubing through, a mylar plate to put over the mobo tray where the BTX mounts protrude through the plane of the tray, although I haven’t had any issues but some motherboards with long component legs could. There are also a pair of cables for use with an ITX mobo. They’re extended length cables to reach the extra distance from the ITX mobo mount to the HDD cage. Normally bundled cables will be a bit short since they’re usually 18" and that might be too short to reach all the way around the tray and up to the cage.
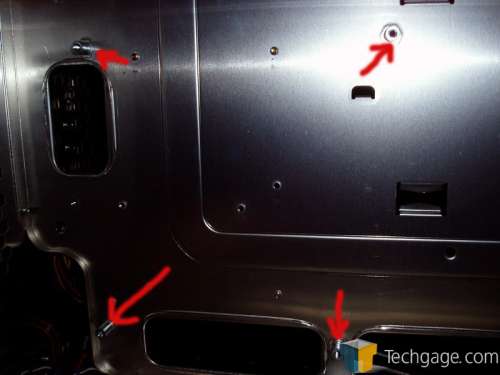
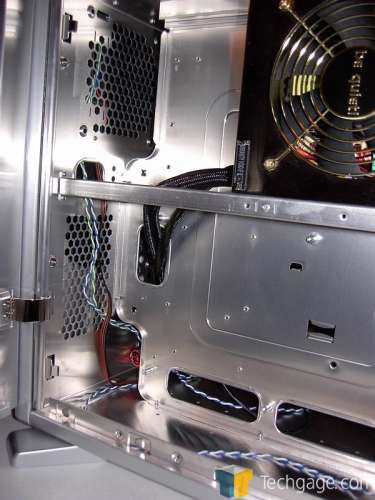
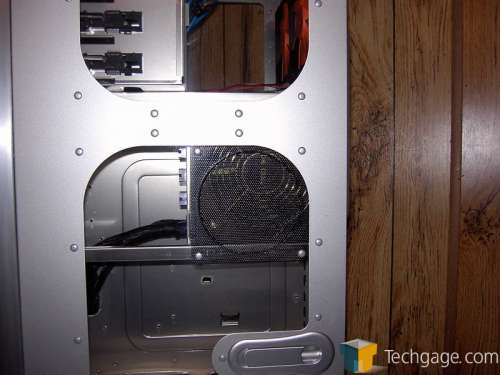
Taking a look at the right side of the case wee see that the power supply mounts on edge. There are screw holes for mounting the PSU on either side although for units with a fan on the bottom it is best to mount the PSU with the fan facing the side panel since there is an intake grille in the case window. This will ensure that the fan isn’t being blocked by the motherboard tray / case divider and gives the added benefit of supplying the power supply with cooler room temperature air.
If you’ll note the arrows, they’re pointing to the ITX standoffs that are pre-installed in the case on the same side of the case that the PSU mounts on. If you’re a modder and don’t plan to use the ITX motherboard mounts for that purpose you could mount a plate over them using the standoffs to screw the plate to and mount something else to the plate such as a water pump, reservoir or anything that you imagination can conceive of.
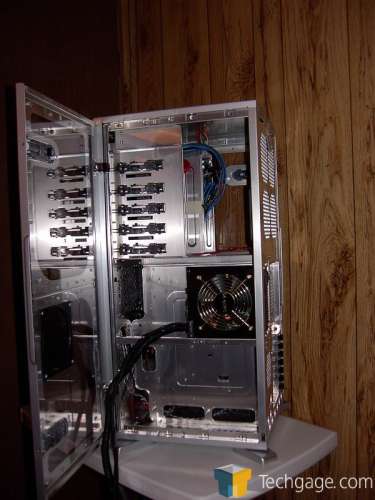
The openings in the divider are very handy for routing cables through.
As you can see the fan opening in the case window doesn’t line up perfectly with the fan in the PSU I’ve installed in the case for testing but even with the mismatch it still worked very well. During my time with the case I’ve never noticed the exhaust from the PSU becoming any warmer than if the unit was laying on my desk running under load.
As the build progresses you can see that the aforementioned holes in the divider really do a nice job at keeping the wiring sanitary.
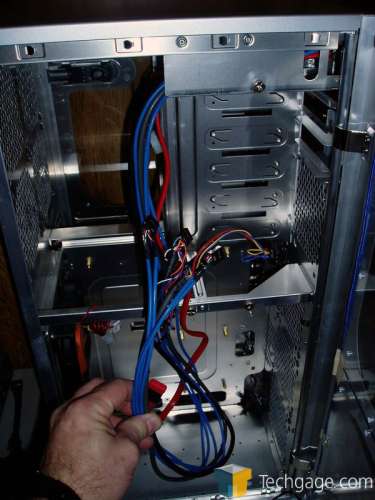
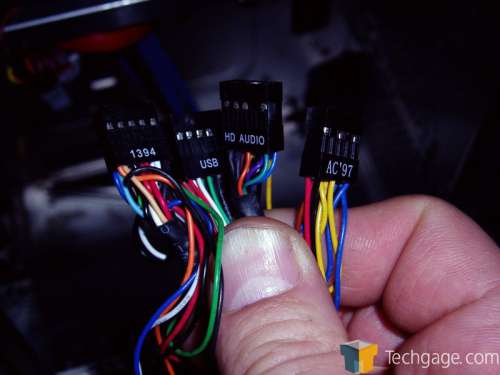
Taking a peek at the wiring from the front ports located at the top of the case we can see that these babies are very long. In point of fact, the audio and USB and Firewire cables are so long that they’ll hang a good foot (or more) below the case. This means that you can route the wires easily behind the divider and bring them out under the motherboard in the holes below it.
All the front mounted ports feature monolithic plugs so you don’t have to deal with individual mini plugs, although, the Firewire plug does feature the individual mini plugs just in case you have a 1394 mobo connector that isn’t dual row.
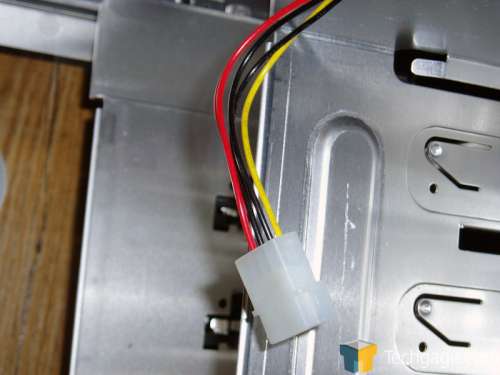
Here’s the power to the e-SATA port, although since you don’t get the adapter it requires to function isn’t included it’s kind of like an appendix …utterly useless.
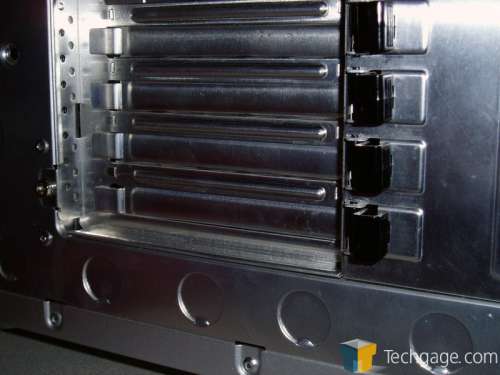
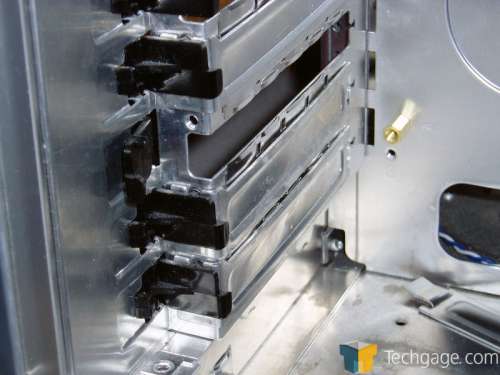
Moving around back we find a feature that’s a bit more useful, screw-less PCI slots. The slot covers are held in place by individual locks that are released from the back of the case. Each one has a latch that you squeeze and pull outwards.
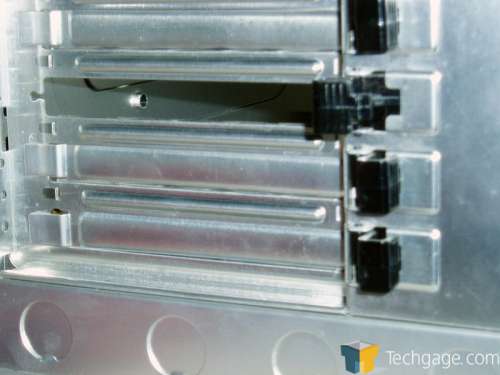
Like so…
The tang end inside the case swings out from the PCI slots and releases the cover. I’m happy to report that the clamps do a very good job of locking your PCI devices down and if you’re not comfortable with them you can simply bend the ears at the pivot point away from the lock, remove it and use a screw instead.
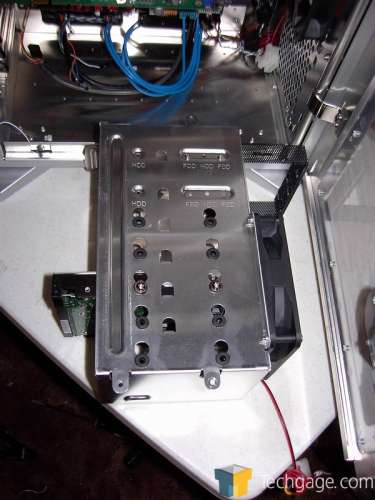
Moving along we come to the hard drive bay. It’s held in the case with three thumbscrews and a clip. It has a 120mm fan mounted to the front and holds five or six hard drives. I say five or six since it depends upon if you desire to mount a floppy drive in the topmost bay. Personally, I’d avoid mounting a drive up there since it’s beyond the flow from the fan but that’s just me.
|
|
Support our efforts! With ad revenue at an all-time low for written websites, we're relying more than ever on reader support to help us continue putting so much effort into this type of content. You can support us by becoming a Patron, or by using our Amazon shopping affiliate links listed through our articles. Thanks for your support!


