- Qualcomm Launches Snapdragon 4 Gen 2 Mobile Platform
- AMD Launches Ryzen PRO 7000 Series Mobile & Desktop Platform
- Intel Launches Sleek Single-Slot Arc Pro A60 Workstation Graphics Card
- NVIDIA Announces Latest Ada Lovelace Additions: GeForce RTX 4060 Ti & RTX 4060
- Maxon Redshift With AMD Radeon GPU Rendering Support Now Available
Thermaltake Toughpower Modular 750W PSU
Power, we all need it, we all crave it and it’s a part of life. Today I’m looking at an item that’ll have you sounding like He-Man: "I have the power!" And you won’t be wrong.
Page 2 – Closer Look
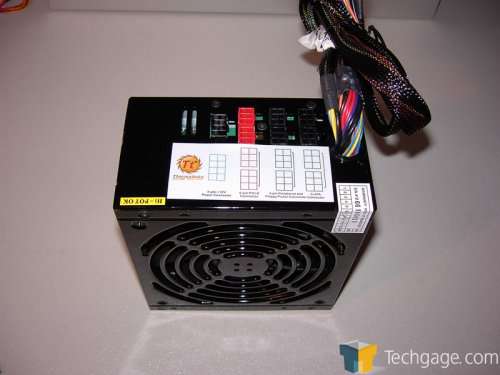
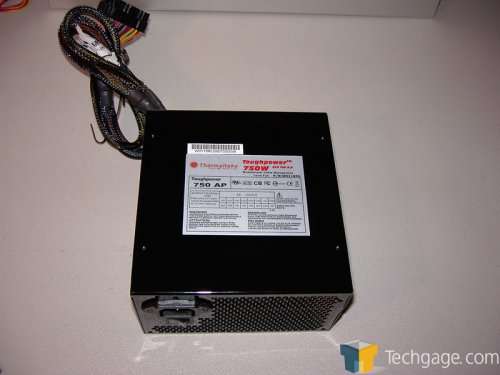
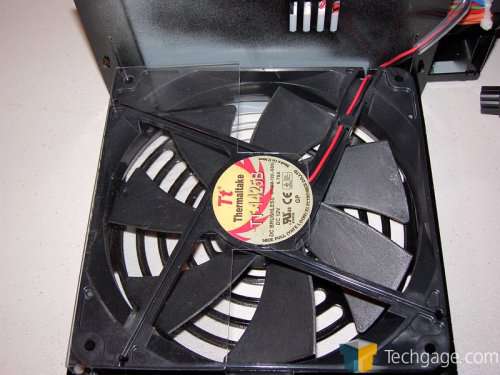
Once the PSU is out of it’s bubble-wrap we get a closer look at the finish. It’s painted black, a very shiny gloss black with a large beauty panel on the left side proclaiming it to be the 750W Cable Management Toughpower from Thermaltake proudly for all your lan party friends to gawk at. The bottom of the casing has a punched grill sporting a huge 140mm fan and the outer end is punched in a low restriction honeycomb grid array allowing for good airflow out of the power supply.
The modular interface is color coded for easy identification of what goes where. The SATA plugs, molex plugs and 8 pin EPS (which splits apart into the 4 pin ATX 12V plug) all plug in here. They have the leftmost 6 pin plugs labeled as SATA and the ones next to them labeled for molex duties but after a bit of checking I discovered that the plugs for the molexes are plumbed with the same voltages (+3.3V, +5V, +12V and grounds) as the SATA plugs so if you find that you have to plug the SATA plugs in where the molexes go or vice versa so there’s no worries there.
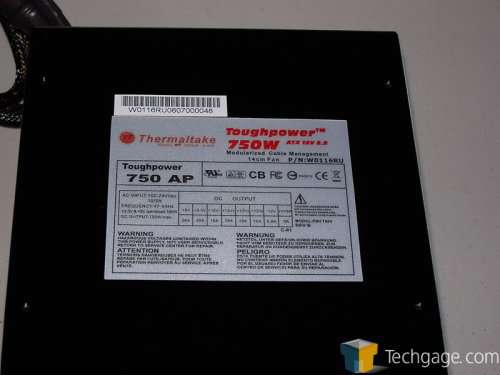
On top of the PSU is the label listing the rail amperages but for the total wattages and how they’re distributed you’ll have to look in the manual.
I’ll save you the legwork since I’ve got the manual laying here open and list them off for you. Continuous wattage of 750W. The combined wattage of the +3.3V and +5V rails is 180W max. Total combined +12V output load not to exceed 60A (720W). The hold up time and other specs are listed above in the features list.
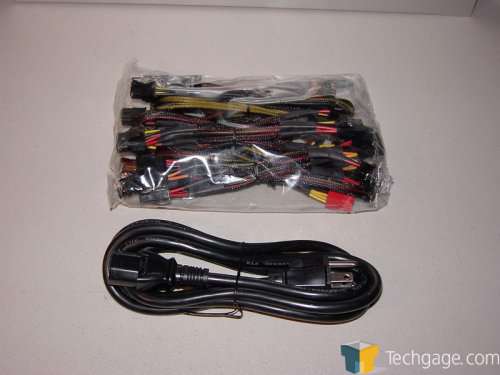
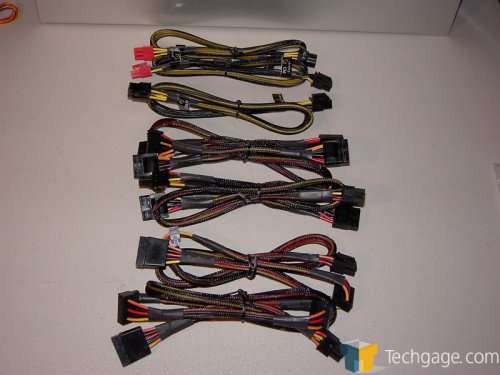
The cables are pretty nicely sleeved and feature the following drive connectors: 4 pin molex IDE connectors X 8, 4 pin floppy connectors X 2, 5 pin SATA connectors X 6. There are 2 PCI-e cables and the 8 pin EPS / 4 pin +12V ATX cable. The PSU body has the 20+4 ATX cable hardwired on along with a third PCI-e cable. I’ll get into how these are distributed on the rails in a bit.
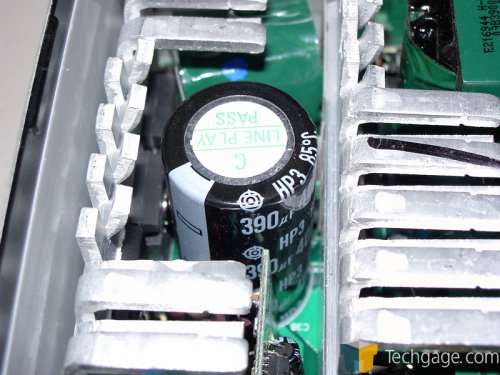
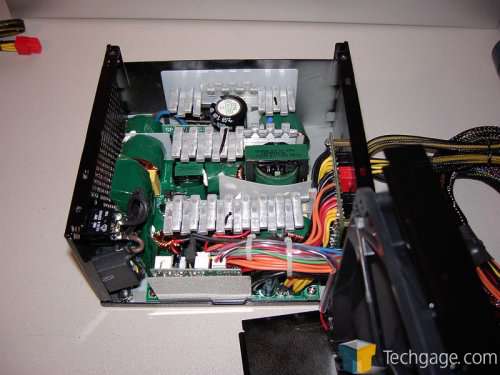
Opening the PSU reveals a very well laid out unit. The wiring is cleanly routed and imposes very little disruption to the airflow through the unit. The heatsinks are large and are made from swaged aluminum. These allow for less resistance to airflow than traditional extruded heatsinks by allowing the air to flow down through the fingers created by the swaging process. A normal extruded heatsink forces the air to flow across it rather than through it and isn’t as efficient for a top down fan configuration.
On the primary side of the power supply we see that CWT uses a Hitachi 390uf cap, no Fuhjyyu’s here. From what I’m given to understand the Hitachi’s deal pretty well with heat and as the markings on the cap show, it’s rated for up to 85*C. If your PSU is hitting nearly the boiling point inside you’ve got some serious problems.
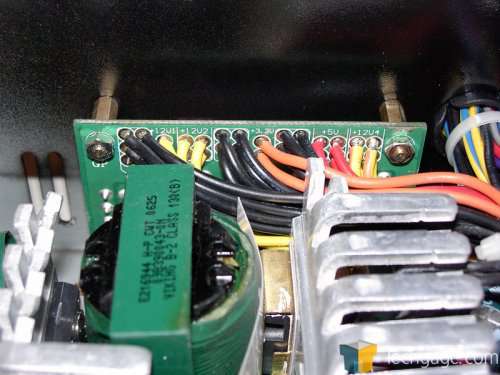
Also pictured is the back side of the modular interface. The layout is clean and the soldering is very neat. Nothing is more bothersome to me than seeing great globs of solder on a PCB, this likely comes from being a solder nazi but sloppy solder is just un-acceptable IMHO. Soldering is a very easy skill to master.
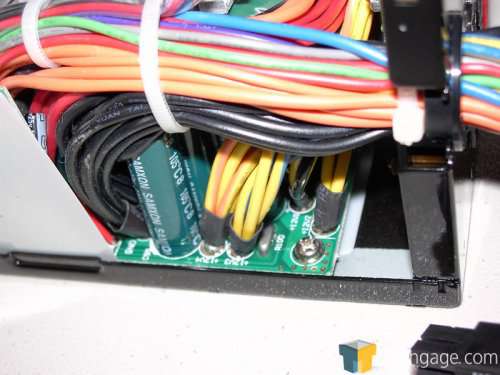
Looking at where the rails join the PCB we see the color codes used, following the colored wires I’ve deciphered the following: 12V1 to the 4 pin 12V ATX (which is split from the 8 pin EPS), 12V1 & 12V2 to 8 pin EPS, 12V2 to modular PCI-e connectors, 12V3 to mobo ATX & fixed PCI-e connections, 12V4 to drives. This means that if you’ve got a 4pin mobo the PCI-e cards have a dedicated rail and if you’ve got an EPS connector on your mobo you’ve got the option of running one card on the 12V3 rail along with the motherboard or you can run one card off the fixed PCI-e cable and the other off the modular interface which is what Thermaltake outlines in their manual.
With the current generation of PCI-e video cards 18A between two cards is plenty unless you’re running a 7950 GX2 so a dedicated rail for the video cards isn’t out of the realm of possibility.
|
|
Support our efforts! With ad revenue at an all-time low for written websites, we're relying more than ever on reader support to help us continue putting so much effort into this type of content. You can support us by becoming a Patron, or by using our Amazon shopping affiliate links listed through our articles. Thanks for your support!


