- Qualcomm Launches Snapdragon 4 Gen 2 Mobile Platform
- AMD Launches Ryzen PRO 7000 Series Mobile & Desktop Platform
- Intel Launches Sleek Single-Slot Arc Pro A60 Workstation Graphics Card
- NVIDIA Announces Latest Ada Lovelace Additions: GeForce RTX 4060 Ti & RTX 4060
- Maxon Redshift With AMD Radeon GPU Rendering Support Now Available
Cooler Master CM 690
Gamers on a budget don’t want to be forced to sacrifice quality, and Cooler Master realizes this. Their latest case, the CM 690, can be found online for $70 and under and has enough features to please most everyone.
Page 1 – Introduction
|
|
Earlier this month, Cooler Master released the 690. Little was known about the steel behemoth, so many interested would-be buyers were left out in the cold. It had a feature set that many high end cases would be jealous of, but beyond a description and a few images, there was nothing for us to suck on until the case hit retail.
There’s no doubt that Cooler Master has released a perfect case for cooling. In total, eight fans can be installed (one in front, one in back, one at the bottom, two at the top, two on the left side, and one on the right). If fans aren’t your thing, you can swap them out for a water cooling setup, since holes are already provided. A wire routing system should help cables stay out of the way, and air to flow easily in the case.
If anything, the 690 is a direct competitor to the Antec 900. Both cases are centered around cooling and both have flashy LED fans, but here’s the kicker: the 690 is selling for under $100.00. If the two can perform on equal ground, there’s no question about which to pick. Cooler Master has been known for solid budget cases in recent history. The Centurion 5 is a perfect example of a case heavy on features with a small price tag.
With our Techgage reviews, we usually focus on the packaging. In this case, the review sample didn’t include the retail box or instruction manual, so we cannot mention them in our review.
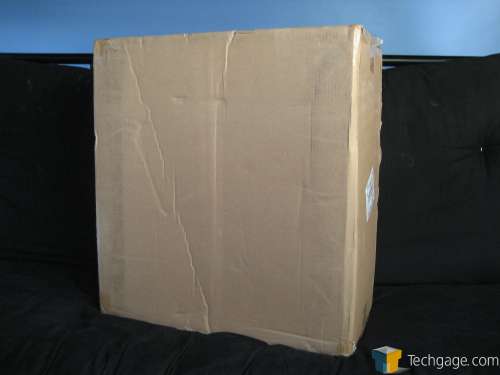
The case was simply shipped in a regular brown box, protected with two Styrofoam blocks.
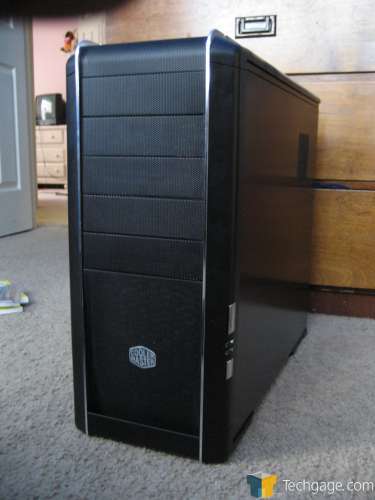
The case is relatively simple, if not elegant. The Cooler Master logo is a subtlety rather than stamped there obtrusively. The silver accents accompany the black mesh at the front. The mesh is not only attractive; it also offers ventilation for the fans to carry air to the rest of the system. We’ll get into that shortly.
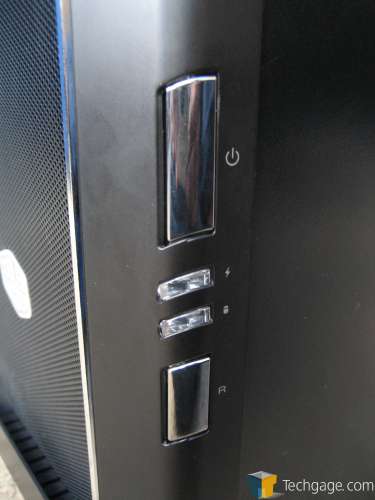
Much to my dismay, the power and reset buttons have been put on the right side of the case, which will make them harder to for people who sit their case on the right-hand side of their workstation. Overall, the buttons have a clunky, mushy feeling since they only “click†when enough pressure is applied.
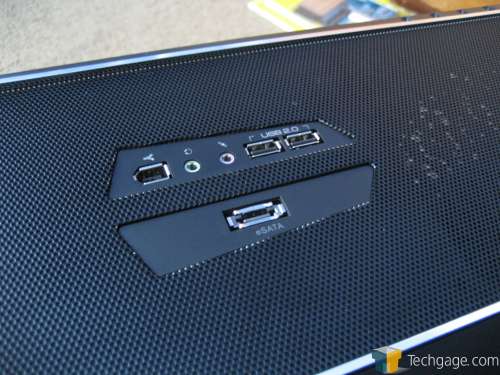
The ports are located at the top of the case. They include: two USB ports, a Firewire port, a headphone and microphone port, and an eSATA port. Personally, the top placement is very inconvenient for me since I have my computer underneath my desk. It’s really only useful if people place their machine beside the desk, so I don’t understand why companies insist on using that method. With the buttons and status LEDs factored in, the only prime area to place the case would be at the left side of a desk. If you put it anywhere else, expect to have to get used to the change.
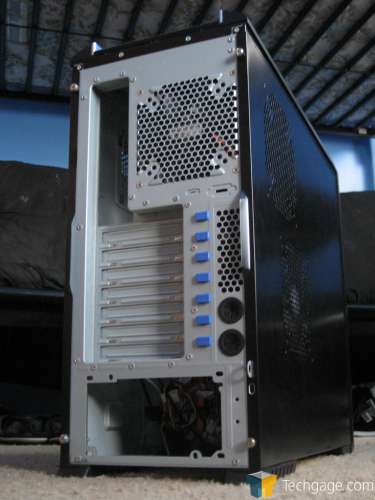
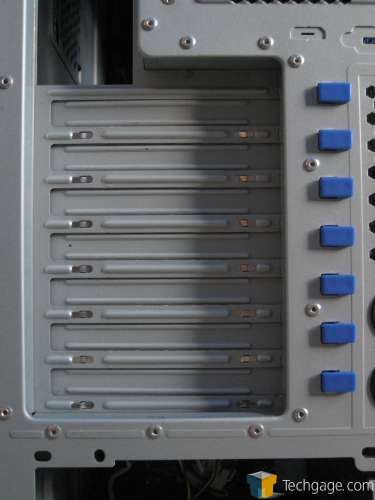
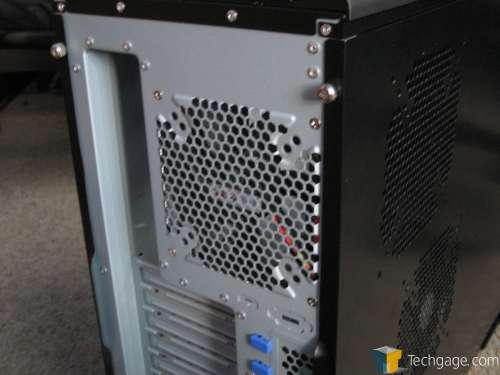
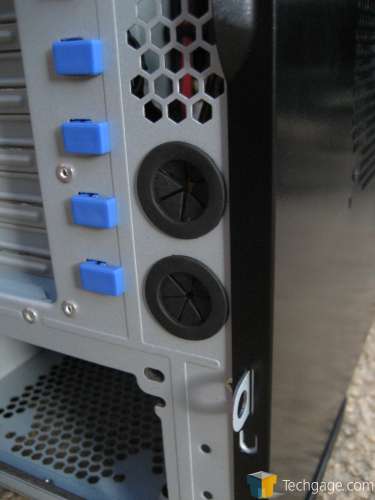
The back seats seven expansion slots, a 120mm fan, and two pre-drilled holes for water cooling. As you can see, the power supply is mounted at the bottom of the case instead of the top. Higher end cases have adopted this feature to improve airflow and adjust the weight distribution of the case when components are installed, but we seldom see this with budget cases.
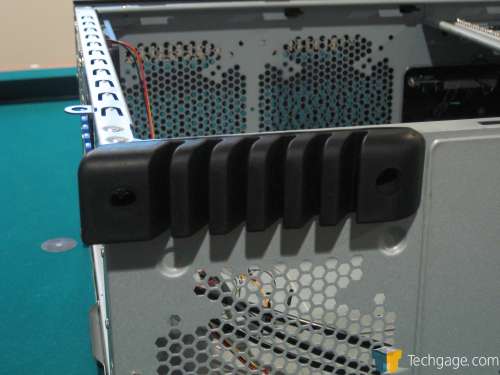
There’s pair of fairly rouged rubber feet on the bottom that sport a pretty interesting design. The weird part is I had a much easier time pushing the case back than I did pulling it toward me, but doing either shouldn’t be that easy without picking the case up.
|
|
Support our efforts! With ad revenue at an all-time low for written websites, we're relying more than ever on reader support to help us continue putting so much effort into this type of content. You can support us by becoming a Patron, or by using our Amazon shopping affiliate links listed through our articles. Thanks for your support!


