- Qualcomm Launches Snapdragon 4 Gen 2 Mobile Platform
- AMD Launches Ryzen PRO 7000 Series Mobile & Desktop Platform
- Intel Launches Sleek Single-Slot Arc Pro A60 Workstation Graphics Card
- NVIDIA Announces Latest Ada Lovelace Additions: GeForce RTX 4060 Ti & RTX 4060
- Maxon Redshift With AMD Radeon GPU Rendering Support Now Available
Social & RSS Feeds
Latest Videos


Latest News
GIGABYTE X99-Ultra Gaming Motherboard Review

by Rob Williams on November 24, 2016 in Motherboards
Building a powerhouse gaming or workstation PC requires a solid motherboard as a base, and GIGABYTE’s X99-Ultra Gaming has proven to be just that. This ~$249 offering is packed to the gills with features, including at the very least a plethora of LEDs that can spice up any build.
Page 1 – Introduction, A Tour Of The Hardware
If you have the goal of building the biggest, baddest gaming or workstation PC possible today, it’s going to have to be built around Intel’s X99 platform. It’s the only platform that offers high-performance processors with more than four cores, including the $400 i7-6800K 6-core at the “low-end”, and the $1,700 i7-6950X 10-core monster at the top-end.
Intel’s X99 platform, as an enthusiast-targeted one, allows users to install up to 128GB of memory, or even 256GB in the case of this motherboard if registered DIMMs are used in non-ECC mode, and the top three Core i7 chips offer 40 PCIe lanes – the i7-6800K is throttled to 28, which is still 12 better over the mainstream-focused i7-6700K.
Make no mistake, Intel’s X99 platform is expensive in comparison to its Z170 mainstream platform. It’s designed for those who need as much power in a single machine as possible, with as few bottlenecks as possible. Fortunately, while the CPU and all that RAM might take a serious dent out of your wallet, GIGABYTE’s feature-packed X99-Ultra Gaming won’t – it’s priced at a mere $250.

If $250 sounds pricey for a motherboard, just consider the sheer amount of functionality this board packs in. The only thing notable it doesn’t include is Thunderbolt support, which in itself could bump the price up at least $30.
| GIGABYTE GA-X99-Ultra Gaming | |
| Architecture | Intel X99 (LGA2011-3) |
| Form-Factor | ATX (12″ x 9.6″) |
| Memory | Up to 8x16GB DDR4-3600 |
| Multi-GPU | 4-way NVIDIA SLI 4-way AMD CrossFire |
| Expansion | 4x PCIe 3.0 x16 1x PCIe 3.0 x1 |
| Storage | 10x SATA 6Gbps 1x SATA Express 6Gbps 1x M.2 (PCIe SSD: 2242/2260/2280/22110) 1x U.2 |
| Network | 1x Intel Gigabit Ethernet 1x Killer E2400 |
| Wireless | Via M.2 Add-in Card |
| Audio | Realtek ALC1150 Optical S/PDIF out |
| USB | Back-panel: 1x 3.1, 1x 3.1 (USB-C), 6x 3.0 Internal: 4x 3.0 & 4x 2.0 |
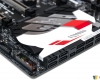
| Back I/O | 2x 1Gbps LAN, 6x USB 3.0, 1x USB-C 3.1, 1x USB 3.1 (Red), 1x Optical S/PDIF, 5x Audio Jacks, PS/2 Keyboard + Mouse |
| Features | 3D OSD, @BIOS, Ambient LED, AutoGreen, Cloud Station, EasyTune, Easy RAID, Fast Boot, On/Off Charge, Platform Power Management, Smart TimeLock, Smart Keyboard, Smart Backup, System Information Viewer, USB Blocker, V-Tuner, Q-Flash, Smart Switch, Xpress Install |
A board with this much functionality would have easily cost $400 just a few years ago. It includes a total of 10x SATA 6Gbps ports, 6x USB 3.0 ports at the back, and even two 3.1 ports – one being the USB-C type. For storage purposes, an M.2 slot can be found in between the third and fourth PCIe x16 slots, and a U.2 slot can be found beneath the right DIMM set.
While the X99-Ultra Gaming doesn’t include Wi-Fi out-of-the-box, another M.2 slot is located between the first and second PCIe x16 slots for those who want to go that route. This M.2 slot can’t be used for storage due to space restrictions (the BIOS battery gets in the way).
For Ethernet purposes, GIGABYTE includes both an Intel and Killer solution. If you want to take advantage of the Killer software to improve the stability of your online gaming, you’ll want to use that as your primary. Otherwise, you’ll be well-served by either it or the Intel NIC. Because these NICs use different chipsets, they cannot be teamed.
As mentioned before, the one thing this board doesn’t include is Thunderbolt 3.0, but that can be added after-the-fact if you really need it (ideally, you’d just buy a motherboard with Thunderbolt built-in).
A Tour Of The Hardware
GIGABYTE’s GA-X99-Ultra Gaming motherboard caters to the high-end part of the enthusiast spectrum, but it retains a standard ATX form-factor, which means it can be used in mid-tower chassis – a great thing since not everyone who wants a powerful PC wants it to weigh enough to be back-breaking.
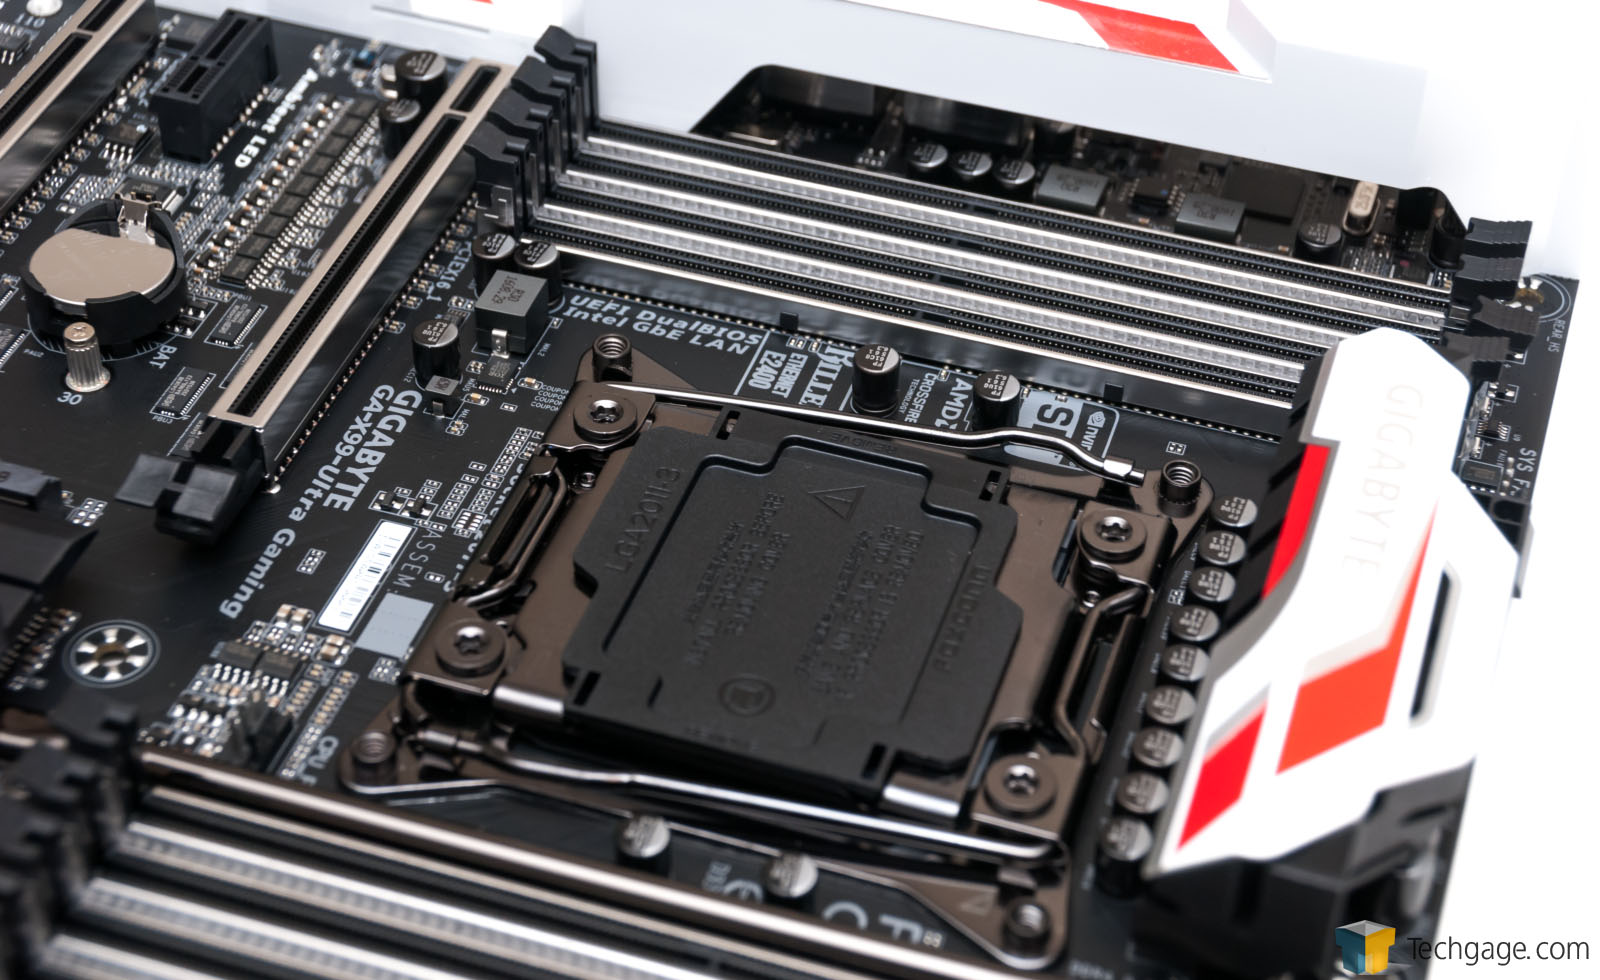
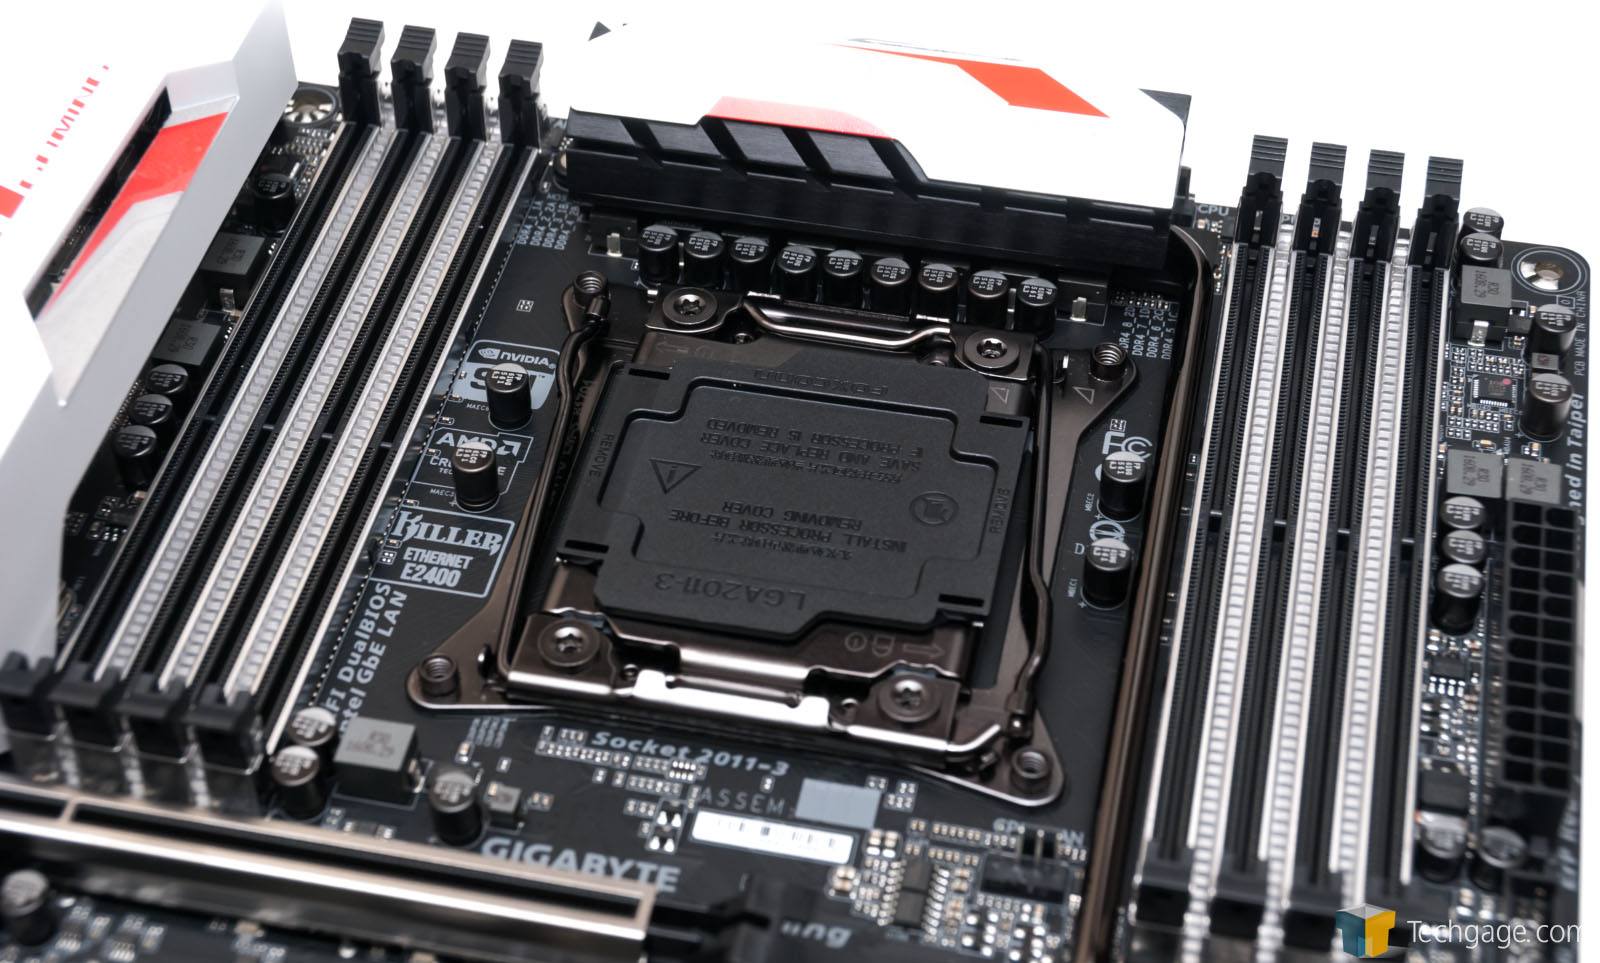
One advantage the X99 platform has over Z170 is that its motherboards support up to 8 DIMMS. You can populate just half of these if needed, but those wanting to go all-in can equip each one of these slots with an 8GB module. GIGABYTE’s product page mentions that 16GB registered modules could be used, just without ECC support. For most, 32GB of memory is sure to be enough.
Ideally, you’d want to opt for a memory kit that has four modules, given that X99 includes a quad-channel memory controller, but unless you have a specific reason for mega bandwidth, you’ll be fine with a 2-DIMM kit, such as G.SKILL’s TridentZ 16GBx2, which retails for about $200. I’m using a DDR4-3200 8GBx4 version of that kit for testing here, although it’s run at default speeds for the sake of avoiding an automatic CPU overclock.
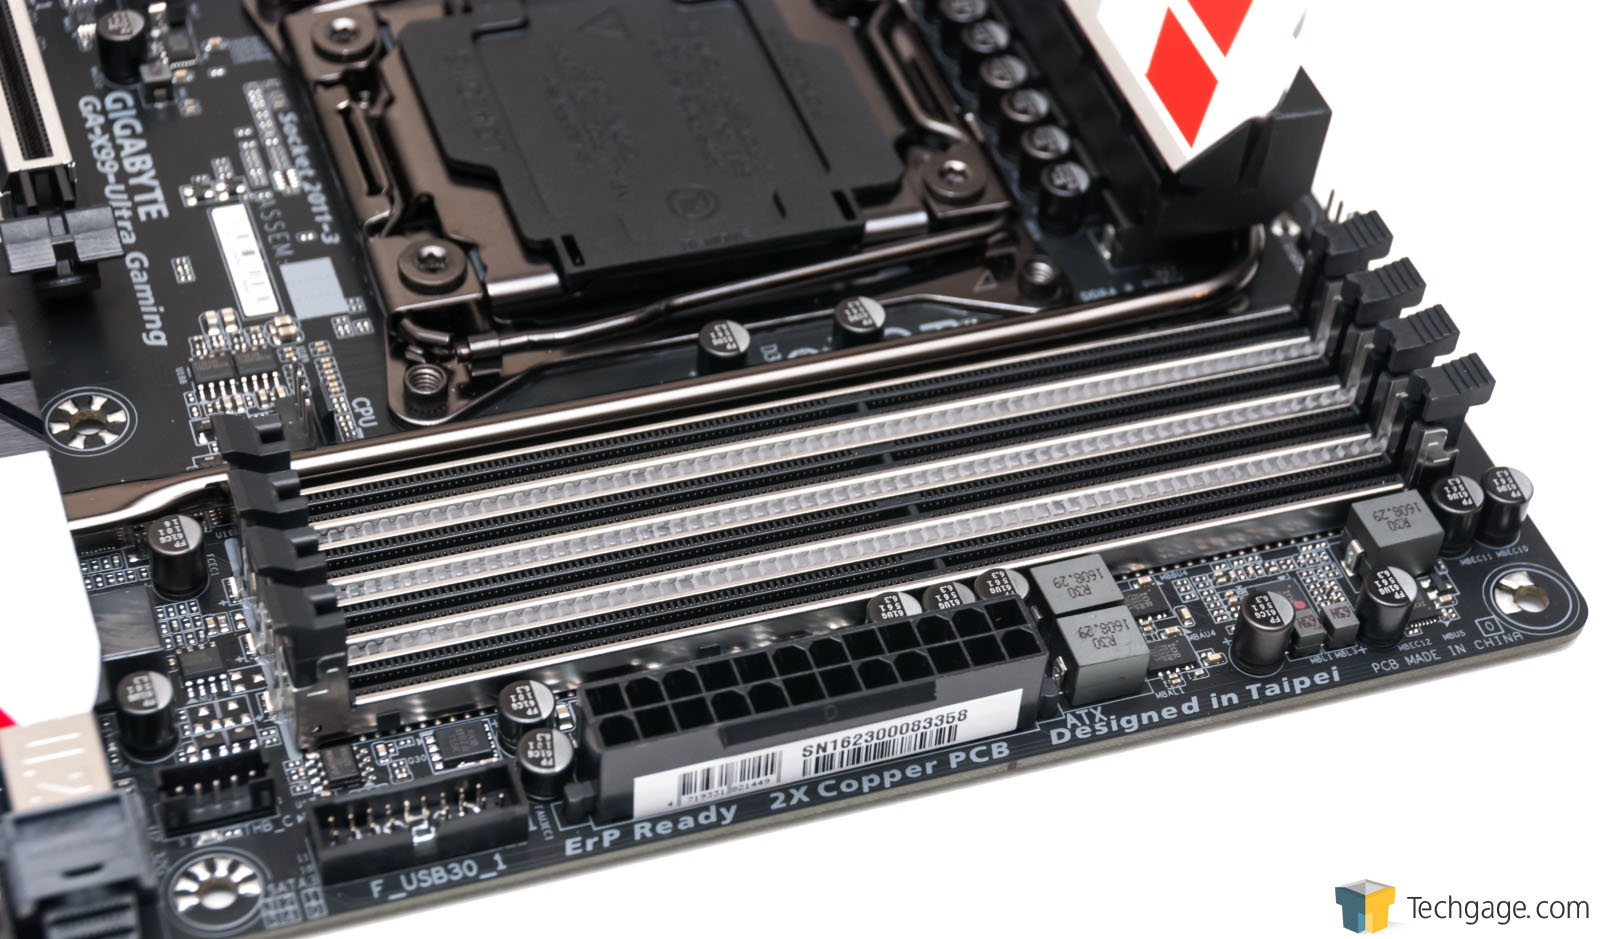
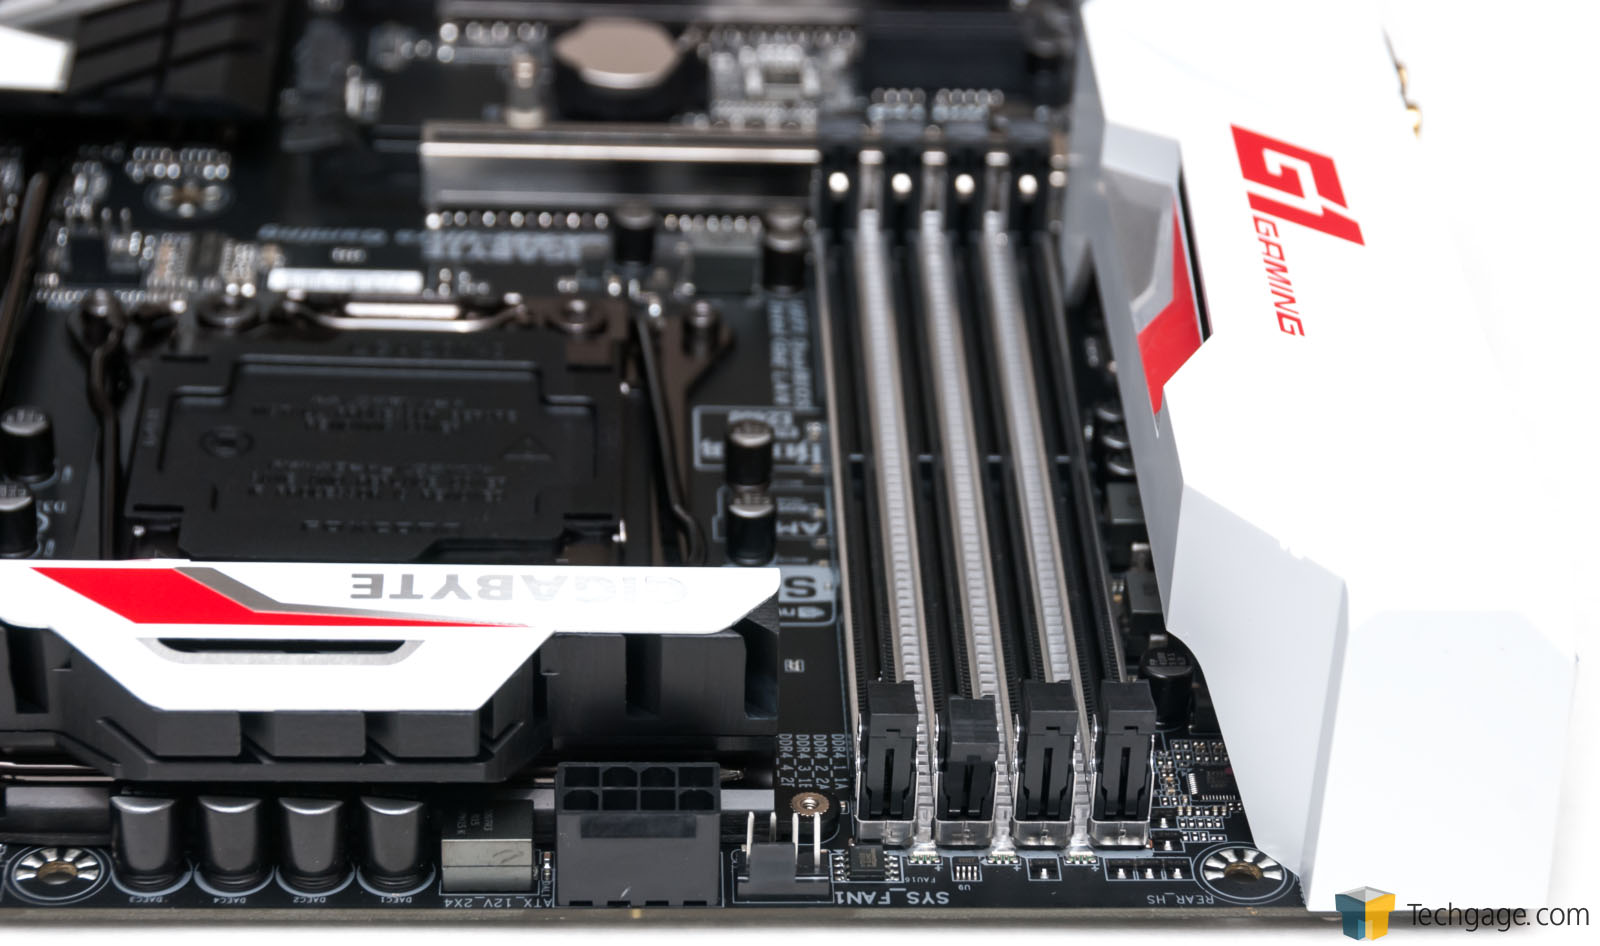
Before moving on, the slider above shows the 24-pin power connector located to the right of the board (a good placement), and a USB 3.0 internal header just beside it. It might be a good idea to mention another thing this board doesn’t have, which some higher-end ones do: onboard power/reset buttons. For that matter, there’s also no BIOS LED readout. If either of those things are needed, one of the higher-end boards can be opted for (but not even all of those support both features, so research will be needed).
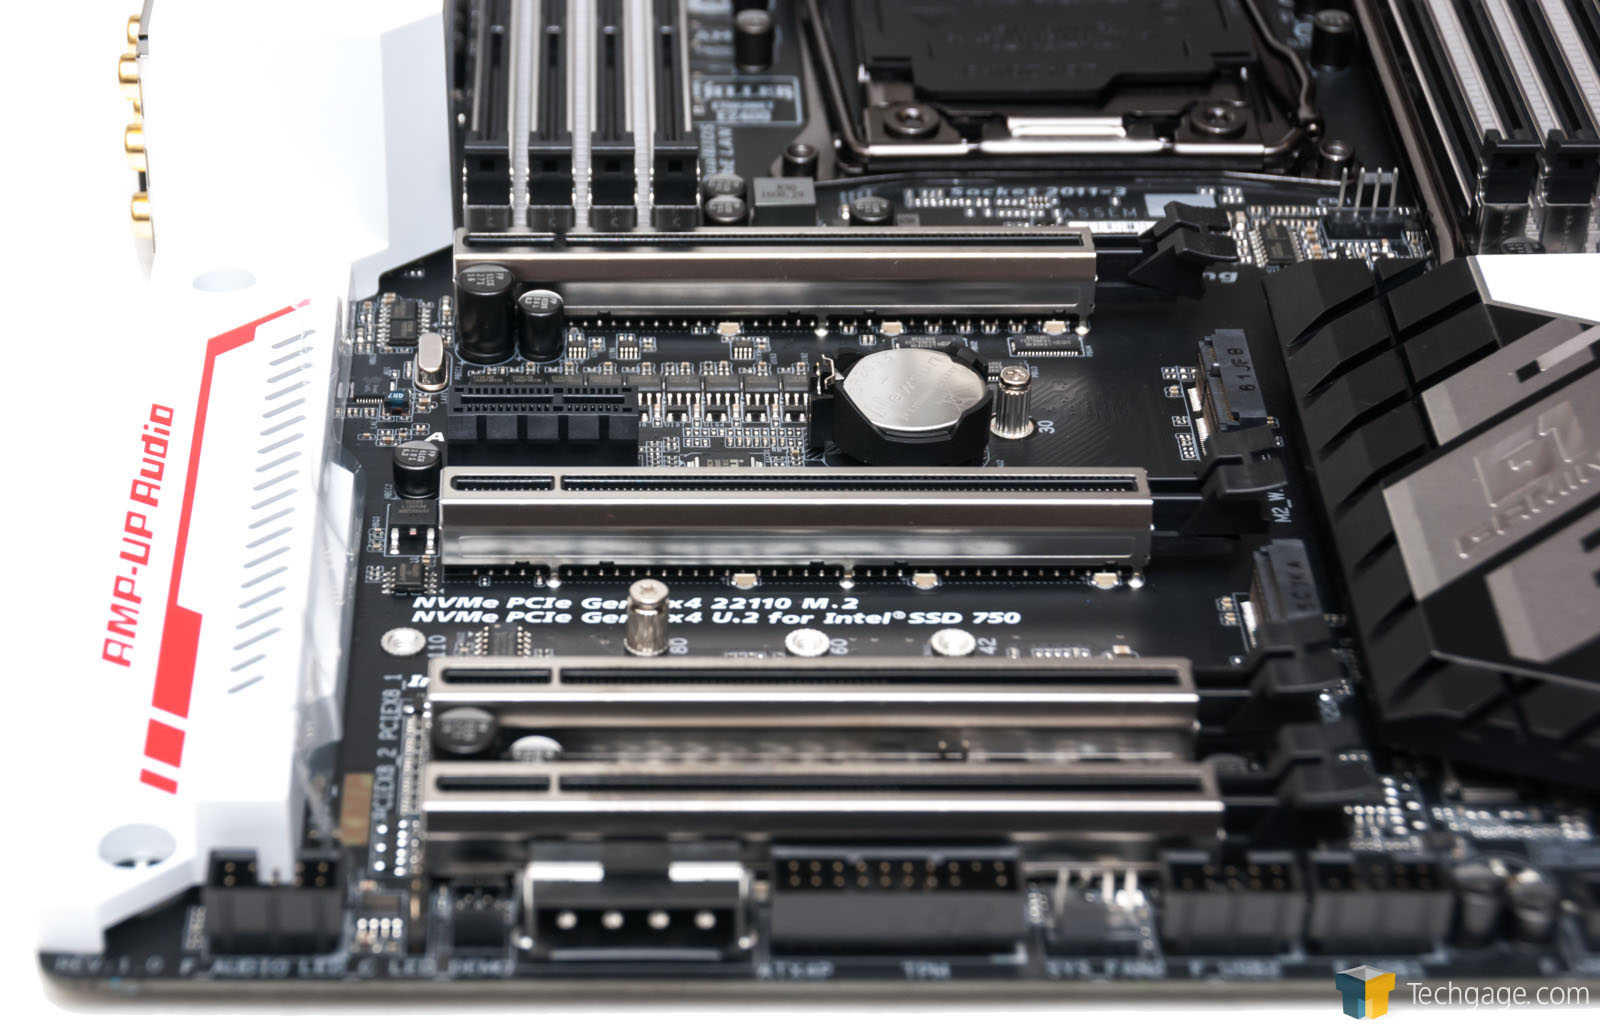
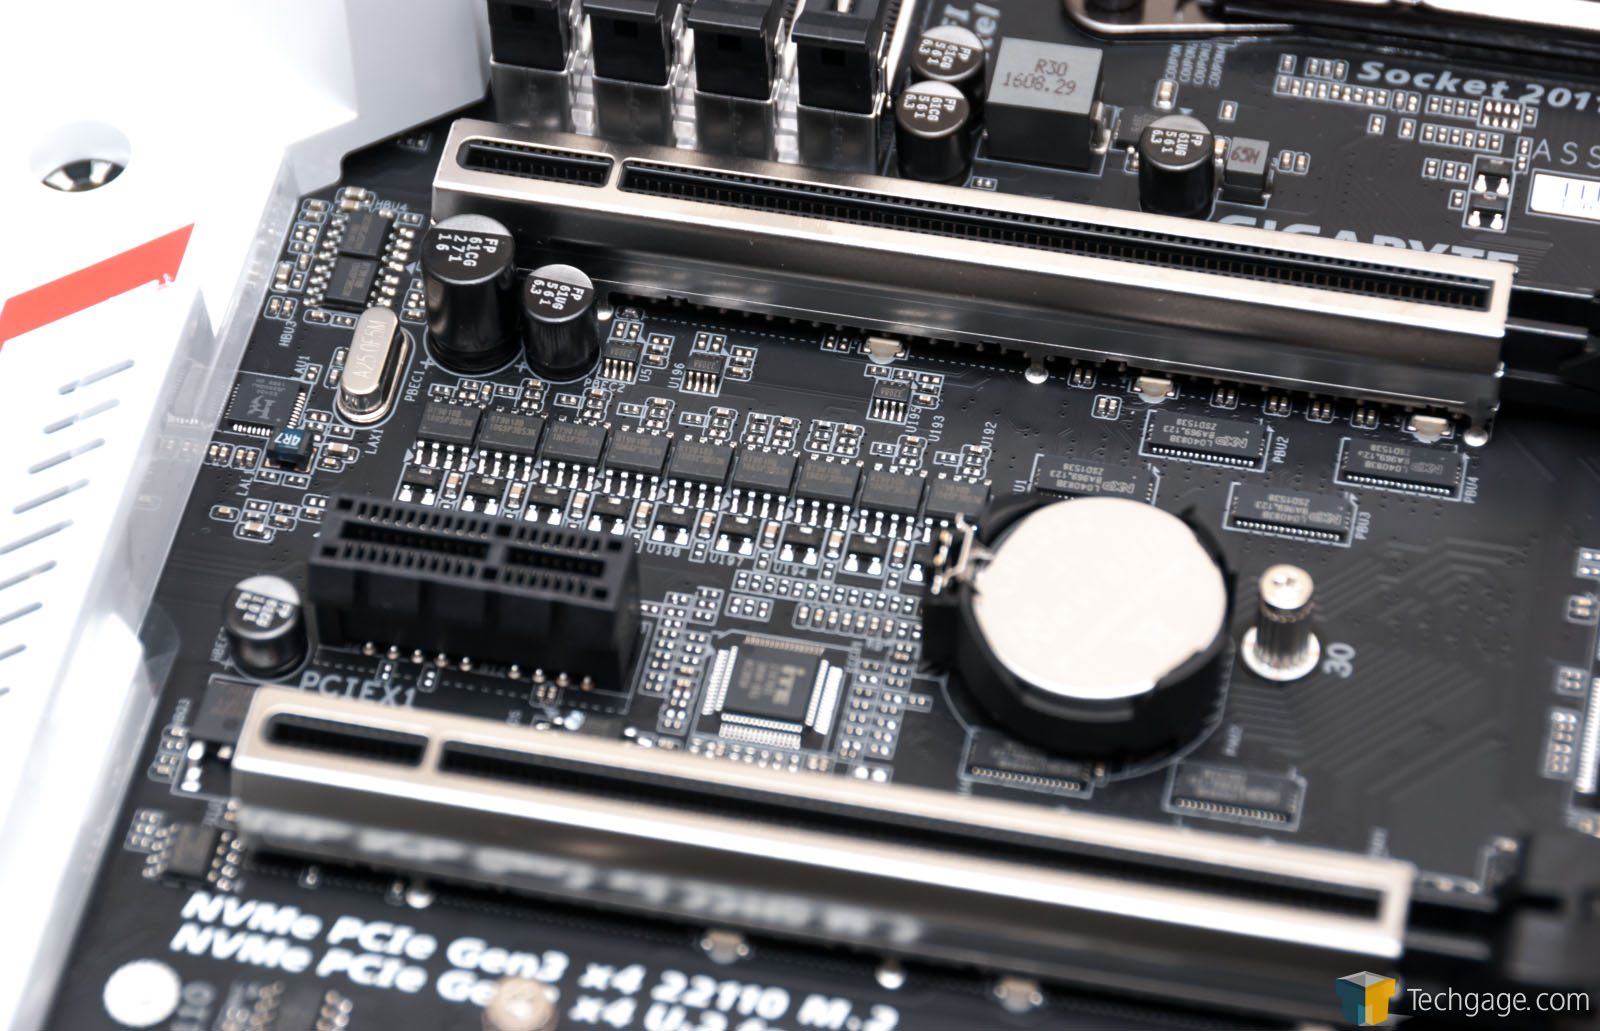

One aspect of this motherboard that’s almost impossible to not notice is the metal that coats the DIMM and PCIe slots. GIGABYTE calls this “Armor”, and on the PCIe side, extra anchor points and a double-locking bracket improves strength significantly – up to 1.7x in a sheering test, and 3.2x in a force-retention test. These kinds of features are hard to appreciate at first, but they’re sure nice to have.
As mentioned before, the X99-Ultra Gaming includes two M.2 slots, although only the bottom one can be used for storage (up to 22110 in length). The top one is exclusive to Wi-Fi add-in cards thanks to component blockage preventing a second storage drive from being installed.
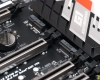
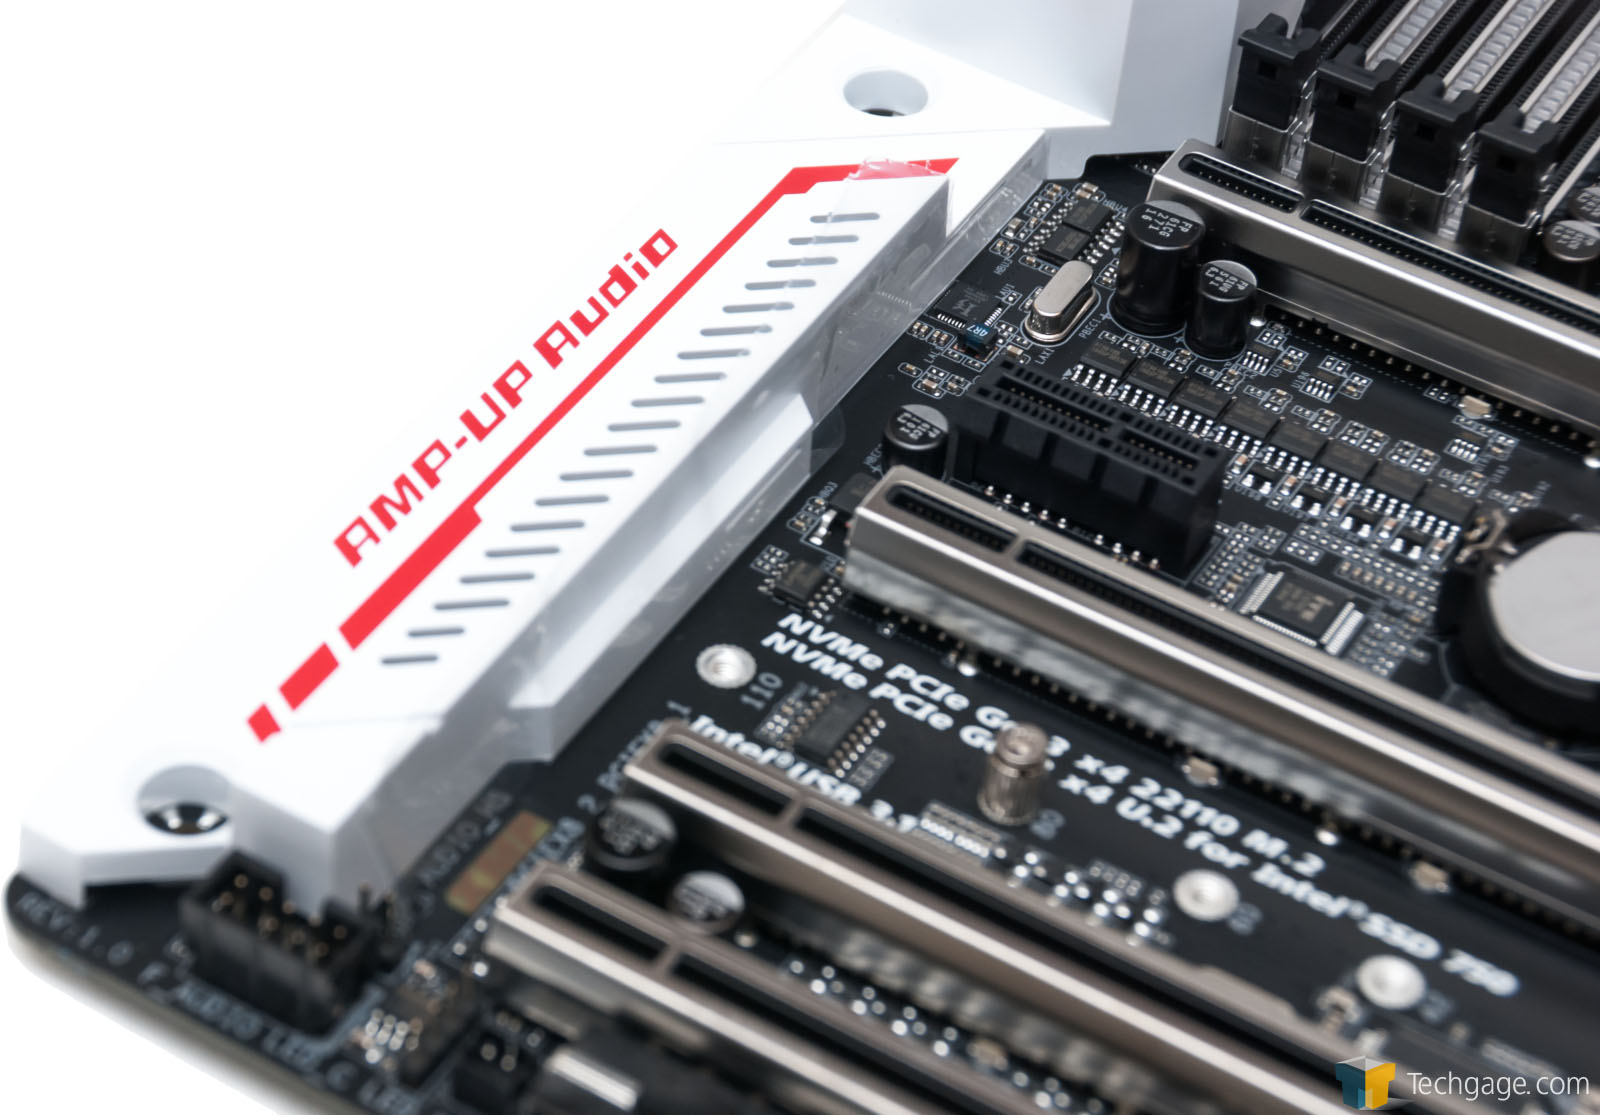
On the left side of the board is the “AMP-UP Audio” solution, which is kept looking sharp with a large shroud over it (which lights up when the board is powered on). The audio solution this board features is designed with Realtek’s ALC1150 chipset in mind. GIGABYTE doesn’t have too much to say about this design except for the fact that it includes high-quality capacitors and can support a sound level up to 115dB. To take advantage of the board’s built-in headphone amp, you’ll want to connect your cans to the bottom middle audio jack (Line Out; position assumes vertical board positioning).
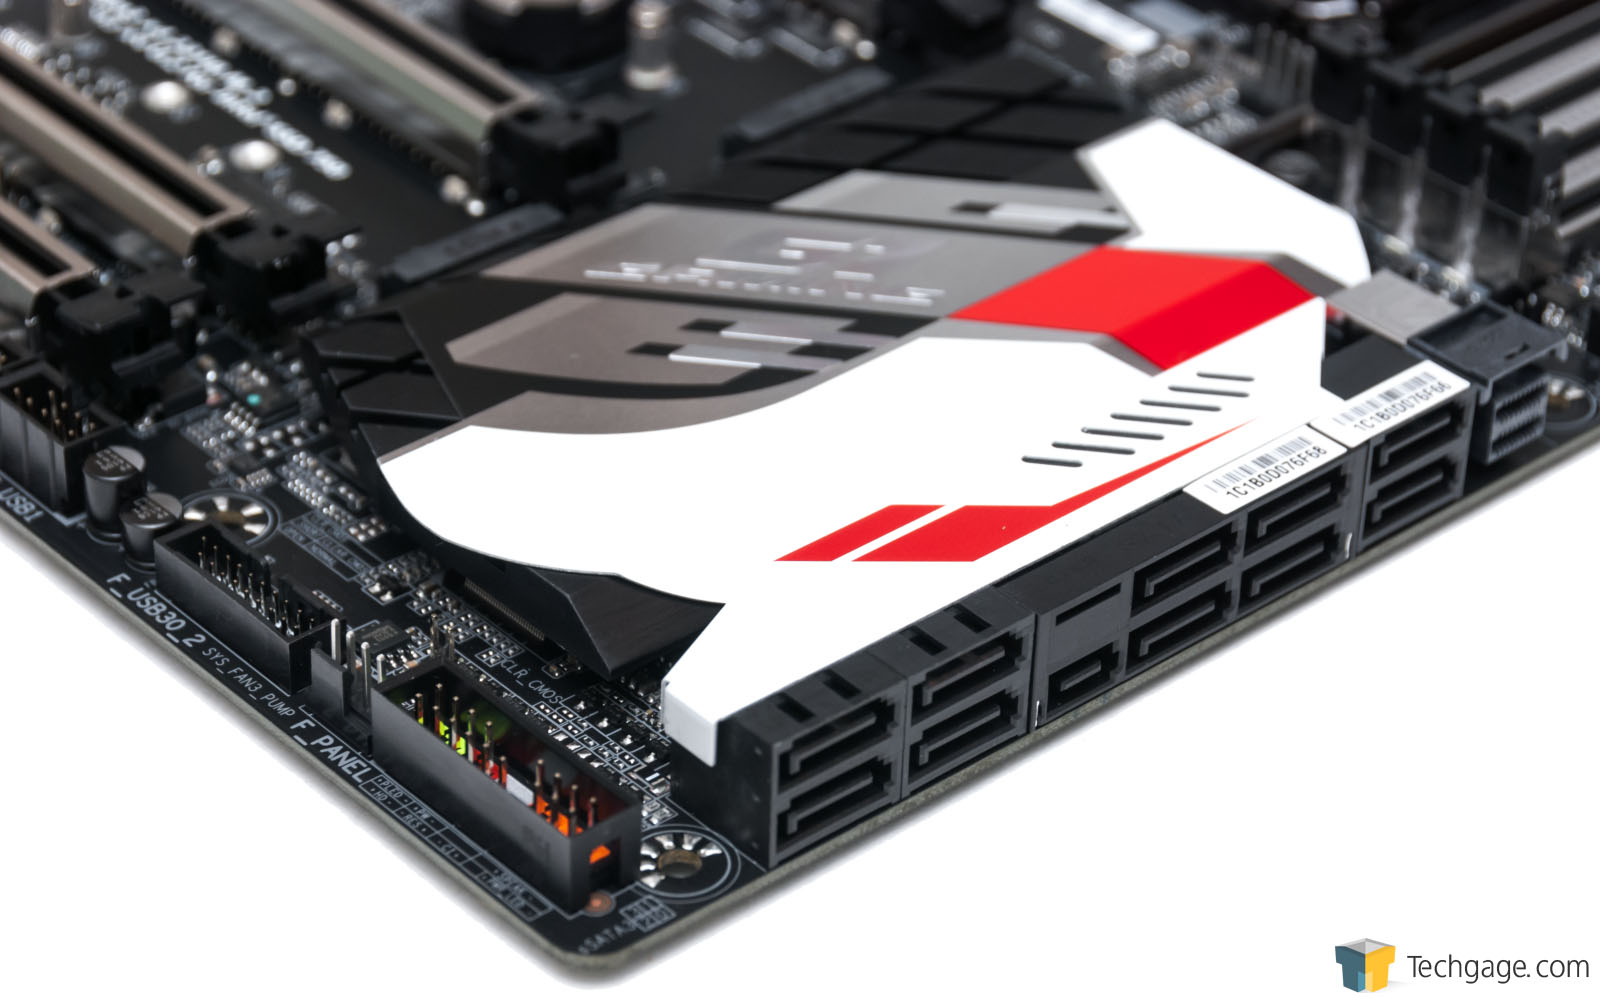

At the bottom-right hand corner of the board is where the plethora of SATA ports can be found. There are 10x 6Gbps ports in all, although just six of those can be used for RAID purposes. SATA Express support is also included here, and to the absolute right side of this SATA arrangement is the U.2 port.
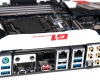
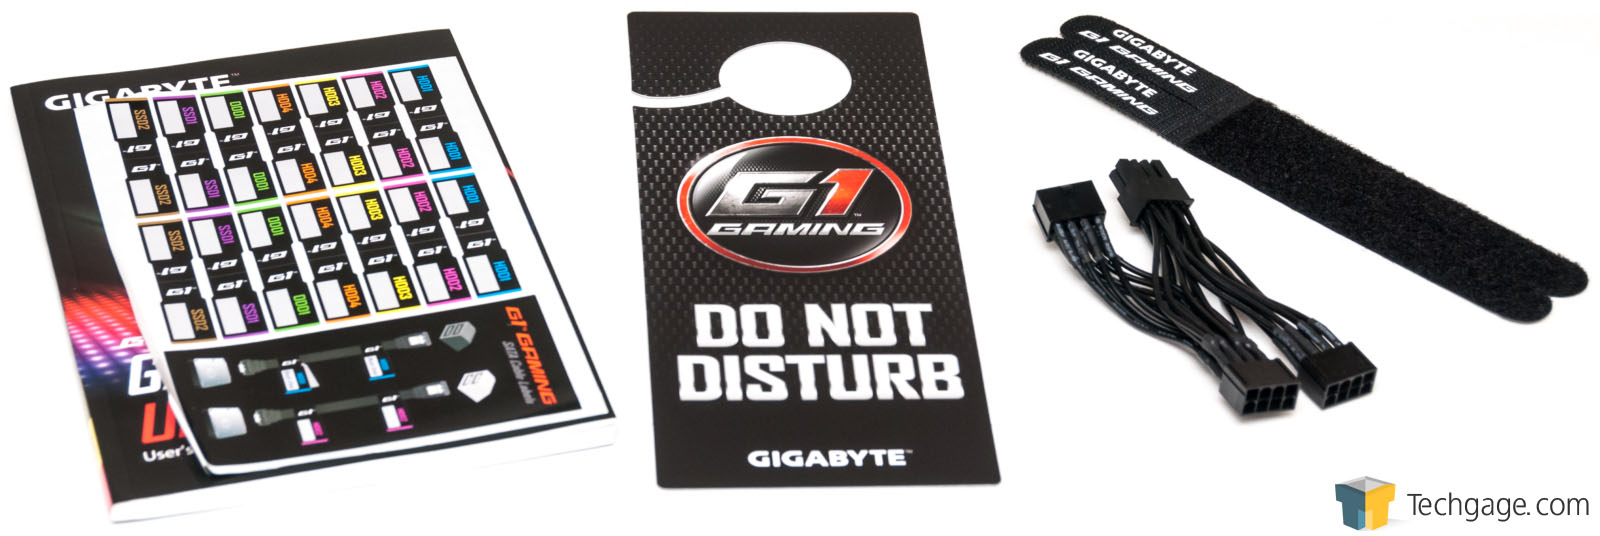
Included in the box is a manual and driver disc, a total of 6x SATA cables, an I/O shield, a 2- and 3-way SLI connector bridge, 2x Velcro ties (for keeping cables neat), a G Connector (makes connecting the chassis connectors a bit easier), and a cable that lets you plug in additional 8-pin power connectors to increase the amount of power available to the CPU for overclocking’s sake. This is a bit of an odd design since most often, boards catering to overclocking will have two 8-pin connectors on-board, but I believe this choice was made for the sake of space, given this is an ATX board, not an eATX one.

With the hardware tour finished, and the components installed (see above), let’s take GIGABYTE’s latest EFI and software stack for a quick test before getting into the performance results.

Support our efforts! With ad revenue at an all-time low for written websites, we're relying more than ever on reader support to help us continue putting so much effort into this type of content. You can support us by becoming a Patron, or by using our Amazon shopping affiliate links listed through our articles. Thanks for your support!

Rob Williams
Rob founded Techgage in 2005 to be an 'Advocate of the consumer', focusing on fair reviews and keeping people apprised of news in the tech world. Catering to both enthusiasts and businesses alike; from desktop gaming to professional workstations, and all the supporting software.


