- Qualcomm Launches Snapdragon 4 Gen 2 Mobile Platform
- AMD Launches Ryzen PRO 7000 Series Mobile & Desktop Platform
- Intel Launches Sleek Single-Slot Arc Pro A60 Workstation Graphics Card
- NVIDIA Announces Latest Ada Lovelace Additions: GeForce RTX 4060 Ti & RTX 4060
- Maxon Redshift With AMD Radeon GPU Rendering Support Now Available
NETGEAR ReadyNAS 102 Dual-bay NAS Review

It’s been quite some time since we last checked out one of NETGEAR’s NAS offerings, so we’re going to use the ReadyNAS 102, a dual-bay offering, to help us get up to speed. Unlike the last ReadyNAS we looked at, the 102 features OS 6, and one of our favorite, understated features: Btrfs support.
Page 2 – ReadyNAS OS 6, Setup, and Testing
As mentioned previously, NETGEAR has dedicated a considerable amount of engineering resources towards a complete redesign of its ReadyNAS OS. While functional and easy to navigate, NETGEAR’s previous firmware really never stuck me as inspirational. With ReadyNAS OS 6, the company started at the ground level and built OS 6 into a formidable user experience. Abandoning the tried and true ext4, the company instead opted to employ the Oracle-developed Btrfs. While the benefits of choosing this file system include integrated volume management, checksums for data and meta-data, and the ability to handle extremely large files, the most realistically impactful benefit for us end-users is the ability to natively take snapshots of our data. This is huge, and a functionality I hope to see in other NAS vendors incorporate into their own offerings.
So, what is a snapshot and why should you care? A snapshot is a point-in-time, read-only, image of a particular share. As data changes on the original share, the data as it was when the snapshot was created remains unchanged. Snapshots within the ReadyNAS OS 6 can be enabled when a share is created. By enabling snapshot protection, you are given the opportunity to select when they are taken by the NAS. As snapshots in OS 6 are simple pointers to the file system, they take up very little space. As changes are made to the data on the share, only block level additions are made to the snapshot. In the event of data loss, a snapshot can be “cloned”. This creates a readable and writable clone of the share and allows individual files that may have been deleted to be restored. A good thing about these clones is that they do not increase the shares’ consumed disk space unless written to.
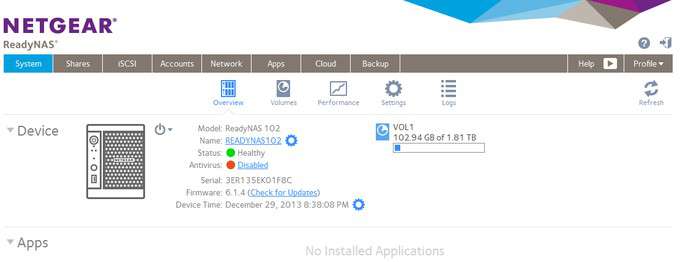
Turning our focus to the updated UI, the default screen when we log in provides the user with an overall status report of the NAS. From this screen we can alter the power state, view consumed space on volumes and check for updates.
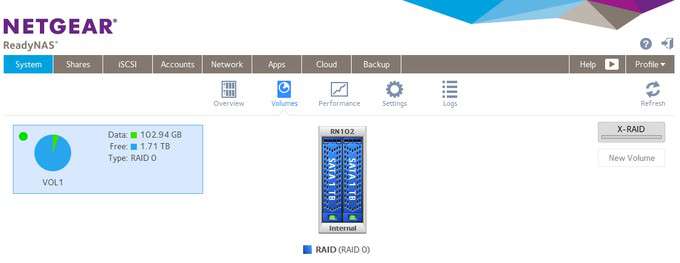
The next displays overall volume information. From here we can check individual drives (S.M.A.R.T. data, temperatures, etc…), volume type and space, both consumed and free. With an easy-to-read pie chart, it’s a good screen for simple volume-related data.
The performance sub-tab displays fan speed, CPU temperature and individual drive information. Here we see the model number of the drives installed, Toshiba 1TB drives, as well as their current operating temperature.
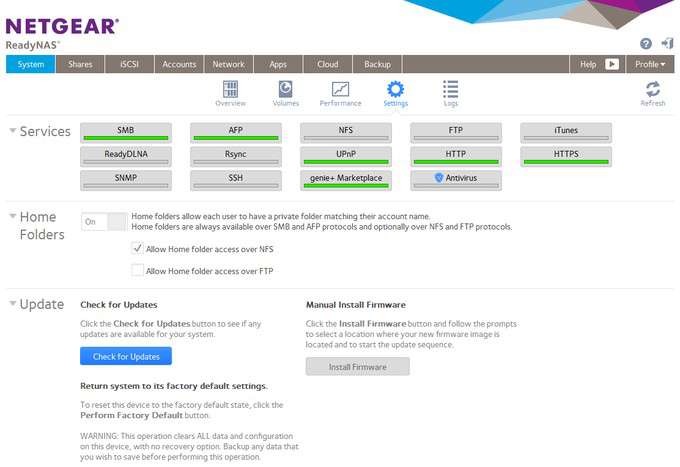
On the settings sub-tab, we have a large collection of options. A list of services, represented by icons, is listed. These services include all the major storage protocols, multimedia and data sharing options, secure access options and NETGEAR-only options. These NETGEAR exclusive pieces are the genie+ Marketplace and its Commtouch powered antivirus. The genie+ marketplace is similar to most application portals, like iTunes, and offers a multitude of additional programs that allows the user to leverage their ReadyNAS beyond simple network accessible storage. The antivirus service is a result of a partnership between NETGEAR and Commtouch. Offering real-time antivirus scans of all writes to the NAS, this presents end-users with added piece of mind, especially when opened up to the outside world through services such as FTP.
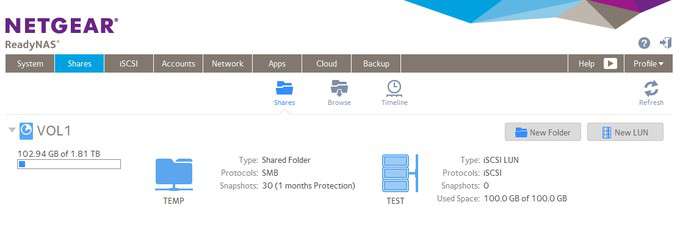
Data shares form the heart of any NAS device and the RN102 is no different. The first step after powering on and logging into a NAS is setting up your volume. The volume is where your shares live and it’s those shares that provide access to your data to any device you decide to connect with. As we see in the following picture, we have setup an SMB share and an iSCSI LUN. A simple SMB share will be the most commonly used, but for our testing, and those that need iSCSI capabilities, iSCSI LUNs are available to use on the ReadyNAS as well.
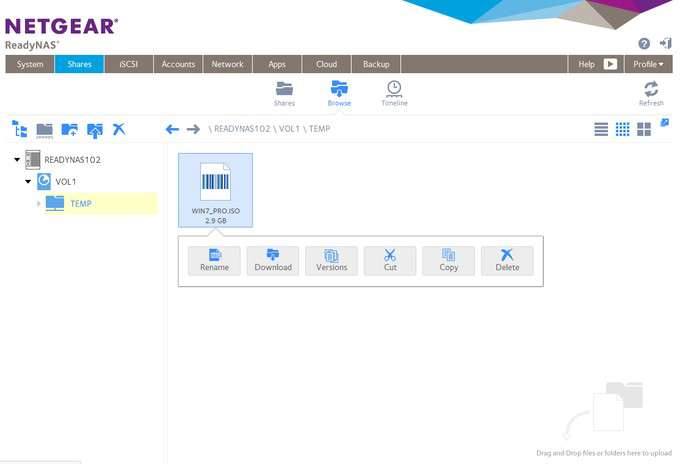
Within the Shares tab, we have the ability to browse our shares. In the example below, we are in our SMB share, creatively called ‘TEMP’. In this share I have placed a single ISO file and by clicking on it, we are presented with many different ways to interact with it. We are given the option to rename, download, cut, copy and delete. We are also able to view previous version of this file if snapshots that contain it exist on the NAS. Another important feature of this screen is the ability to drag and drop files into the Web interface’s window. By doing this, the user has the ability to copy over data to whatever share they are browsing at that particular moment. While this might seem trivial to most, it has its uses.
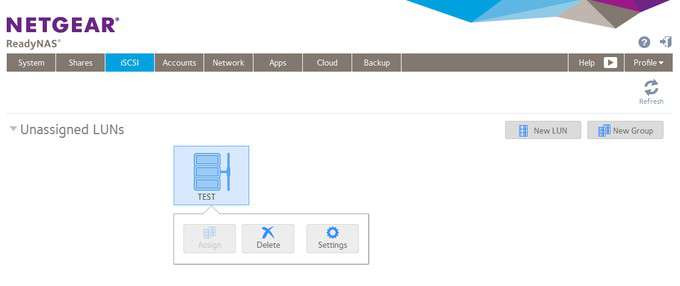
As mentioned in my previous paragraph, the ReadyNAS offers the ability to setup iSCSI LUNs and present them to whatever initiator you might have on your network. Not only can individual LUNs be created and administered from this screen, LUNs can be grouped together as well.
User administration is simple with OS 6. Users can be setup individual on the device itself or with a domain. In the authentication sub-tab, the RN102 can be joined to the local domain and then users can be setup by leveraging the user and group permissions on the domain itself. One bit of advice, make sure that you have valid NTP and DNS servers setup for the ReadyNAS to poll. System times must remain in sync for these domain permissions to work and the NAS needs to be able to resolve hostnames.
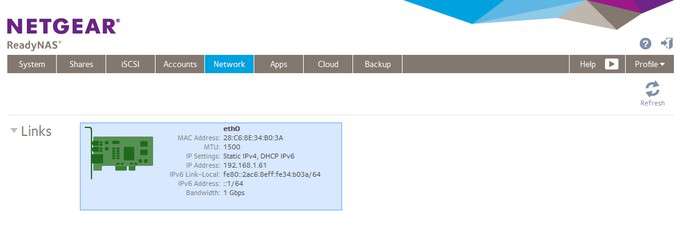
The network tab provides all network related information about the NAS’ NIC. While not much to see, there is plenty of information to be found on this page.
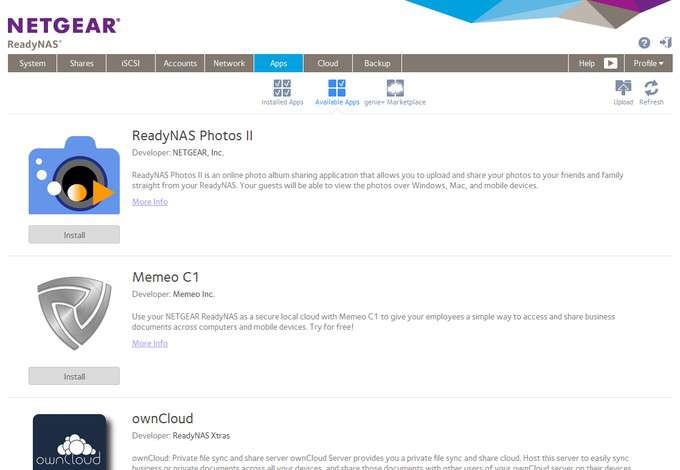
Just like its competitors, NETGEAR had an application portal available for its ReadNAS users. From this portal, users can download a variety of apps that add functionality to the platform. We aren’t taking a deep look into the marketplace, but if you are interested, head over to the NETGEAR genie page.
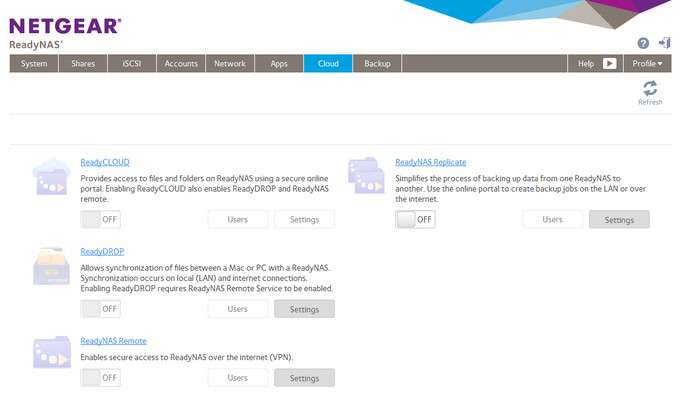
Under the cloud tab, we find many options turned off by default. It is on this page that we are given the ability to enable many of the Internet-based methods of accessing and sharing the data contained on the NAS. These options give the users the ability to have their ReadyNAS, along with their notebooks and workstations, act similar to Google Drive or Dropbox. By synchronizing data between a Mac and/or PC with a ReadyNAS, a user, family or workgroup can share and collaborate on data regardless of location.
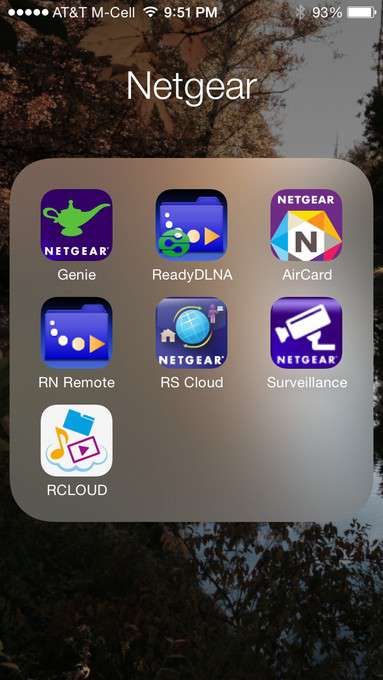
Finally, like with most NAS vendors now, there are the mobile apps. On my iPhone, there are multiple NETGEAR applications that allow access, playback and data manipulation on-the-go. A quick look on the Apple App Store shows ten different apps available for download, each leveraging the NETGEAR lineup of connected products.
With my look at both the hardware and software taken care of, let’s next take a look at the performance, and then wrap up.
Support our efforts! With ad revenue at an all-time low for written websites, we're relying more than ever on reader support to help us continue putting so much effort into this type of content. You can support us by becoming a Patron, or by using our Amazon shopping affiliate links listed through our articles. Thanks for your support!


