- Qualcomm Launches Snapdragon 4 Gen 2 Mobile Platform
- AMD Launches Ryzen PRO 7000 Series Mobile & Desktop Platform
- Intel Launches Sleek Single-Slot Arc Pro A60 Workstation Graphics Card
- NVIDIA Announces Latest Ada Lovelace Additions: GeForce RTX 4060 Ti & RTX 4060
- Maxon Redshift With AMD Radeon GPU Rendering Support Now Available
Thermaltake BigWater 760i
If you thought about liquid-cooling your PC, but were put off by the complexity of a typical installation, Thermaltake’s BigWater 760i may be the solution for you. The drive-bay mounting system is a novel solution, but can it provide enough of an advantage over air-cooling to make it worthwhile?
Page 4 – Installation
Installing the BigWater 760i is somewhat more involved than installing an air-cooled heatsink. However, the process is well documented in the instruction manual, which is one of the better manuals I’ve yet seen from Thermaltake. Resist the urge to toss out the manual first-thing, because there are some subtleties to the process that can jeopardize the mission if they aren’t followed. In this review, I’m installing the BigWater 760i on a Socket AM2 motherboard.
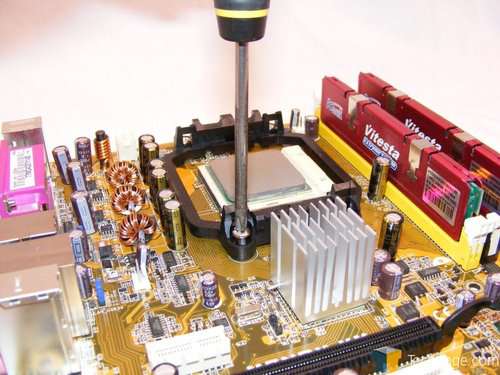
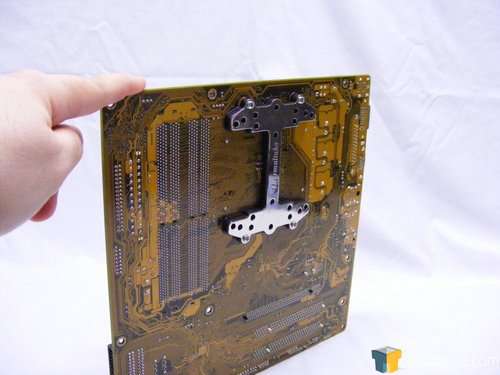
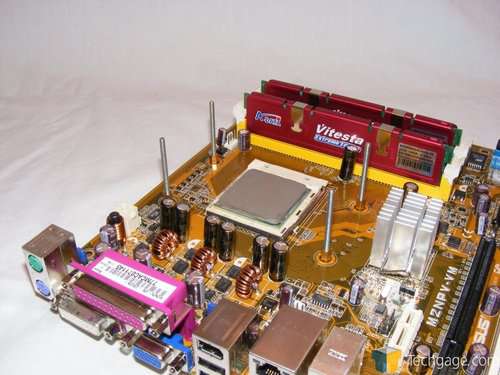
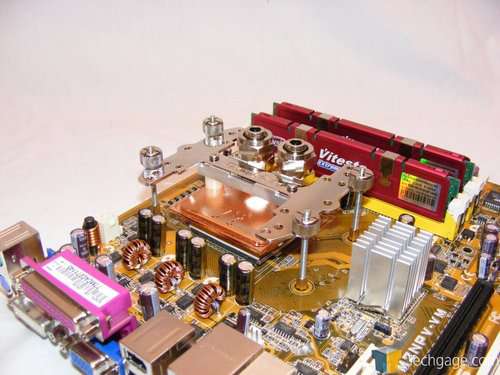
The water block is held in place by Thermaltake’s signature H-style bracket. While mounting brackets like this one are par for the course with most water cooling systems, a clip-style retention mechanism that uses the existing AM2 socket lugs would have been greatly preferred, if only for the sake of ease of installation. With the H-bracket, you’ll need to disassemble the existing bracket if you’re installing the water block on a Socket AM2 motherboard.
These photos show the steps in installing the water block bracket. As you can see, installing and removing the BigWater 760i’s water block is a bit more complicated than installing your typical heatsink, but the process is straightforward, and well-documented in the instruction manual.
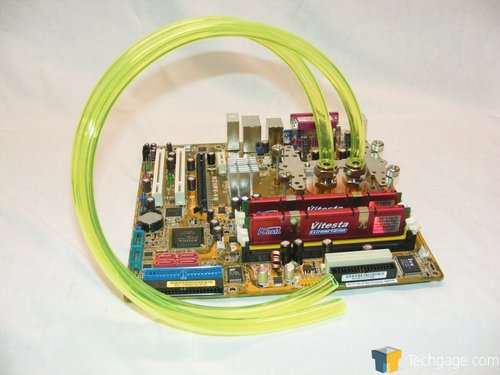
The next order of business is to cut the UV-resistive tubing to the appropriate length. You can use pruning shears for this purpose, but a pair of sturdy scissors should work fine. I don’t recommend trying to use a safety cutter (a.k.a. “box cutter”) – I nearly cut myself twice before I discovered that scissors would leave a far cleaner edge than the one I was making. Once you’ve got your tubing lengths cut, install one end of each segment into the appropriate fitting on the water block, and tighten the fittings securely with a wrench. Remember, you’re dealing with water, and any mistakes here can be costly.
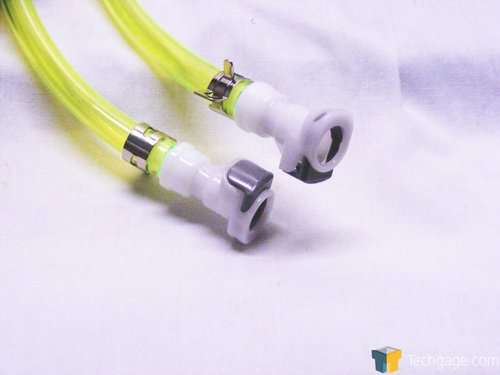
Finally, install the quick-connect fittings on the other ends of the tubes leading to the CPU water block. These fittings use barb-type connections, but tubing clamps provide added security. Once you’ve finished this step, it’s time to fill and test the system.
Initial filling and testing of the BigWater 760i system should be done outside the case, to catch any problems such as weeping leaks, which could cause short circuits. Also, use this opportunity to coax any air bubbles in the system toward the reservoir, so they won’t impede the flow of fluid. Our test sample had a few droplets of liquid in its reservoir straight from the factory, where the unit was obviously tested with a fluid charge, but Thermaltake suggests this type of preliminary testing to ensure that nothing has been damaged in shipping, or missed by the QC process.
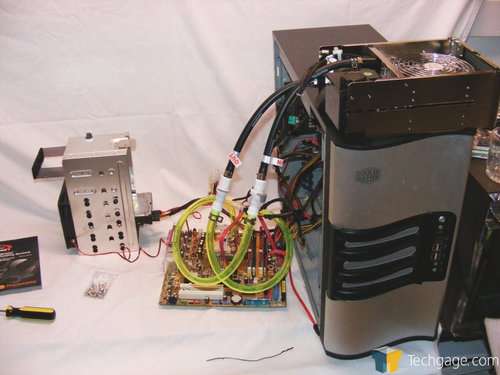
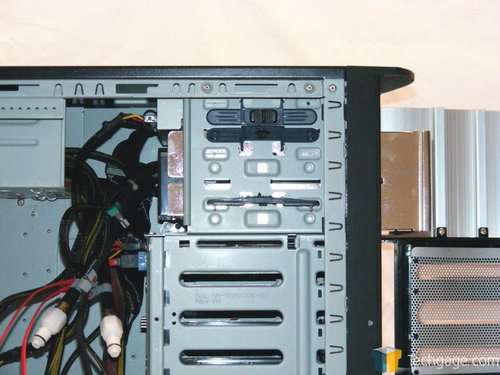
In spite of the sheer abundance of opportunities for a potentially catastrophic failure of the unit in preliminary testing, the only major problem encountered in the installation of the BigWater 760i system was space. The Cooler Master iTower 930 case that typically houses my hardware testing rig didn’t have enough clearance for the extended depth of the BigWater 760i’s radiator unit to fit. The only other option available was…
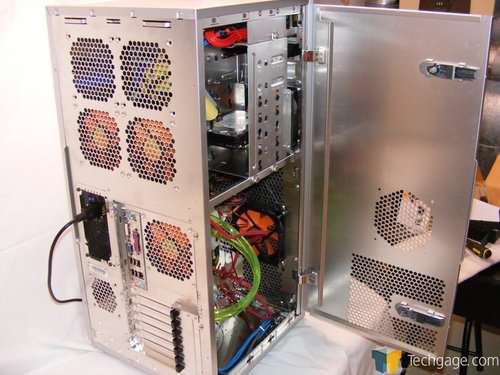
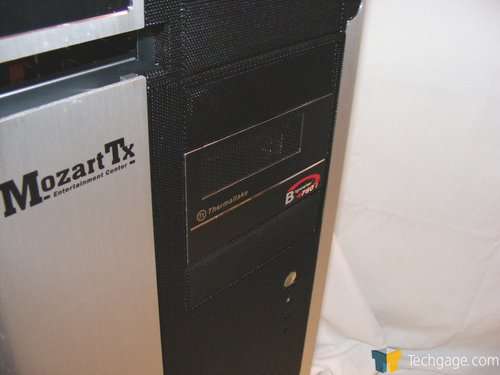
…this, a monstrous Thermaltake Mozart TX “Entertainment Center” case. No clearance issues here. In fact, nothing even close to resembling a lack of space. If this case isn’t big enough for your components, then a suitable one simply doesn’t exist. In retrospect, it’s not particularly surprising that the clunky design of the Cooler Master case had issues with fitting the BigWater 760i – the iTower contained so much superfluous sheet steel, it’s not even funny.
The part of the iTower that caused interference was the extended PSU mounting tray. If you’ve got a mid-sized case like the Thermaltake Armor, you’ve likely got enough space to install this unit comfortably. In the Mozart, the radiator unit was mounted in the lower group of four drive bays, occupying the central two. This left plenty of space above and below the unit to allow for air circulation.
Now that we’ve covered some of the considerations when it comes to installing the BigWater 760i, let’s see if our efforts are rewarded with superior cooling performance.
|
|
Support our efforts! With ad revenue at an all-time low for written websites, we're relying more than ever on reader support to help us continue putting so much effort into this type of content. You can support us by becoming a Patron, or by using our Amazon shopping affiliate links listed through our articles. Thanks for your support!


