- Qualcomm Launches Snapdragon 4 Gen 2 Mobile Platform
- AMD Launches Ryzen PRO 7000 Series Mobile & Desktop Platform
- Intel Launches Sleek Single-Slot Arc Pro A60 Workstation Graphics Card
- NVIDIA Announces Latest Ada Lovelace Additions: GeForce RTX 4060 Ti & RTX 4060
- Maxon Redshift With AMD Radeon GPU Rendering Support Now Available
Zalman Z-Machine GT1000
Zalman is not normally known for their cases, but they are looking to please gamers everywhere with their Z-Machine GT1000. With it’s black aluminum frame, the case is built like a tank. But is it worth your $400?
Page 2 – Interior
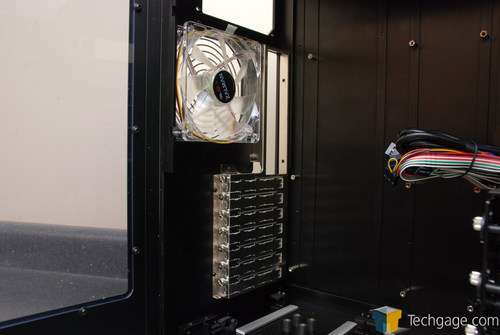
Starting at the back and working our way counter clockwise around the interior of the case, se first see the back 120mm fan. The clear plastic fan will glow a deep red once the machine is powered on and is powered through a three pin pug that can be connected to any motherboard or fan controller with an available fan header.
Below the fan are seven PCI slots. For anyone who is looking for a tool less designed case, the GT1000 isn’t for you. While the hard drives use a simple racking system and the drive bays use pre connected bolts, the PCI slots are still secured with the tried and true thumb screws.
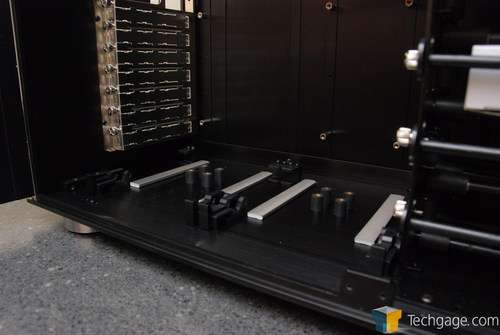
At the bottom of the case, there are a pair of places that allow an additional two hard drives should the provided four slots not be enough for all of you RAID junkies out there. All that needs to be done to use this area is install the four black spacers seen in sticking up from the bottom of the case into the side of the hard drive and then slide it into place, locking the hard drive at the front.
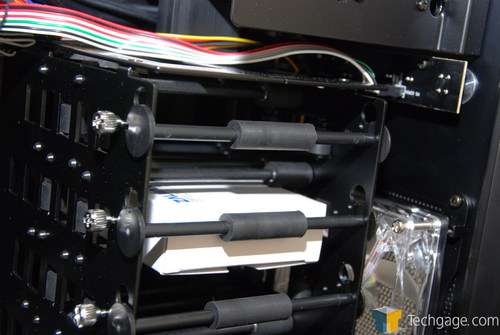
The GT1000 also offers a little different approach to installing your hard drives. Rotated 90 degrees, the hard drives actually sit perpendicular to the motherboard. This orientation not only allows the drives to be easily slid into place, but also allow the power and data cables to be easily connected when the drives are in place as well. All that needs to be done is to slide the bar up, push the drive into place and lower the bar back down, securing the drive in its place.
It also nice to see rubber wrapped around the bars and the interior of the hard drive cage, ensuring that the drive touches no metal when installed in the slot. There are also opening all over the cage, allowing easy cable routing when trying to hide all those pesky SATA and power cables. Fortunately, for those not as concerned with cable management, the front side panel lacks a window and will hide any crappy wiring that you might choose to do.
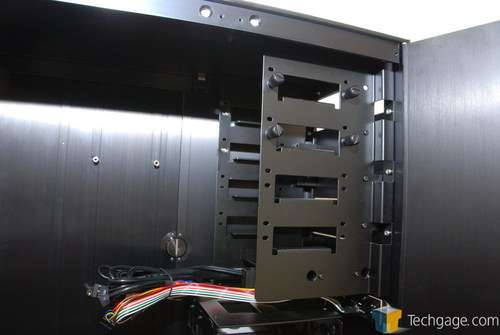
Directly above the hard drive slots, the drive bays provide just as simple installation as the hard drives do. There are attached bolts on the top two bays and all that needs to be done is turn screw them into the drive bolts must be used in the lower bays but few people have more than two drives and thus, many users won’t even have to get their screwdriver out for 5.25″ drives.
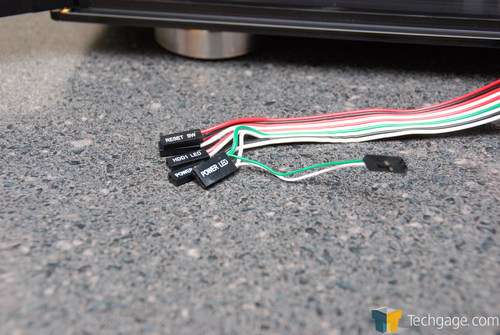
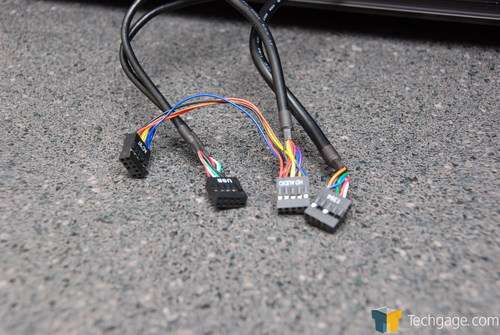
To connect the front I/O port to the motherboard, there are the standard cables found in any case and there really isn’t anything different between these and the cables found in other cases. There is a pair of plugs on this cable to allow the front jacks to be connected to a standard AC ’97 or a High Definition Audio plug.
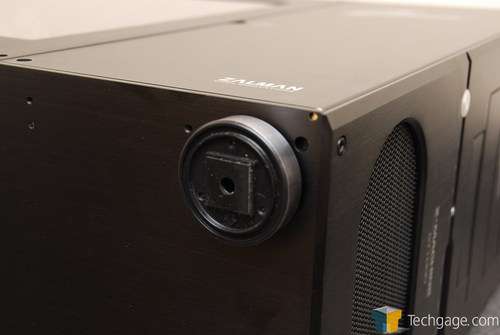
To protect your desk, there are square rubber feet on the round feet on the bottom of the case. These not only protect the surface of your desk, but also provide exceptional vibration dampening as well.
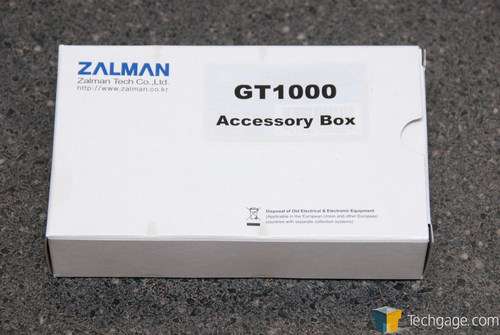
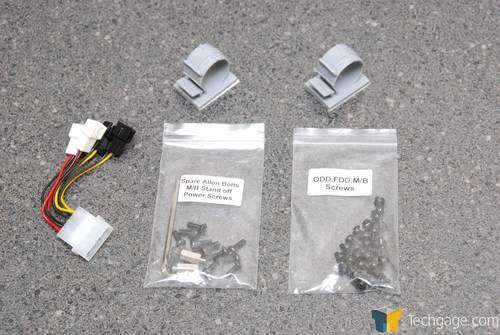
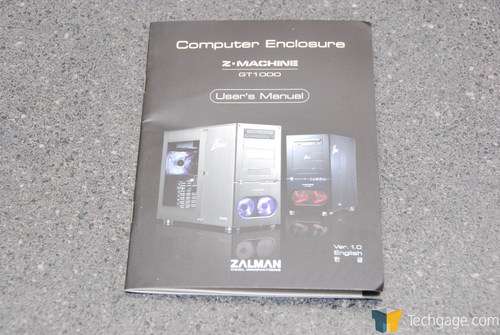
Zalman has included a small box containing spare motherboard stand-offs, allen bolts, power supply bolts and a small allen wrench to aid in installation of hardware. Also included is a power adapter for the fans, allowing the two front fans to be connected to a single 4 pin Molex connector. As with any case of this caliber, most owners of the GT1000 are going to be extreme gamers who like to show off. To help people like that, Zalman has included a few cable handlers to aid in keeping those pesky cables together and out of the way. Also included is the mandatory manual.
|
|
Support our efforts! With ad revenue at an all-time low for written websites, we're relying more than ever on reader support to help us continue putting so much effort into this type of content. You can support us by becoming a Patron, or by using our Amazon shopping affiliate links listed through our articles. Thanks for your support!


