- Qualcomm Launches Snapdragon 4 Gen 2 Mobile Platform
- AMD Launches Ryzen PRO 7000 Series Mobile & Desktop Platform
- Intel Launches Sleek Single-Slot Arc Pro A60 Workstation Graphics Card
- NVIDIA Announces Latest Ada Lovelace Additions: GeForce RTX 4060 Ti & RTX 4060
- Maxon Redshift With AMD Radeon GPU Rendering Support Now Available
Social & RSS Feeds
Latest Videos


Latest News
A Transparent Tower: A Look At Corsair’s Crystal 570X Mid-Tower Chassis
by Rob Williams on June 8, 2017 in Cases & PSUs
Corsair’s Crystal series is named as such because of its use of tempered glass, and as the top dog in the current lineup, the 570X sports that tempered glass on all four sides. Despite its delicate frame, the chassis proved great to build with, and as we found out, its beautiful aesthetics don’t hurt its cooling efficiency.
Page 1 – Introduction, A Tour Of The Hardware
If you’re looking for a new chassis, Corsair’s Crystal 570X is a clear choice. No, really. All but the backside (I/O area) and bottom of this beautiful chassis is covered with a glass panel, giving it the aesthetic of a modded PC rather than an off-the-shelf one.
I posted some thoughts on the chassis back in April, and have been using it a lot since then as it’s the base for our just-updated graphics card test suite. This isn’t the kind of chassis most people would want to wrap around a test system, but I can’t help it. I like the look of it that much.
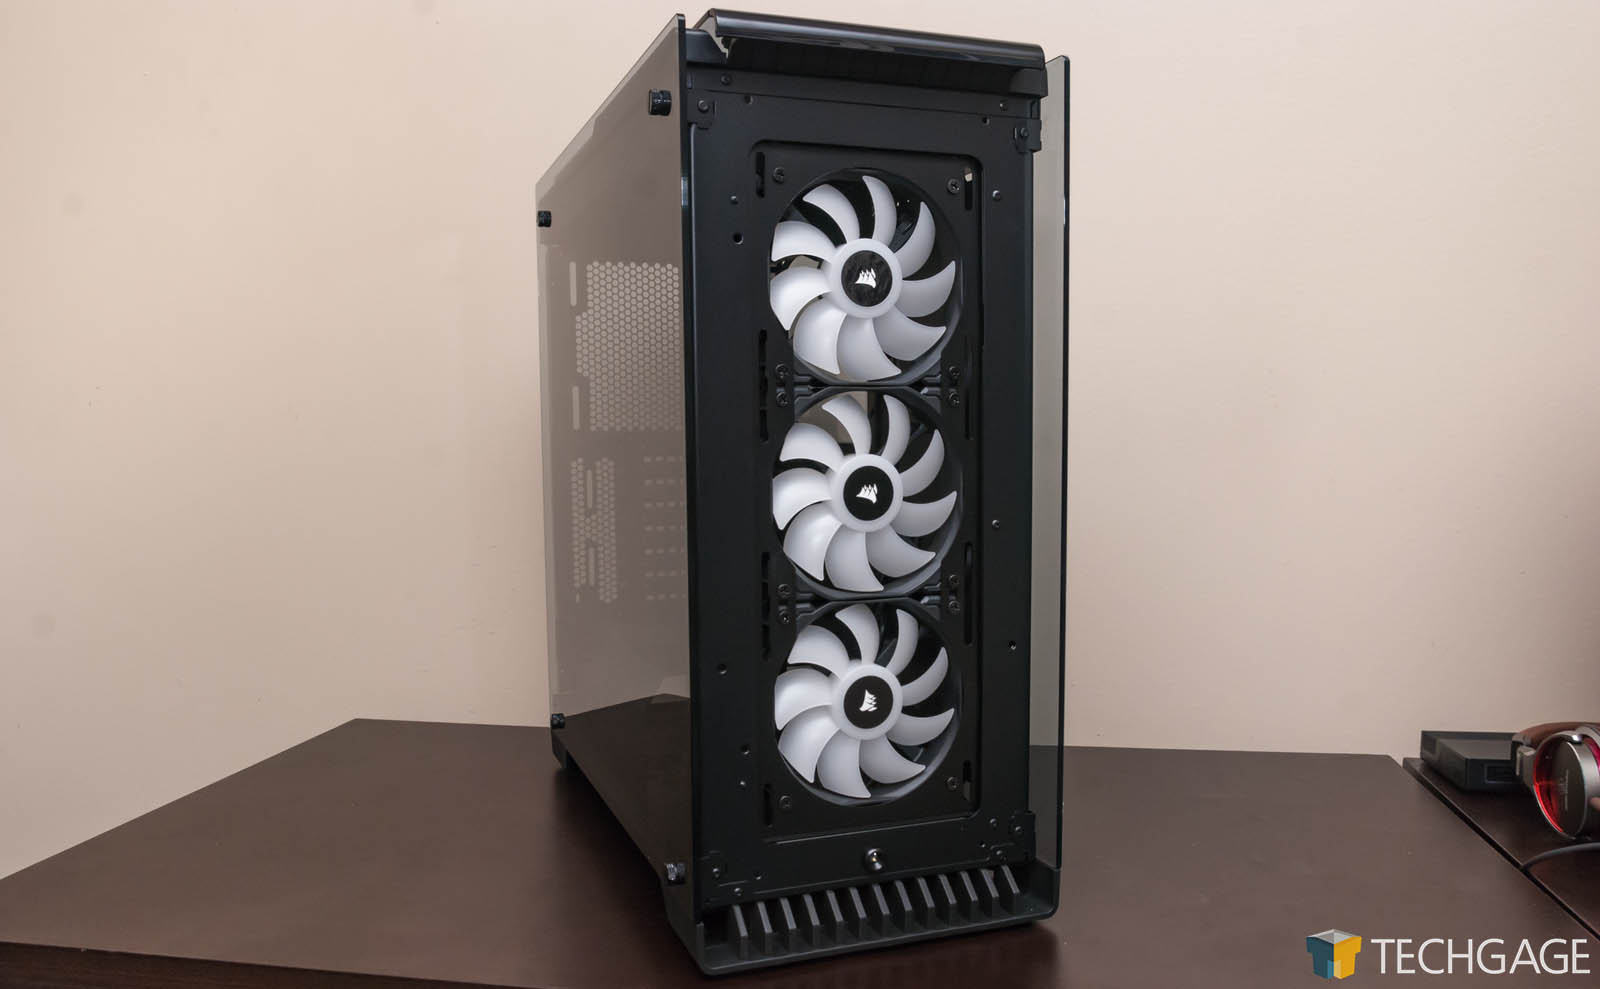
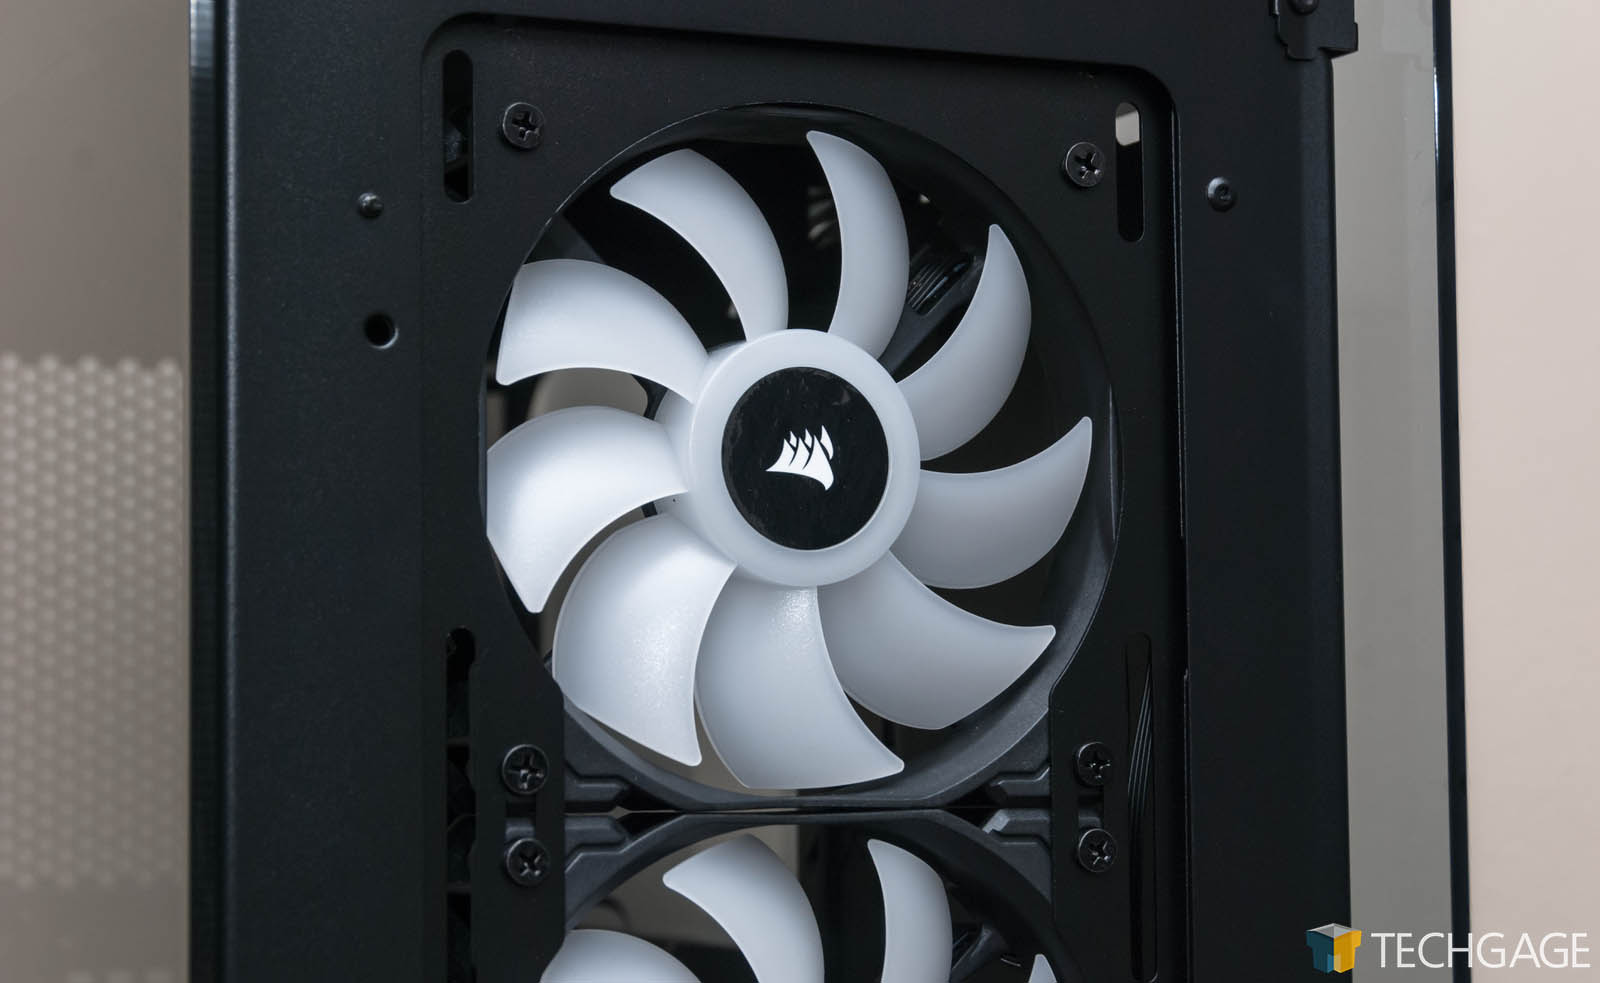
Some might call it blingy, but I call it elegant. The Crystal 570X comes preequipped with not one, not two – but three fans at the front, all of which are equipped with RGB LEDs. Out-of-the-box, these fans can be changed to a handful of different colors, and like all good RGB solutions, there are multiple modes to take advantage of, too.

As some images in this article can attest, once all built, even modest hardware can look badass in this thing.
| Corsair Crystal 570X Chassis Specs | |||
| Warranty | Two years | Drive Bays | (x2) 3.5in (x2) 2.5in |
| Weight | 10.9kg | Material | Steel |
| Form Factor | Mid-Tower | Power Supply | ATX (not included) |
| Dimensions | 480mm (18.90″) x 234mm (9.21″) x 512mm (20.16″) | External Connections | (x2) USB 3.0 (x1) Headphone Port (x1) Microphone Port |
| Motherboard Support | Mini-ITX, MicroATX, ATX (Up to 272mm) | Fan Mount Locations | Front: (x3) 120mm or (x2) 140mm Top: (x2) 120/140mm Rear: (x1) 120mm |
| GPU Length | 370mm Maximum | Fans Included | Front: (x3) 120mm RGB LED |
| CPU Cooler Height | 170mm | Radiator Mount Locations | Front: 120/240/280/360mm Top: 240mm Rear: 120mm |
| Maximum PSU Length | 225mm | Compatible Corsair Liquid Coolers | H55, H60, H75, H80i, H90, H100i, H105, H110 |
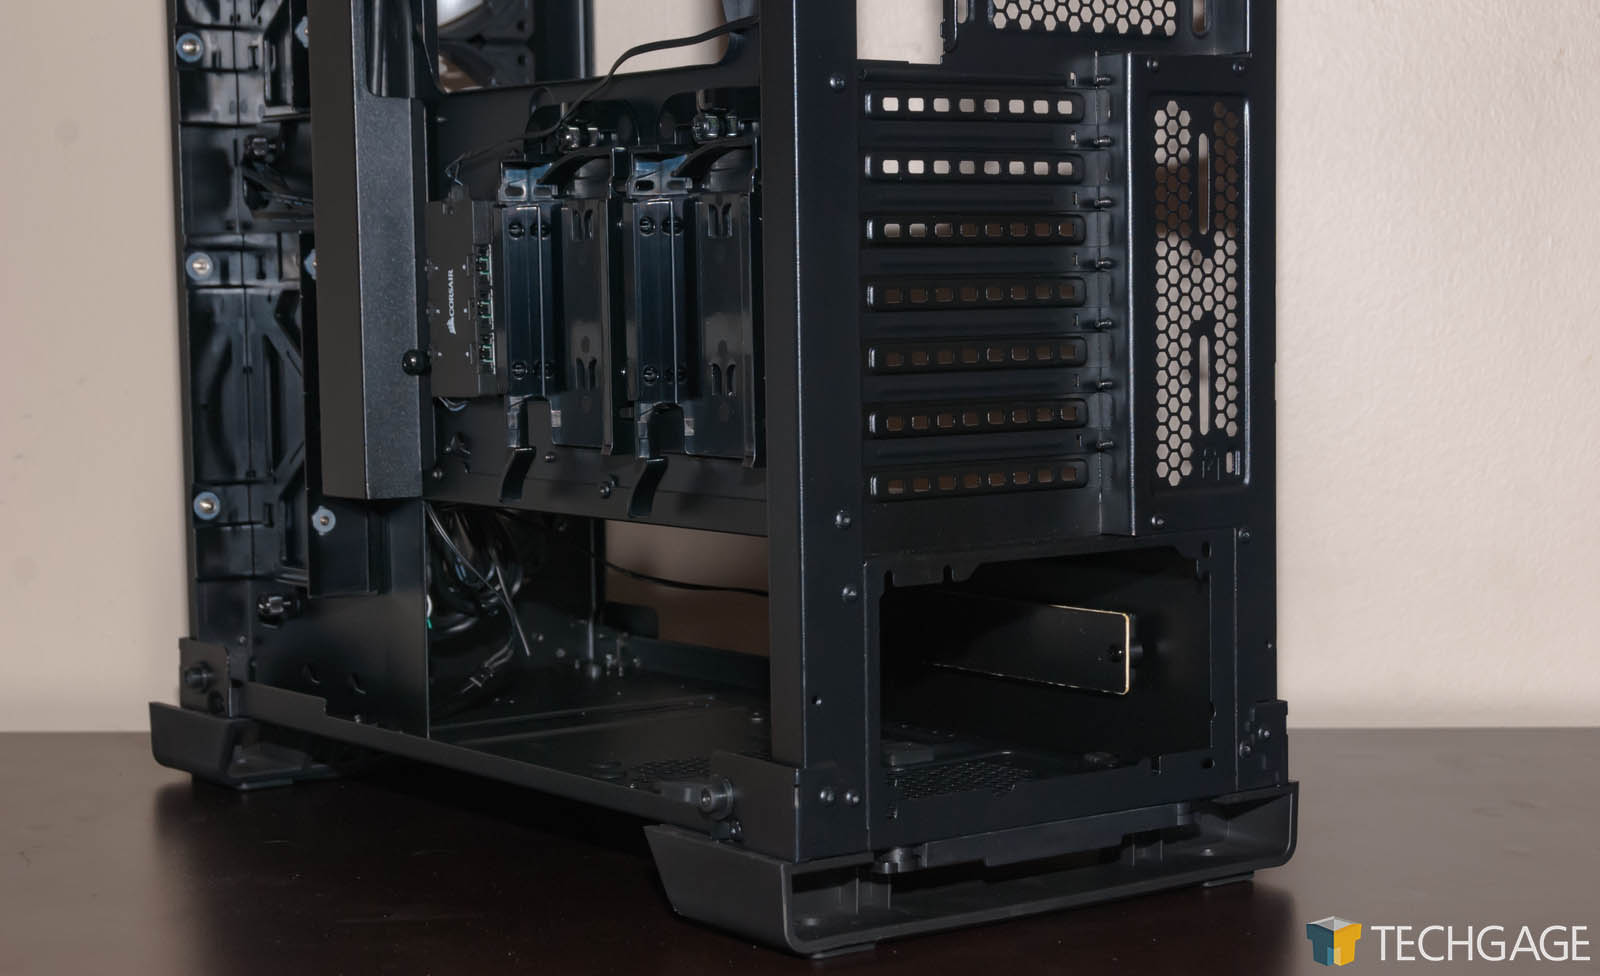
| Expansion Slots | 7 | ||
As the title of this review alludes, the Crystal 570X is a mid-tower chassis, supporting ATX, ITX, and mATX motherboards. It also supports graphics cards up to 370mm in length (AMD, NVIDIA: please don’t), a CPU cooler up to 170mm in height, and a power supply length of 225mm. Beyond this, the chassis supports up to 7 expansion slots, 2x 2.5″ and 2x 3.5″ drives, 2x 120/140mm fans up top (not included), 1x 120mm fan at back (ditto), 2x 140mm or 3x 120mm fans at the front (included!), and radiators up to 360mm (front), 240mm (top), or 120mm (back) in length.
One thing that the slew of photos in this review will show is that an all-glass chassis is great at attracting dust. I can assure you that the dust as it appears in these photos is not as standoutish in person, and in fact I couldn’t even see the dust when I snapped the photos. But more on this later; first, let’s take a tour of the hardware:
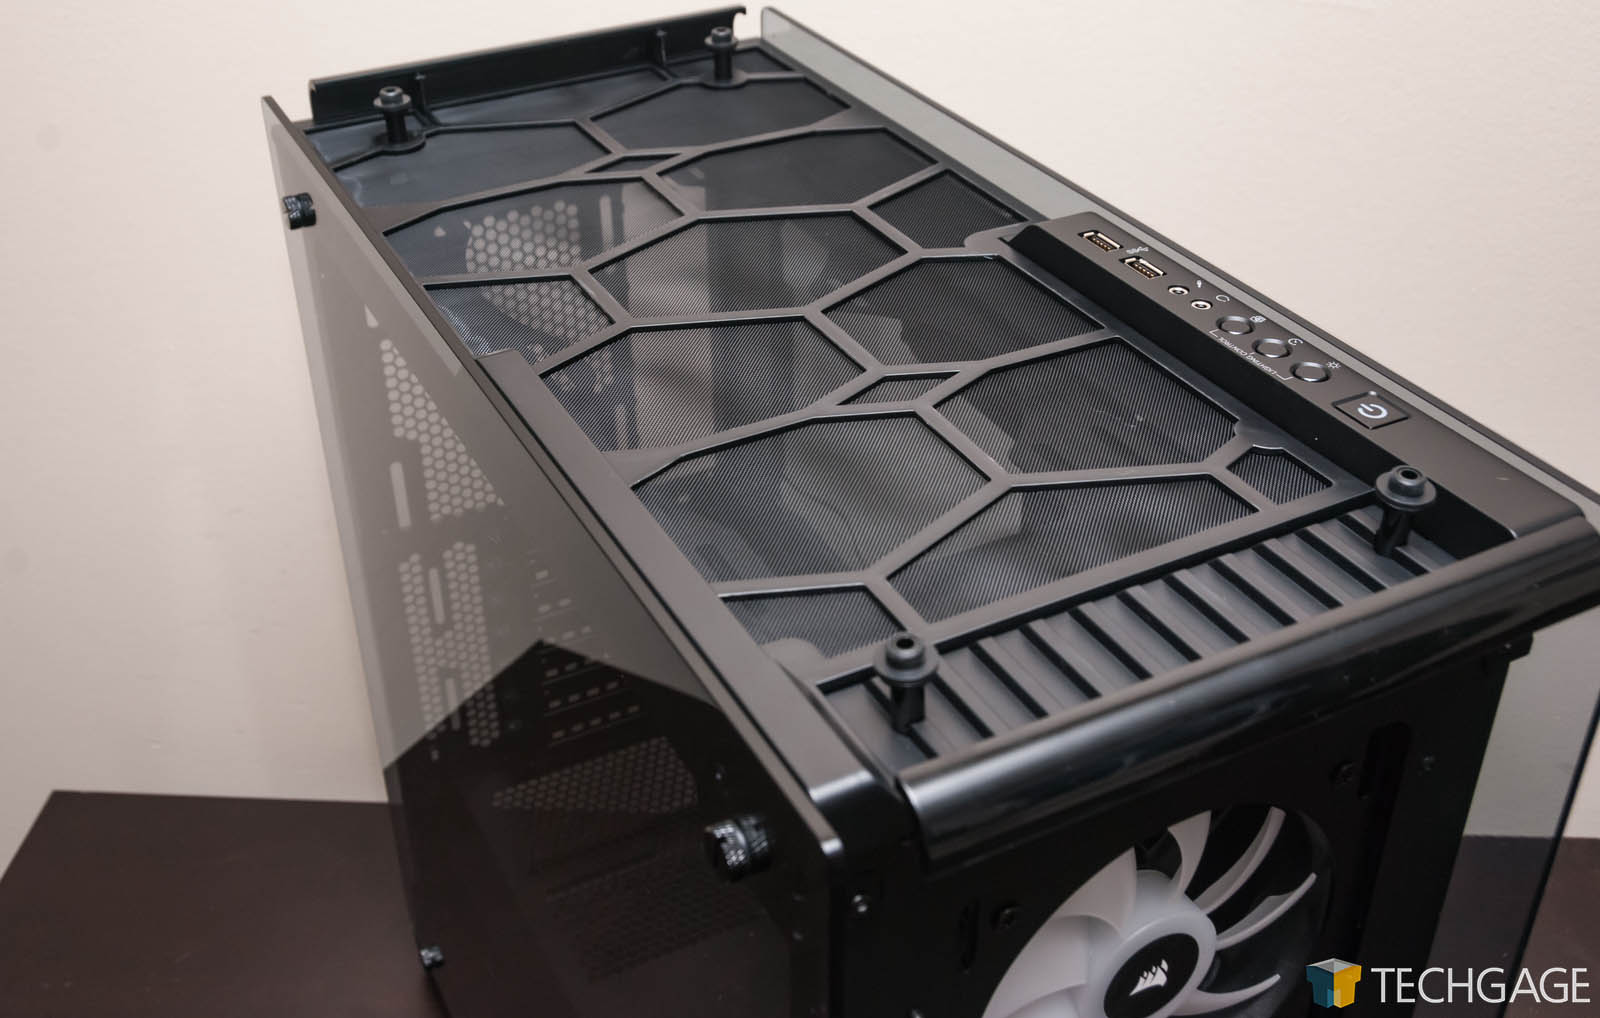
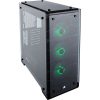
This chassis’ power buttons (and co.) are found at the top-right, near the front. Despite the fact that the manual states its existence, this chassis does not have a reset button. If that seems like an odd omission, it is, although the decision had to have been made based on the fact that so few people use that button nowadays. Coincidentally, I had a lot of troubleshooting to conduct after I built with this chassis (no fault of the chassis itself), so I found myself quickly wanting a reset button. Its omission didn’t impede that troubleshooting too much; it just made it a little more tedious. Worth the tradeoff? I wouldn’t say so, but your opinion may differ.
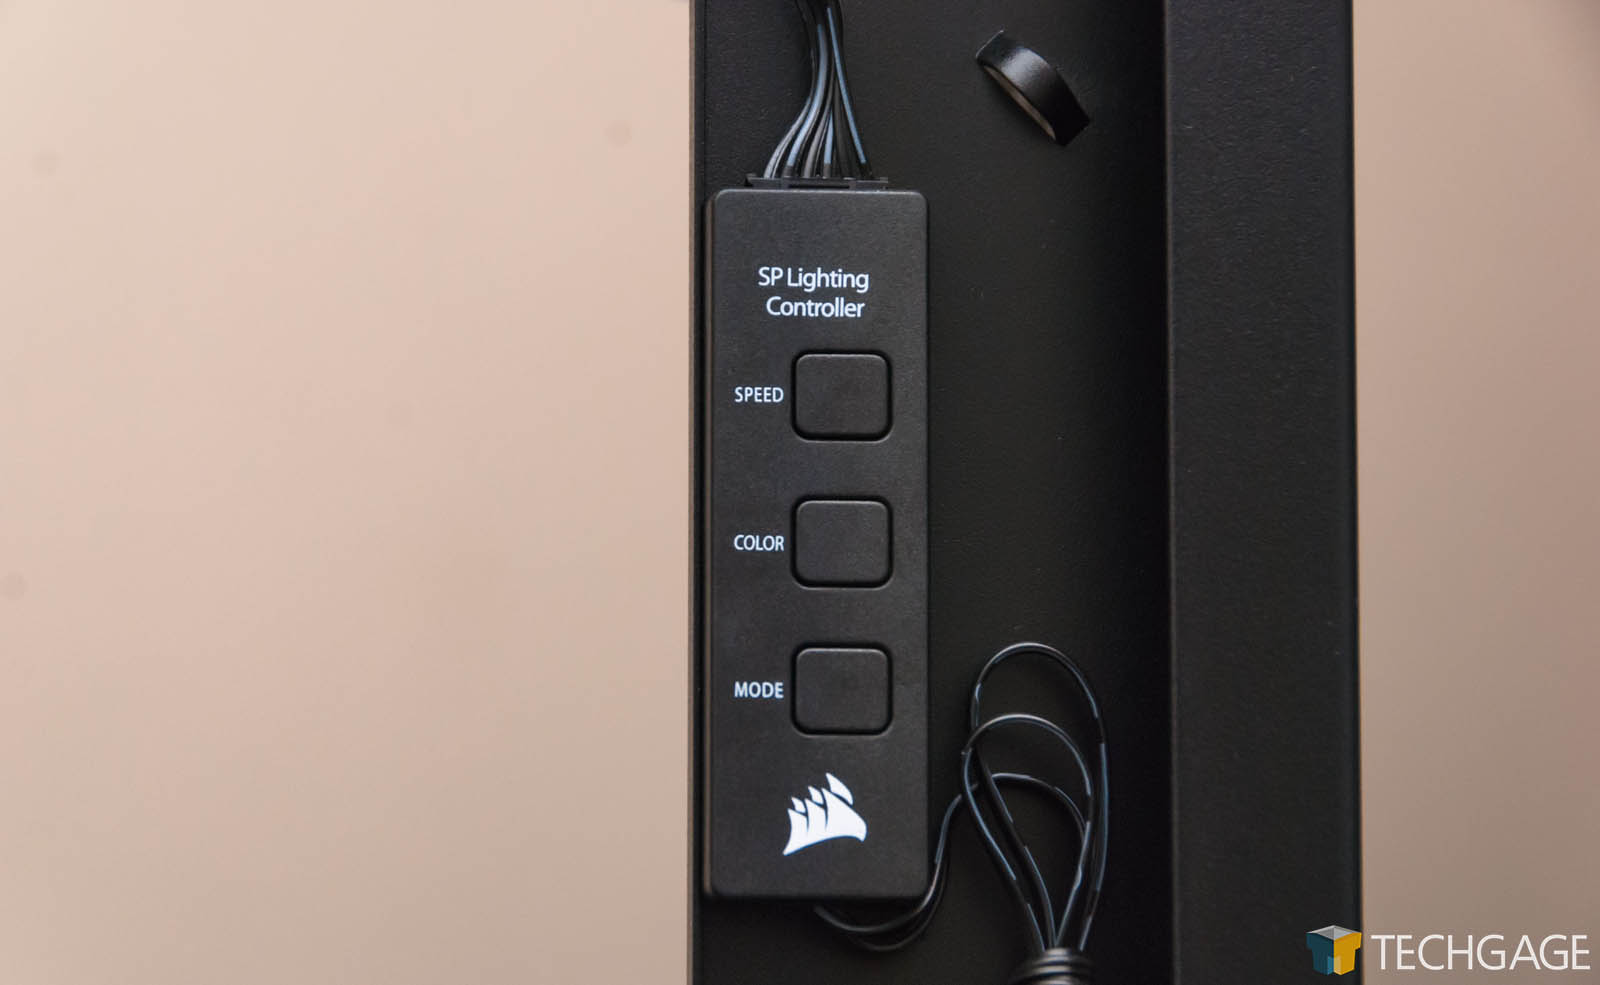
Also on the top are three buttons for controlling the chassis’ RGB fans, dual USB 3.0 ports, as well as audio in / out jacks. Additional buttons for RGB control are found at the back, right behind the motherboard area (seen in the last pic in the slider above). I admit I am not entirely sure why this needs to be here, as there are buttons right on top of the chassis, but it doesn’t hurt anything by being there.
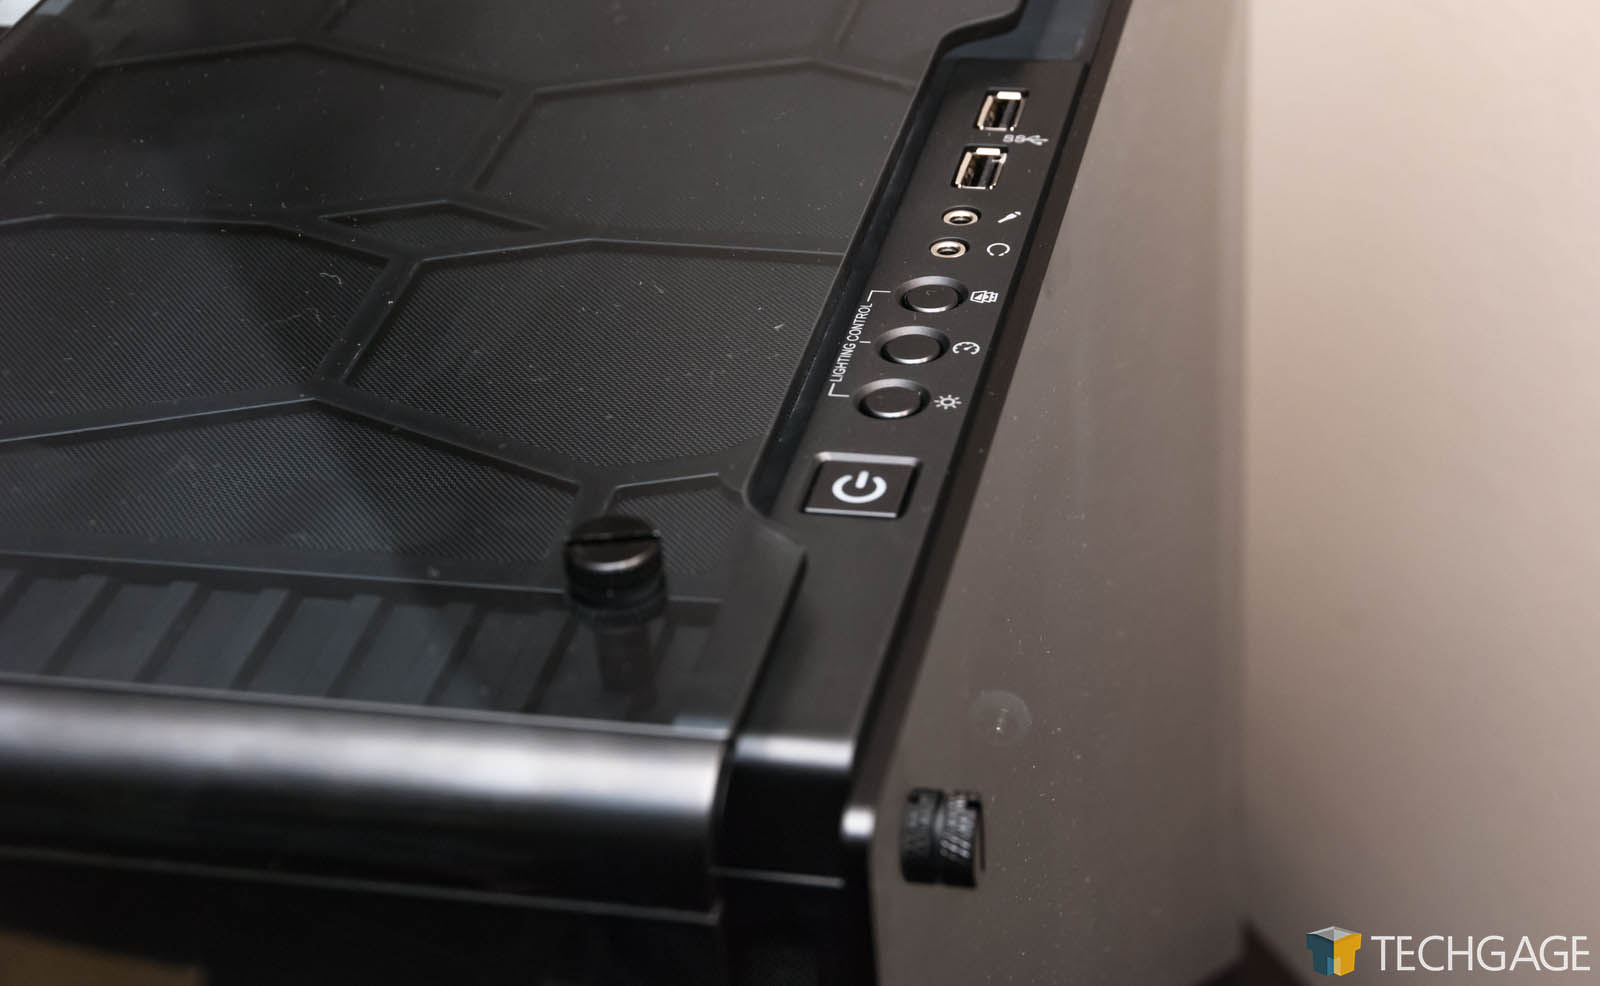
Building a PC with this chassis would be best done once the four glass panels have been removed and stored in a safe place. Being tempered glass, these panels are more durable than other glass we’ve seen in the past, but there’s no point in testing their limits.
Ahem – there was one point during this building process where I bumped into something that ended up bumping into a panel, knocking it flat over, making a huge bang in the process (at 1:00AM, no less). After my heart went through my throat, I was relieved to see that no damage was done. However, by sheer coincidence, I ended up breaking something else made of glass an hour later, so karma works in mysterious ways.
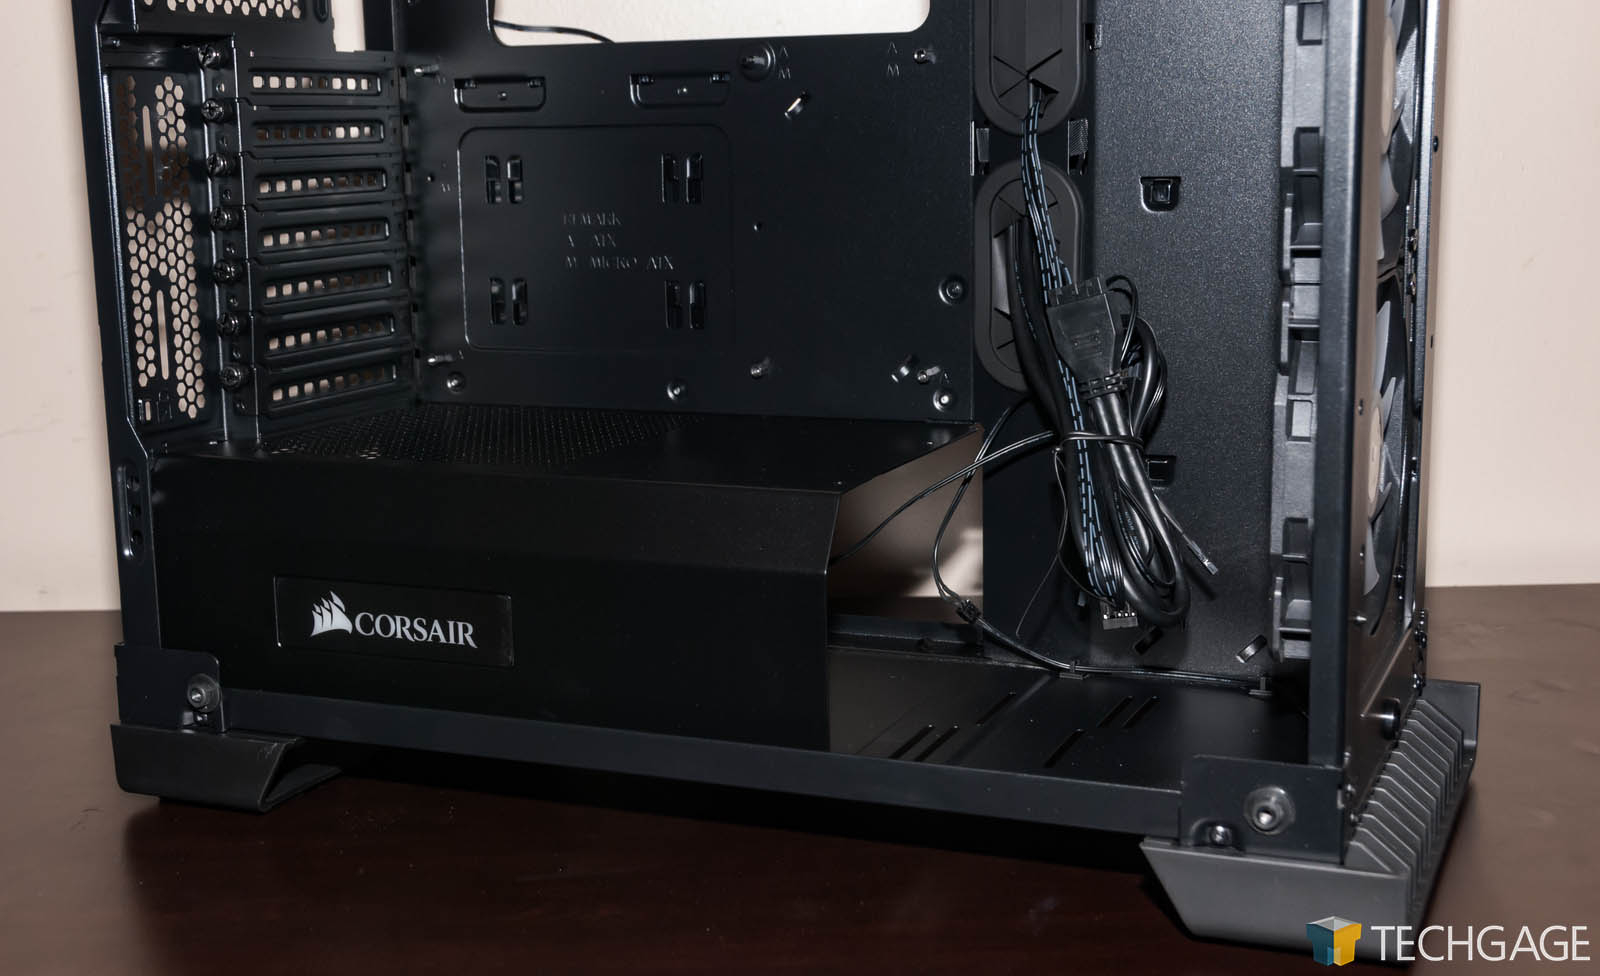
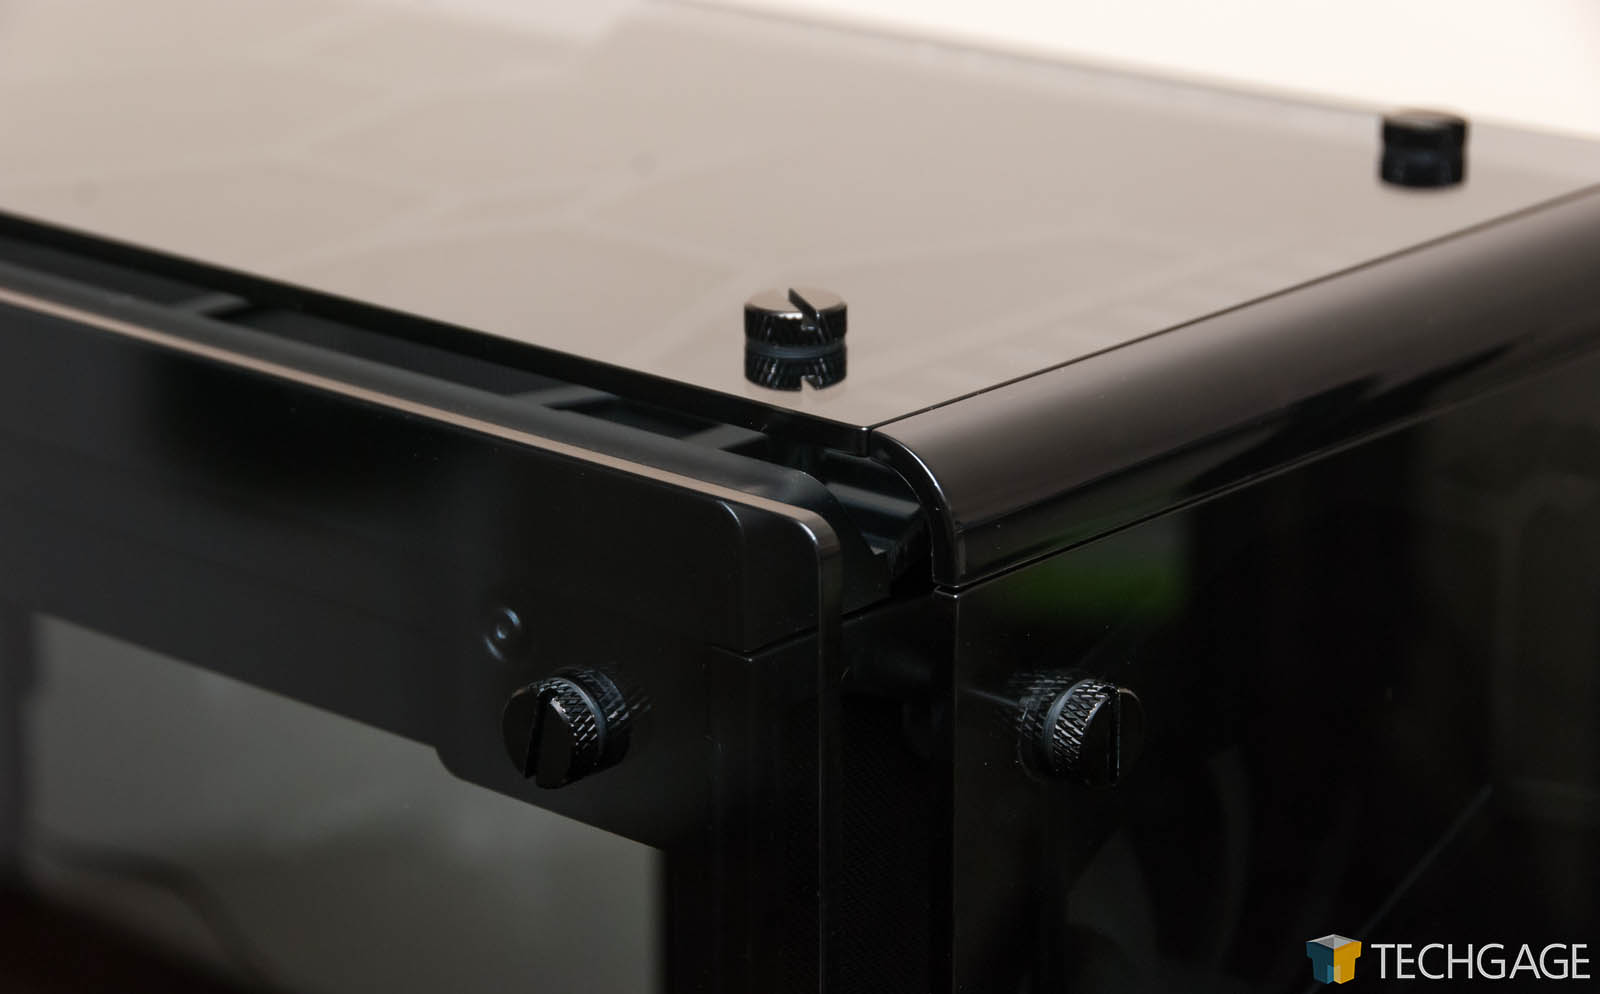
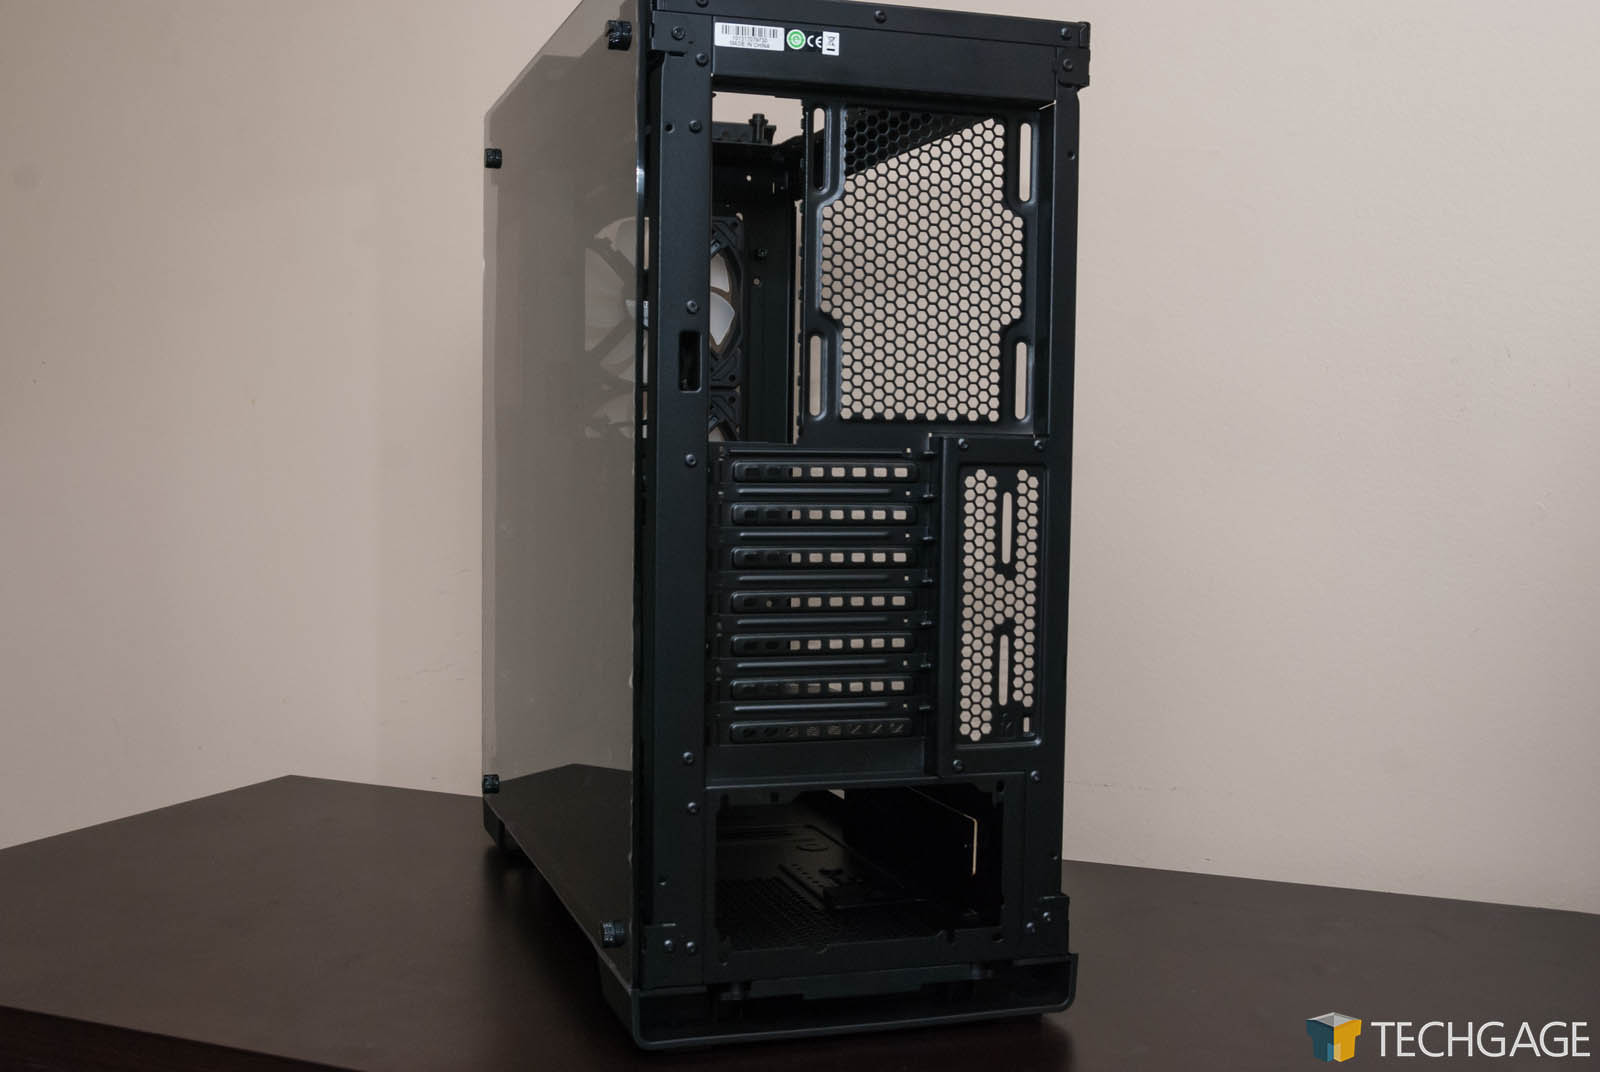
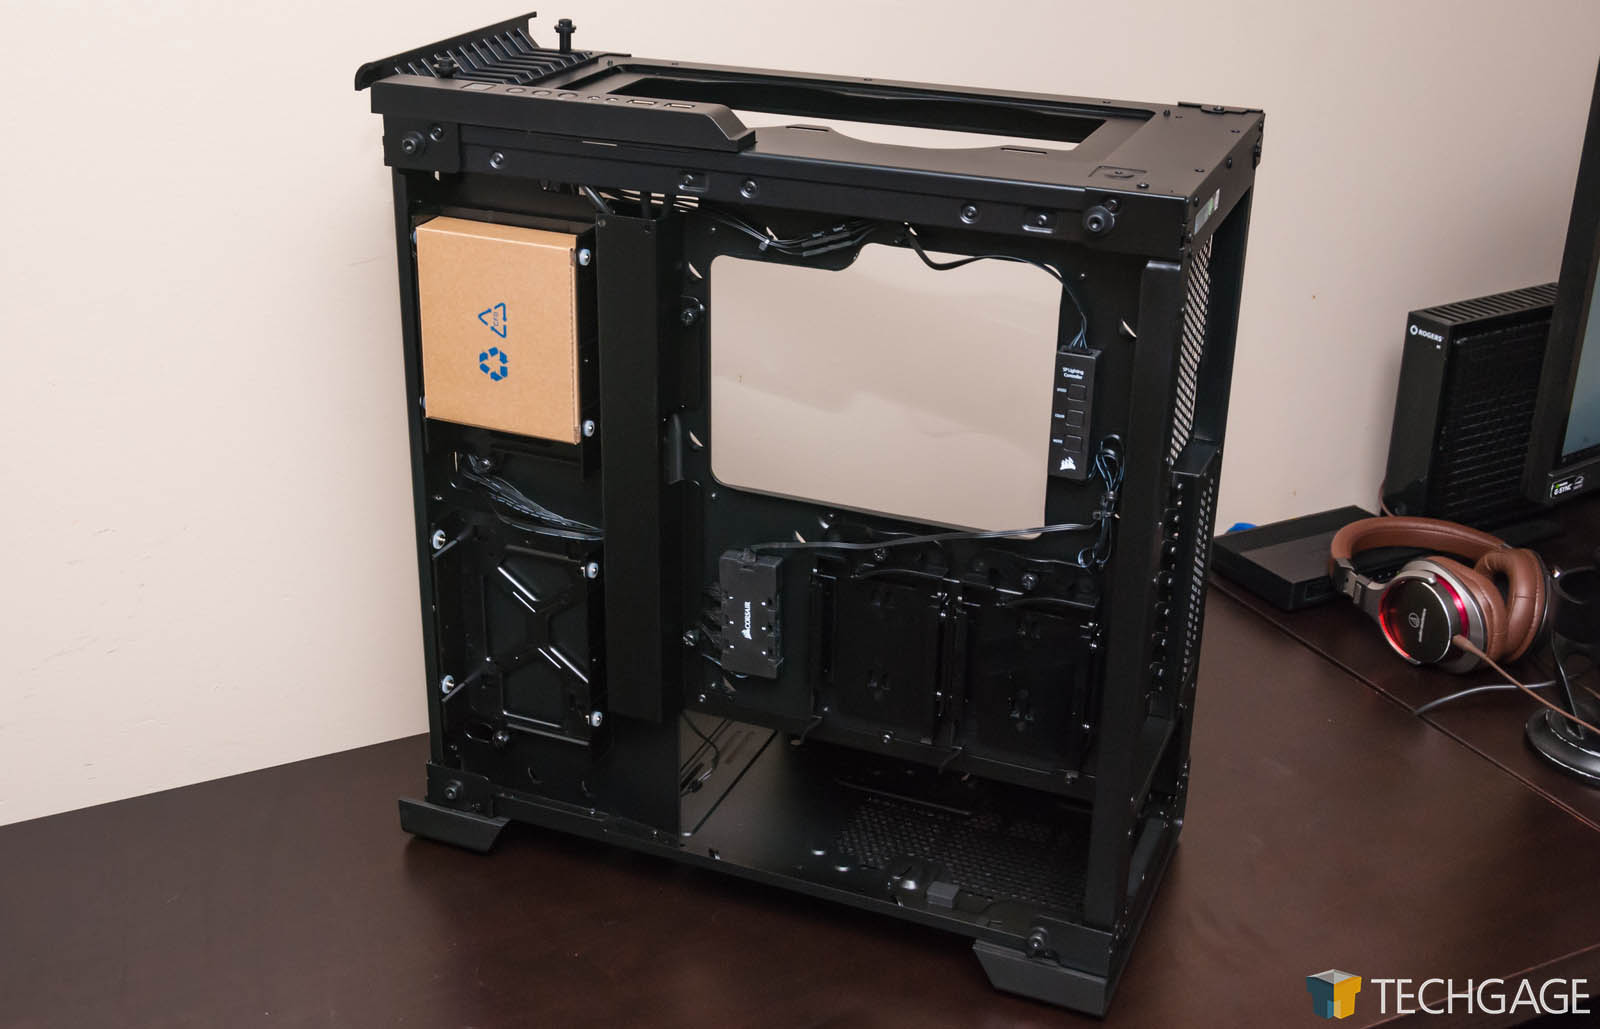
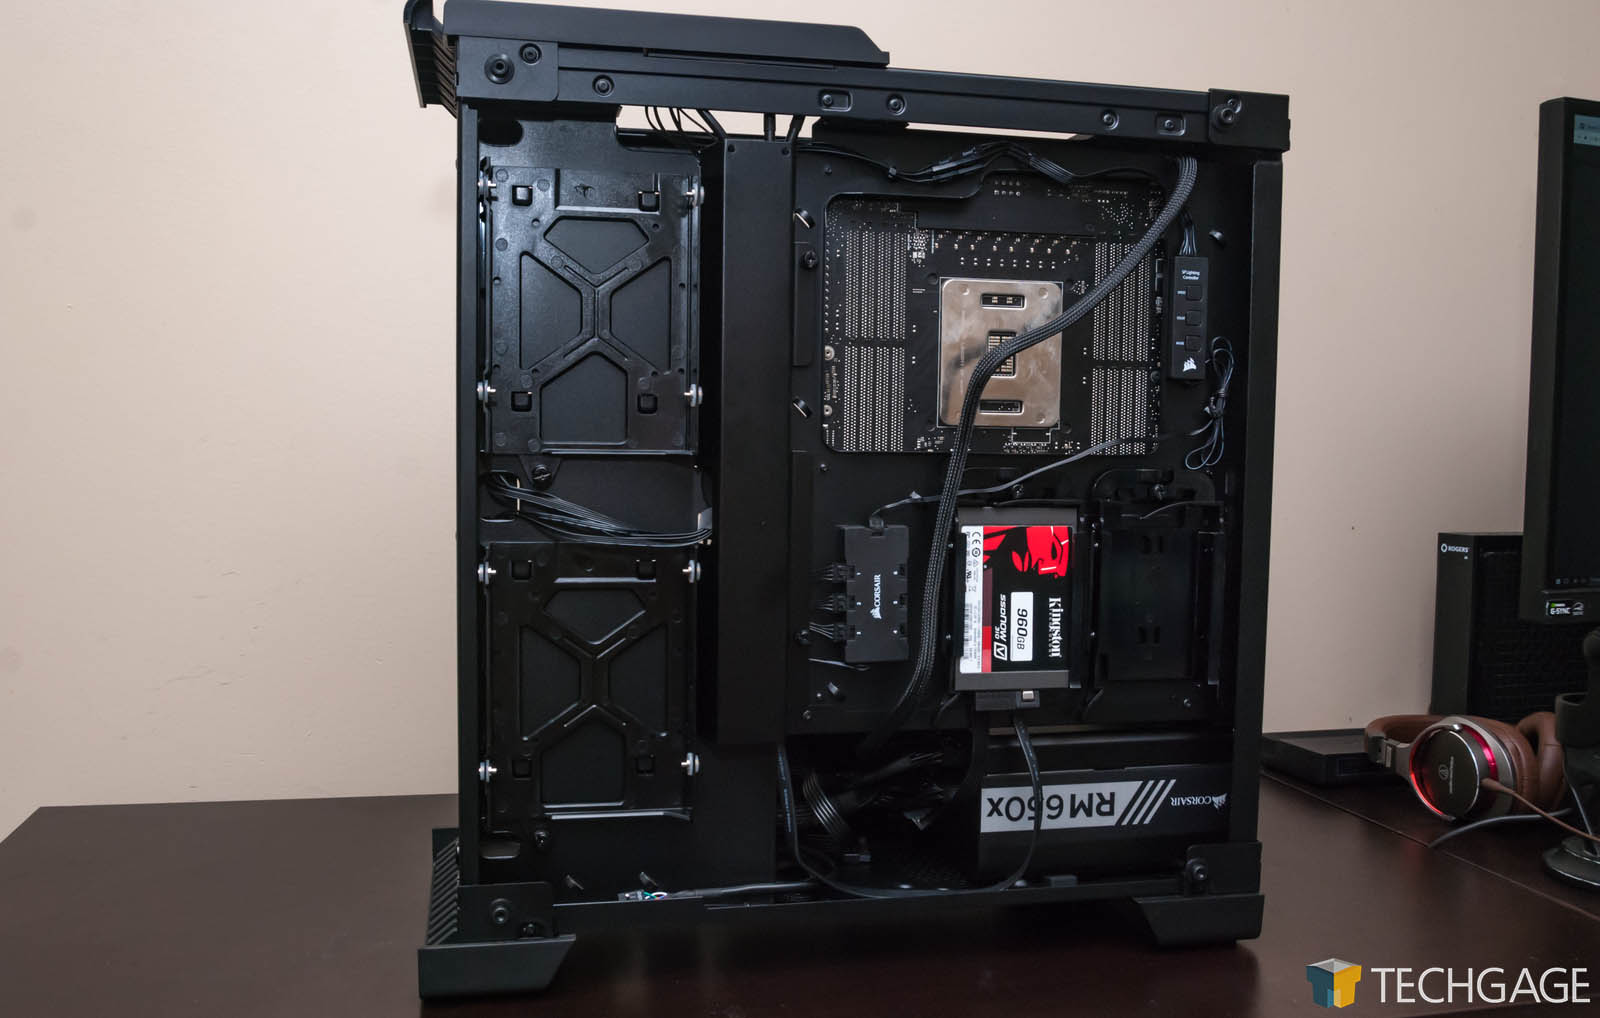
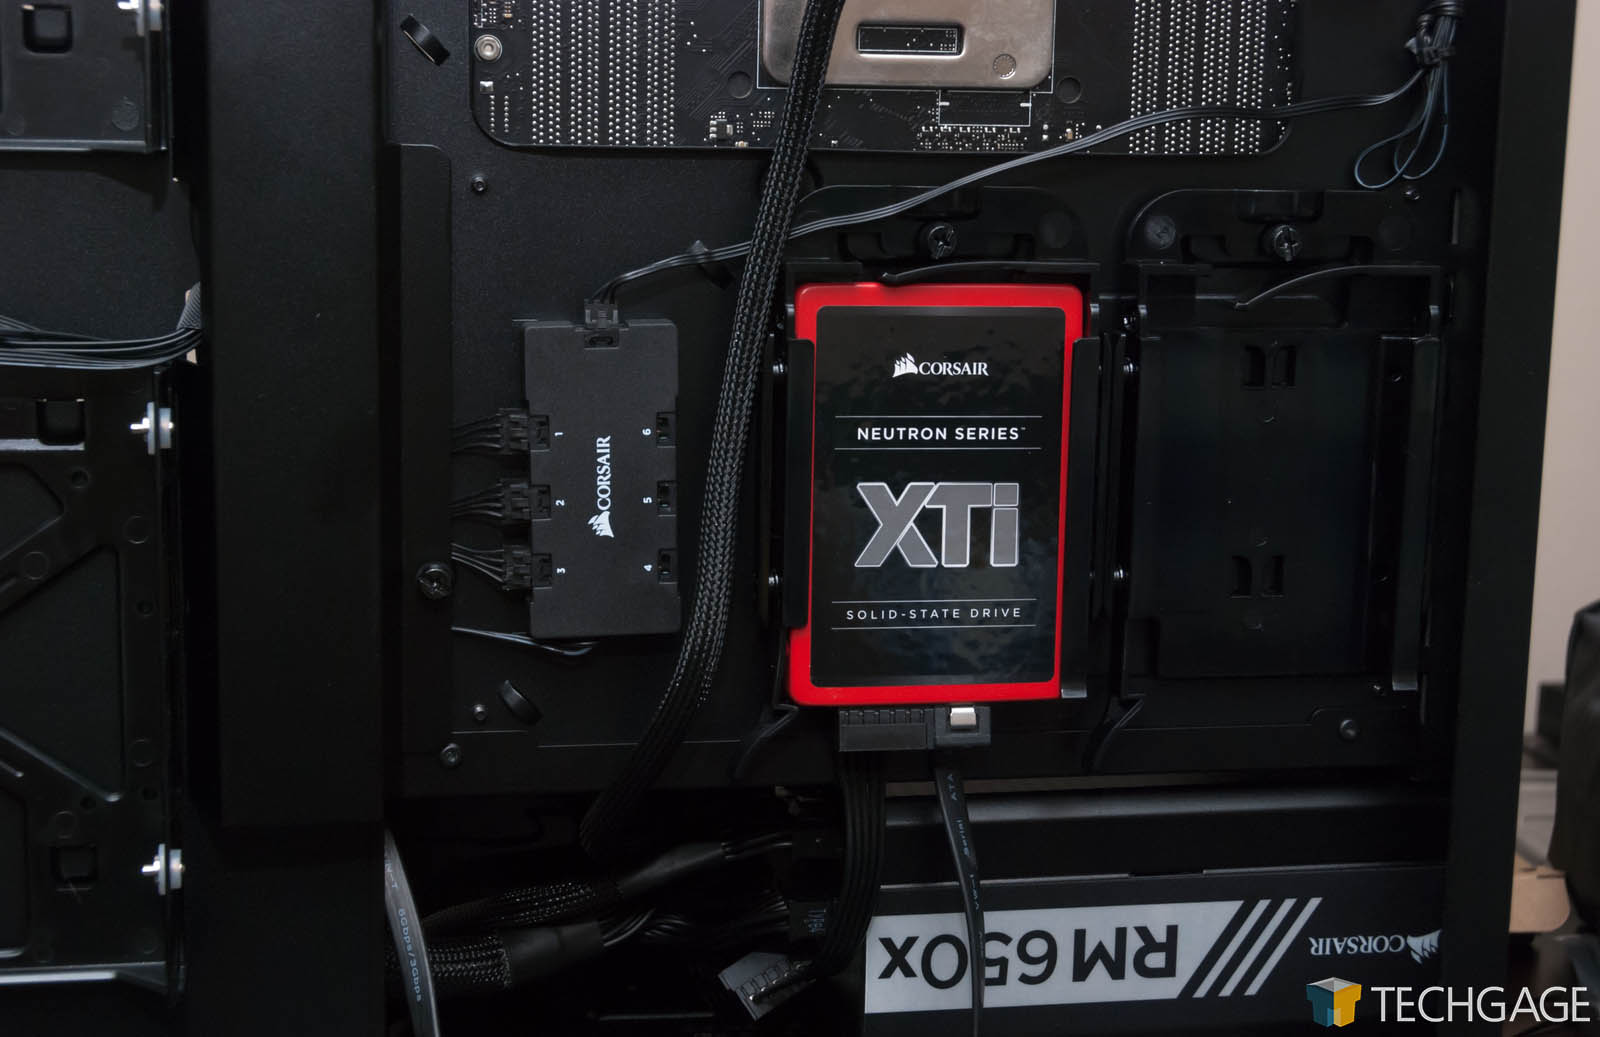
All of the storage drives install to the backside of this chassis, all vertically positioned. Two 3.5″ hard drives can be installed towards the front, while dual 2.5″ SSDs (or notebook hard drives) can be installed behind the motherboard. Beside those 2.5″ bays is the controller hub that the three RGB fans at the front plug into, with expansion available for three more (note: these are not for power).
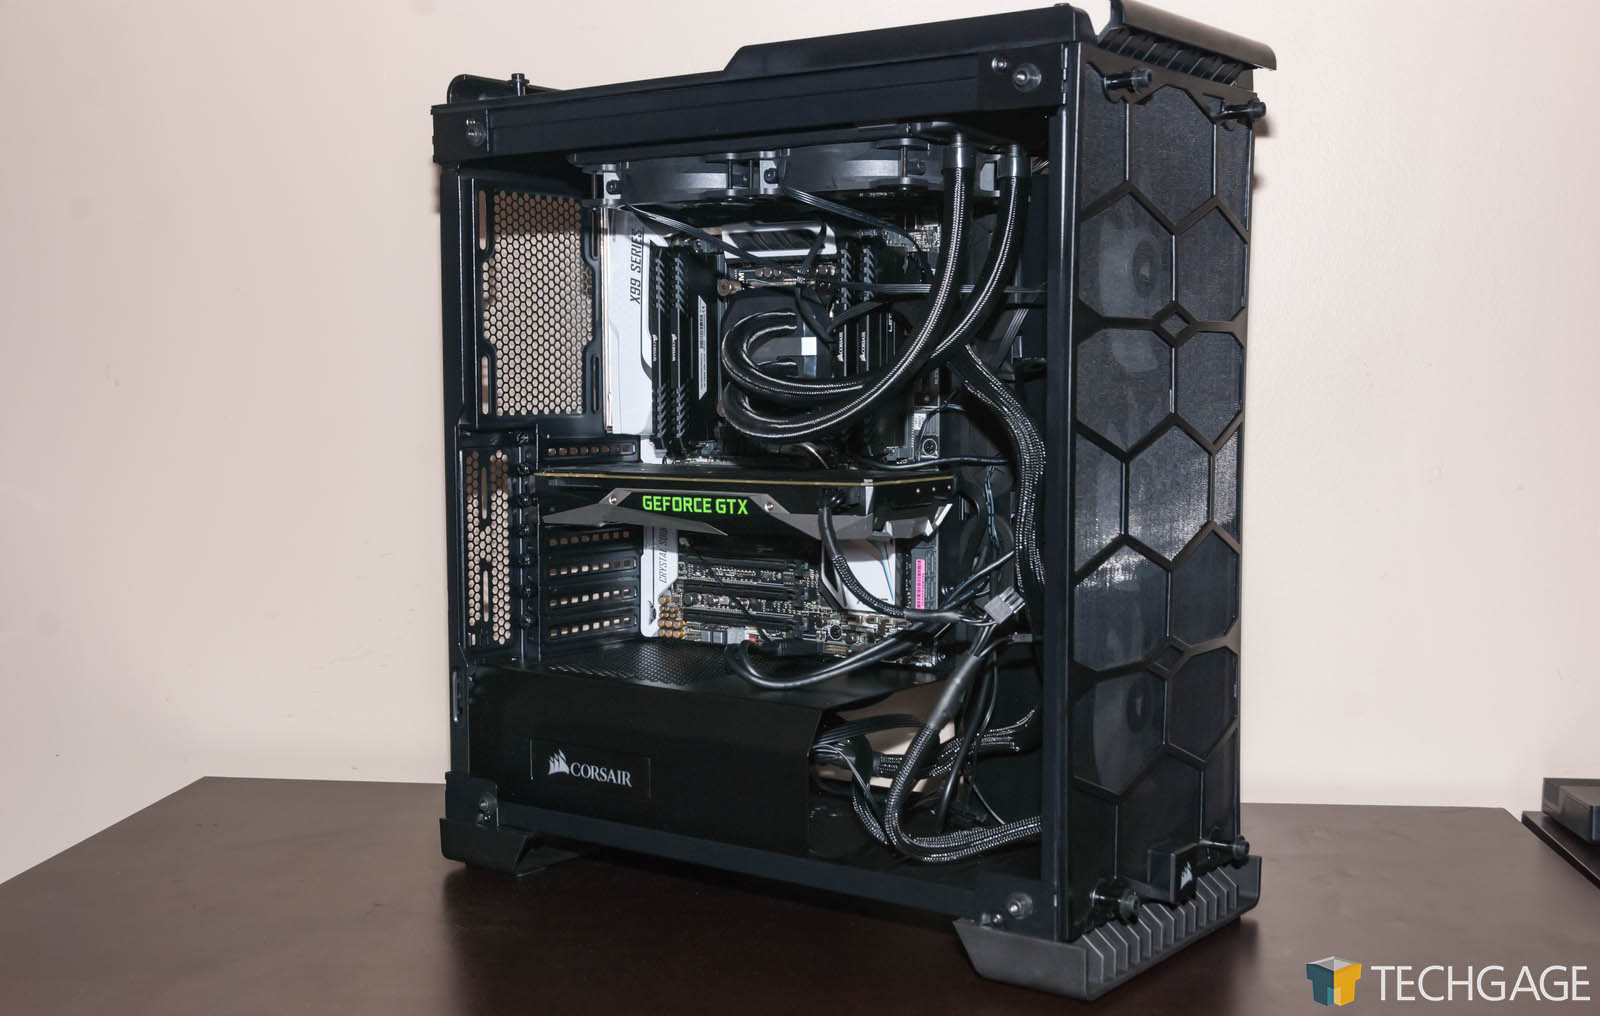
Looking at the other side, where all of the hardware will install into, you can see a Corsair-branded shroud that dominates the area at the bottom. I personally like the look of this shroud, but I do wish it was longer to cover even more of this dead space. The reason boils down to the simple fact that cable management is a little difficult with this chassis (not a ton of room is available in the back, and even then, not all cables will have the length to route all the way back there); as you’ll see later, it’s difficult to hide most cables.
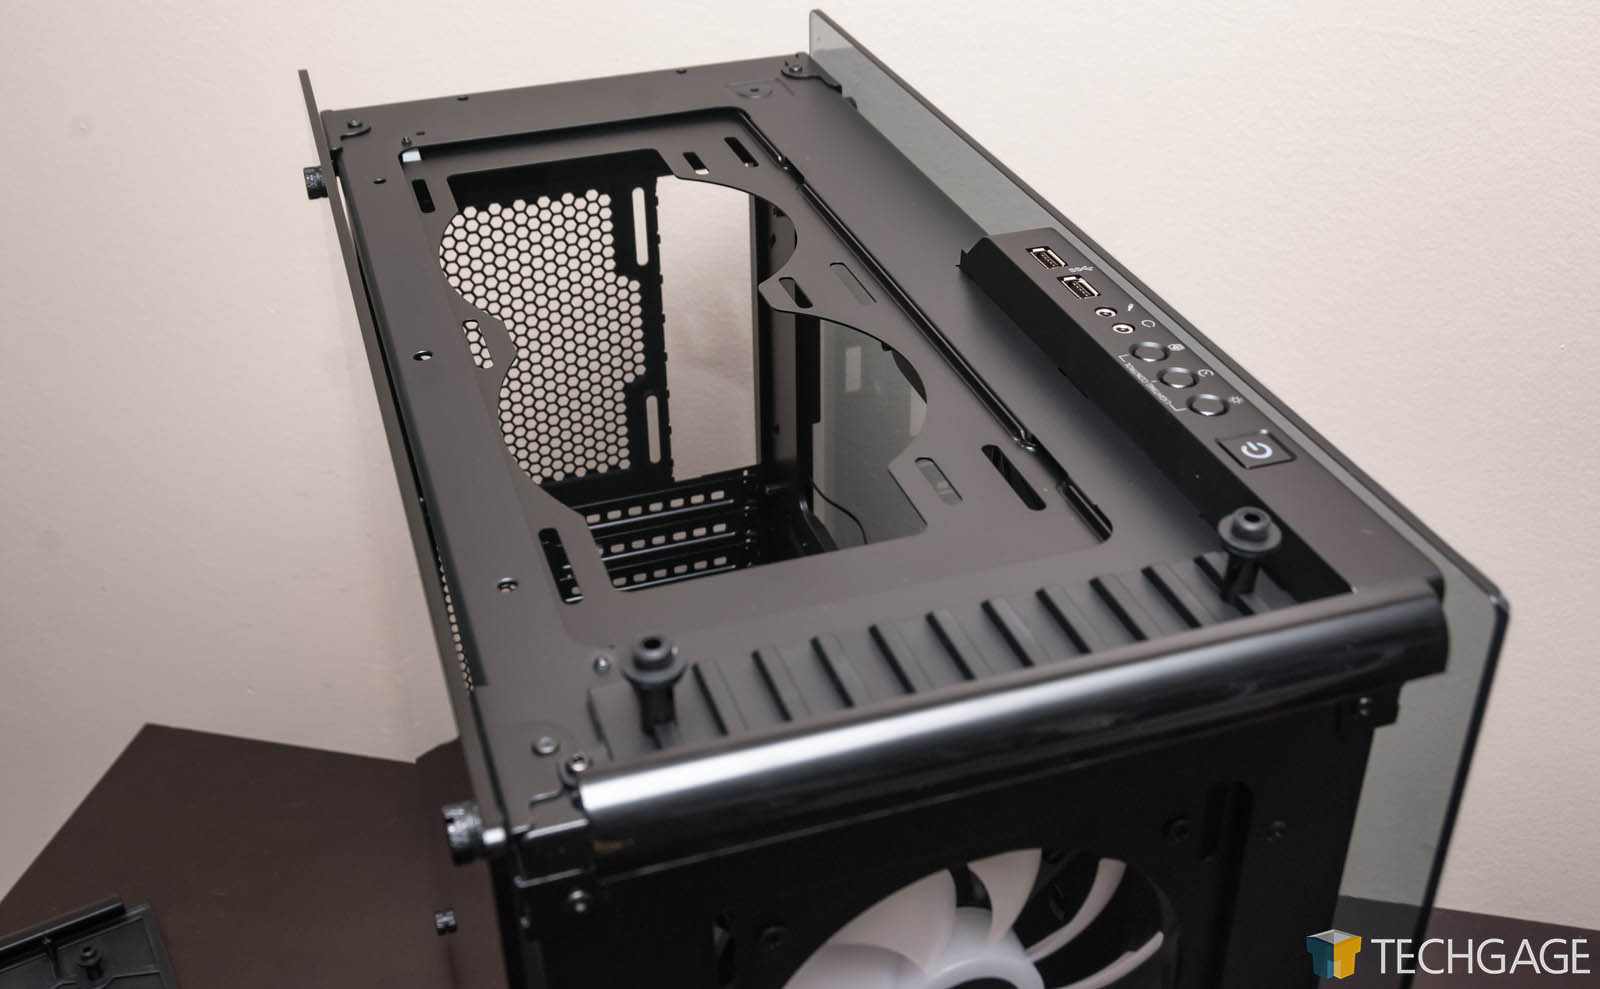
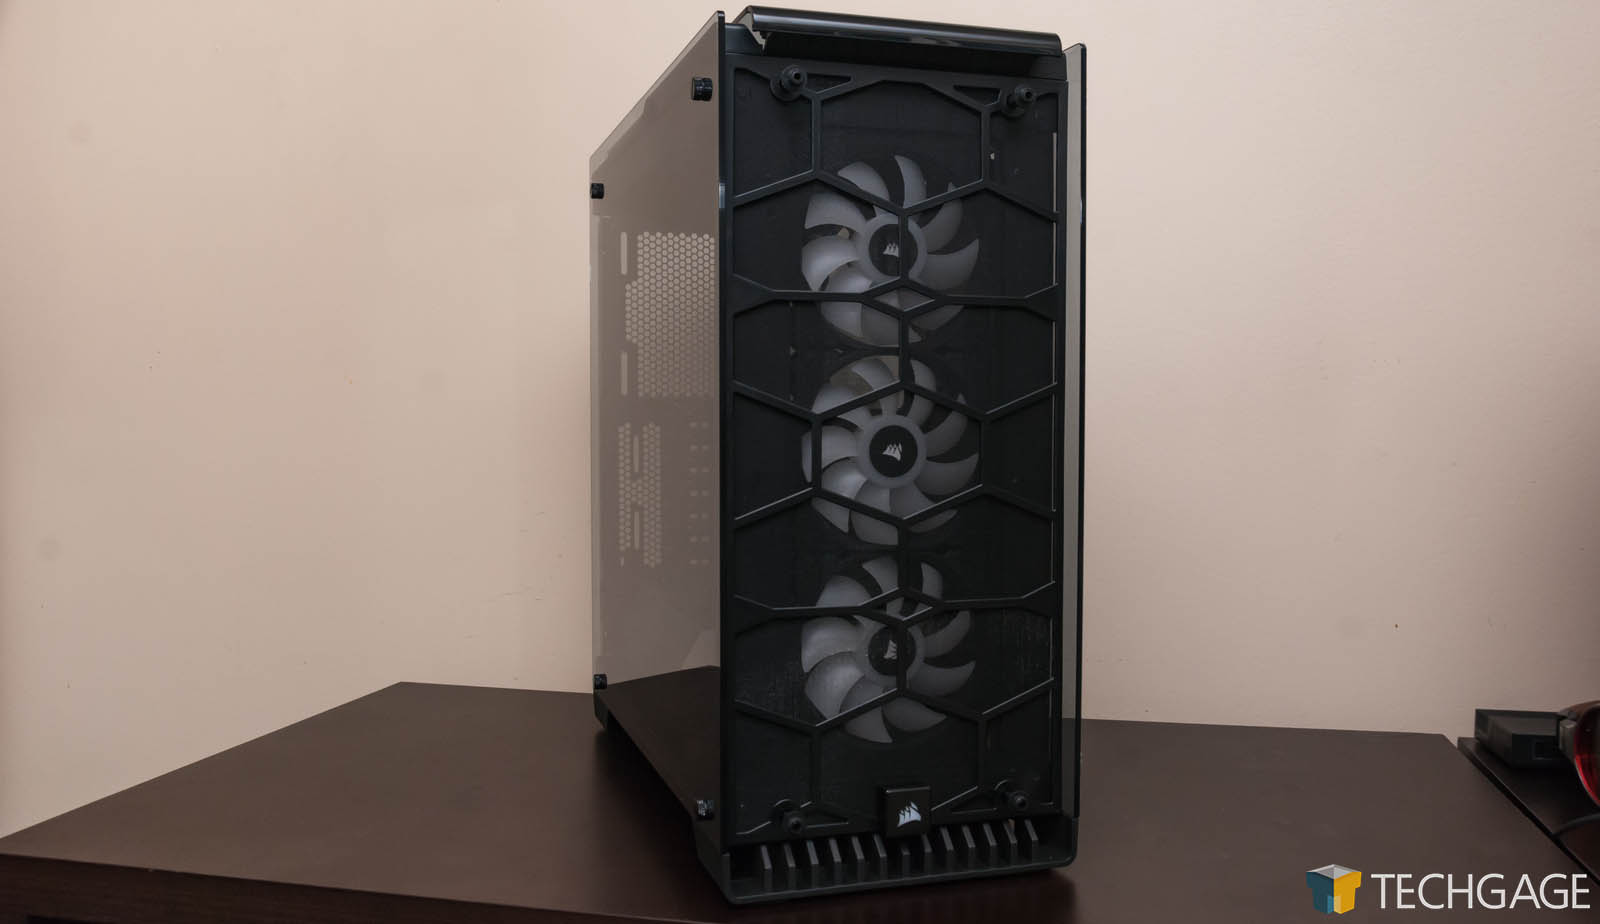
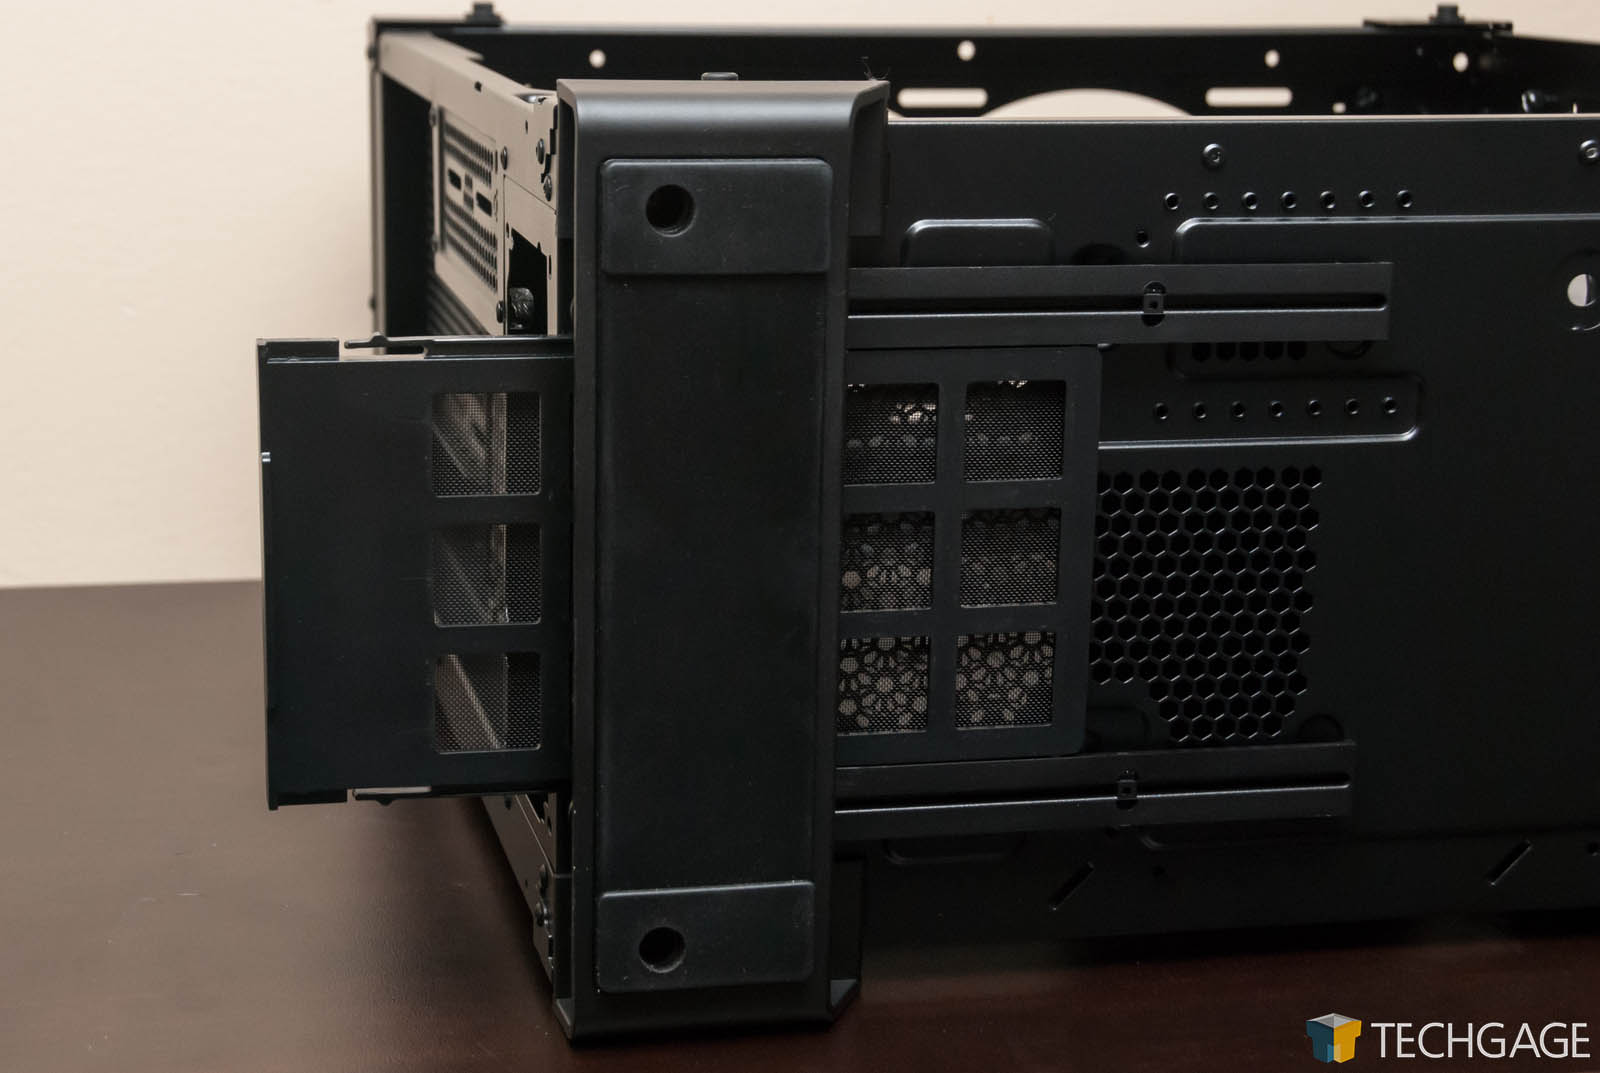
Both the front and top of the 570X come equipped with an air filter, both held in place by the same screws that keep the tempered glass in place. This means that to remove the filters, you must first remove the glass, but it’s hardly a chore. A third (much smaller) air filter, found under the PSU, isn’t secured with screws, but instead slides into place.

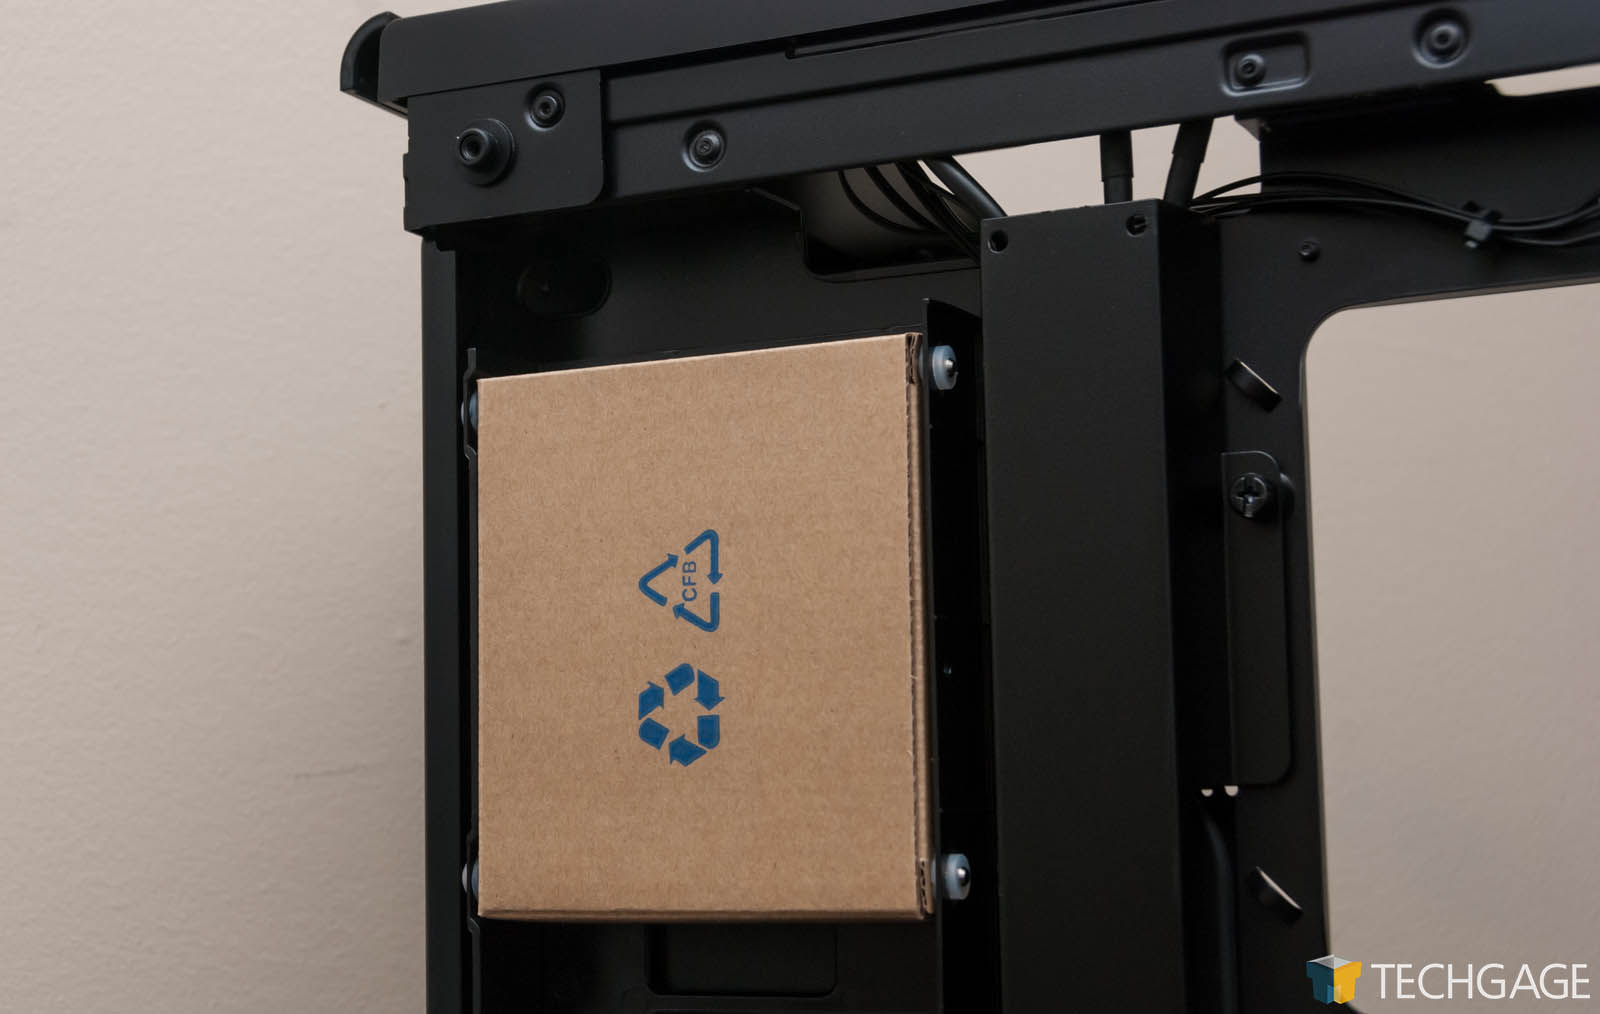
All of the screws and required bits included with the chassis sit inside a little box housed inside one of the 3.5″ drive bays, which after a bit of finagling, is easily removed.
The first image in the slider below shows just how much airflow is allowed to pass through the chassis – a good thing to keep things cool, a bad thing from the standpoint that more dust will also pass through. As I’ll touch on more later, the only real problem area of this chassis for dust is the front, although if you have fans installed behind any filter pulling air into the chassis, you might have to clean those areas a little more often.
")
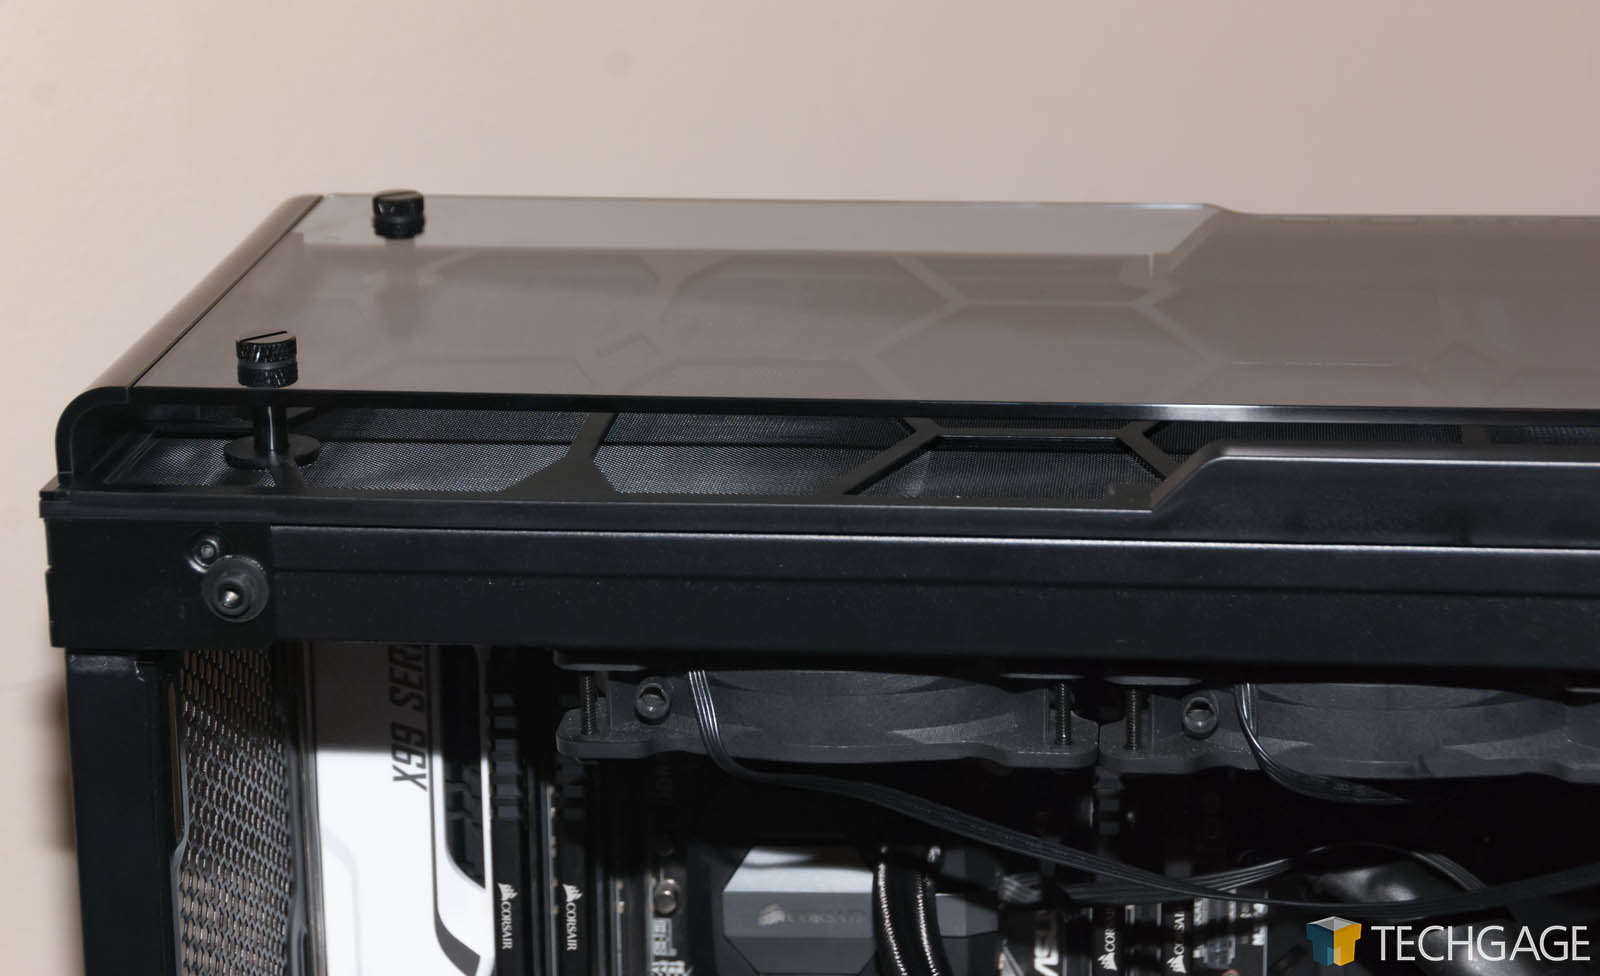
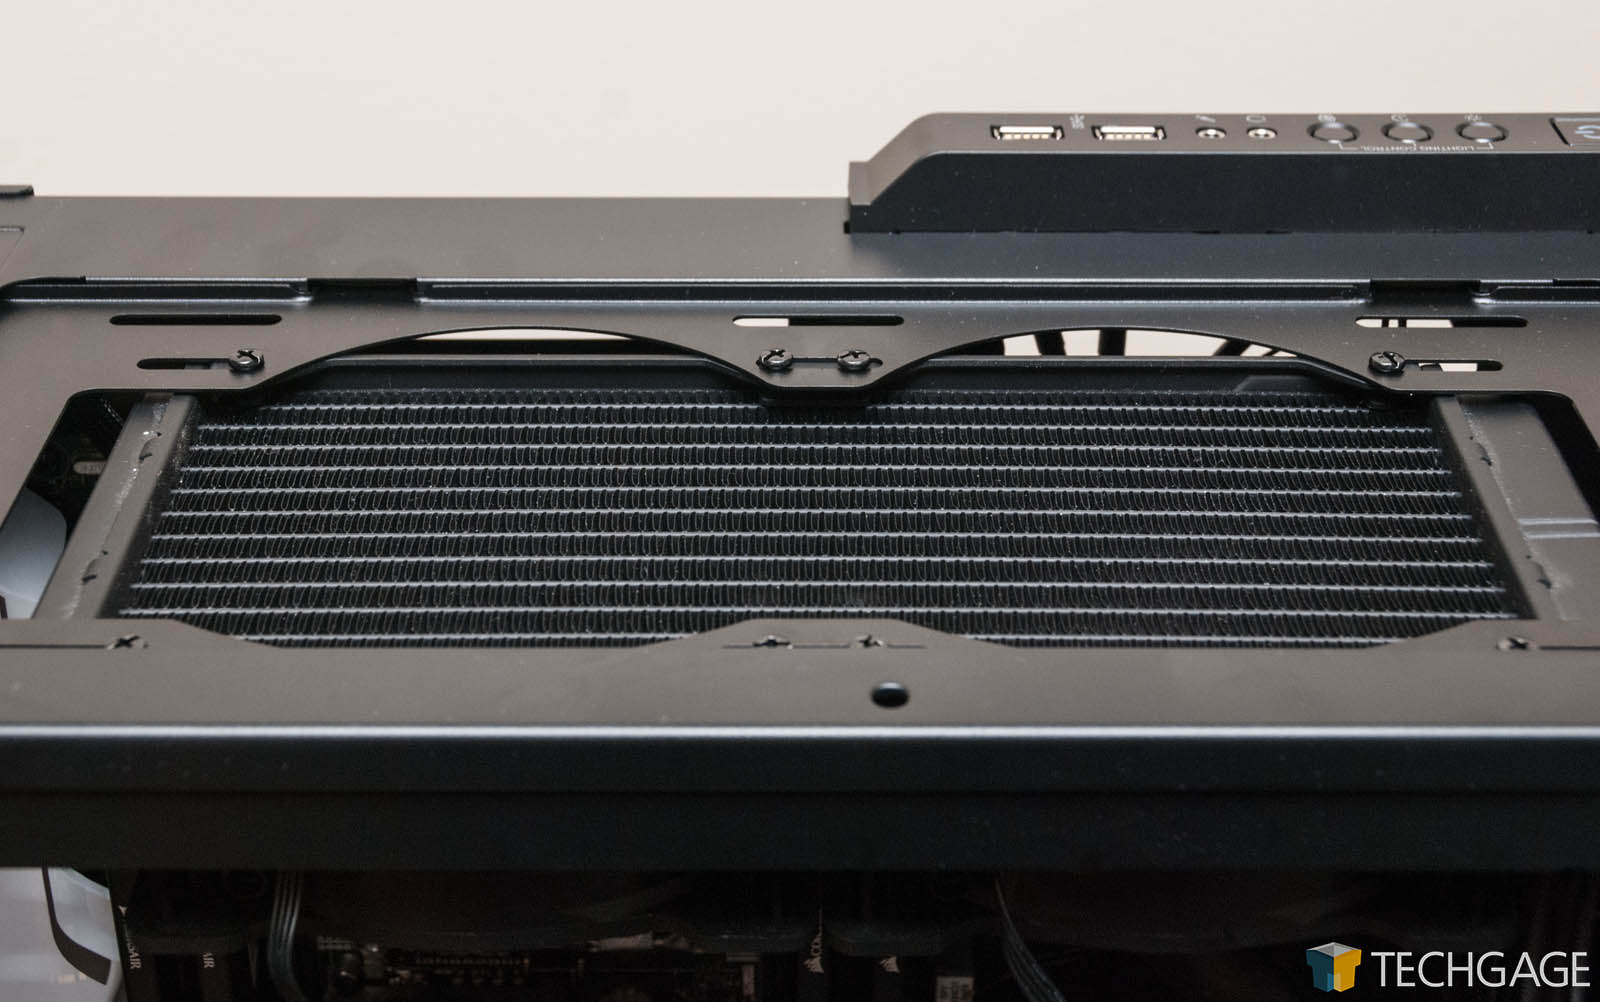
All of the photos above show off the important bits with our particular build. A dual rad populates the top, which is covered with an air filter once everything is put back together. SSD installation in this chassis is dead simple, although you’ll probably want to use SATA cables that have two flat ends, as an angled end could either block another SATA port or result in a really bent cable if that end plugs straight into the drive.
I mentioned not long ago that it’s hard to keep cables looking nice in this chassis, and that’s proven in one of the photos above. Someone spending a lot more time and energy on keeping the cables tidy will undoubtedly have a cleaner build than this, but there are limits. For the cleanest possible look, you’ll want to use cables that don’t chain more than one connector (take for example the PCIe cable for the graphics card).
The cables hanging from the top fans are another good example of what you might have to deal with. Depending on your setup, you may be able to orient the fans differently so the cables run directly through the back. In this case (ahem, chassis), this was the best arrangement.

Support our efforts! With ad revenue at an all-time low for written websites, we're relying more than ever on reader support to help us continue putting so much effort into this type of content. You can support us by becoming a Patron, or by using our Amazon shopping affiliate links listed through our articles. Thanks for your support!

Rob Williams
Rob founded Techgage in 2005 to be an 'Advocate of the consumer', focusing on fair reviews and keeping people apprised of news in the tech world. Catering to both enthusiasts and businesses alike; from desktop gaming to professional workstations, and all the supporting software.


