- Qualcomm Launches Snapdragon 4 Gen 2 Mobile Platform
- AMD Launches Ryzen PRO 7000 Series Mobile & Desktop Platform
- Intel Launches Sleek Single-Slot Arc Pro A60 Workstation Graphics Card
- NVIDIA Announces Latest Ada Lovelace Additions: GeForce RTX 4060 Ti & RTX 4060
- Maxon Redshift With AMD Radeon GPU Rendering Support Now Available
First Impressions Of Corsair’s Crystal 570X Mid-Tower Tempered Glass Chassis
When I took my first look at Corsair’s Crystal 570X at its release last fall, I fell in love almost immediately. Overall, the chassis design is simple to grasp and work with, but once in action, it’ll help make a build look downright gorgeous. I knew I had to have one as a base for our GPU test rig overhaul, and that move commenced last night.
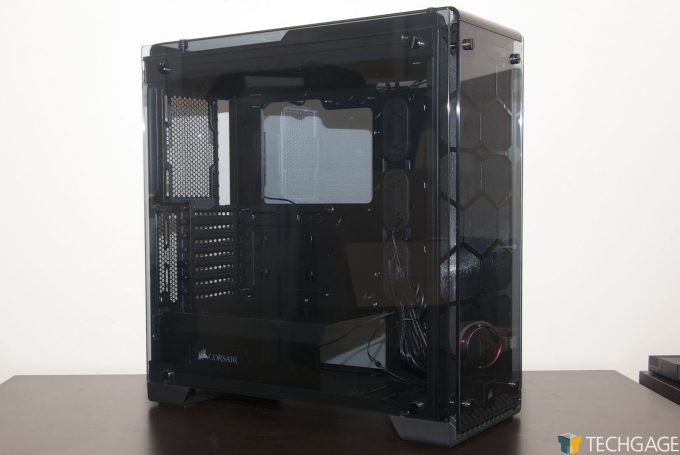
The reason for the “Crystal” naming isn’t hard to understand after taking a look at the series. All four sides of this 570X sport tempered glass – even the top, which I wouldn’t have expected. Tempered glass alone can improve the look of a build, but this chassis has four panes total, and other design cues that, to me, make the entire package drool-worthy.
Here’s an out-of-the-box look at the Crystal 570X, with protective film removed:
Because so much of the build is shown-off through its tempered glass, cable management is important, so like all other Corsair chassis, there are many ways to tidy your cables up and keep the build looking clean. Even the PSU is covered in the final build, sitting behind a shroud with a Corsair logo that lights up once the system is powered on.
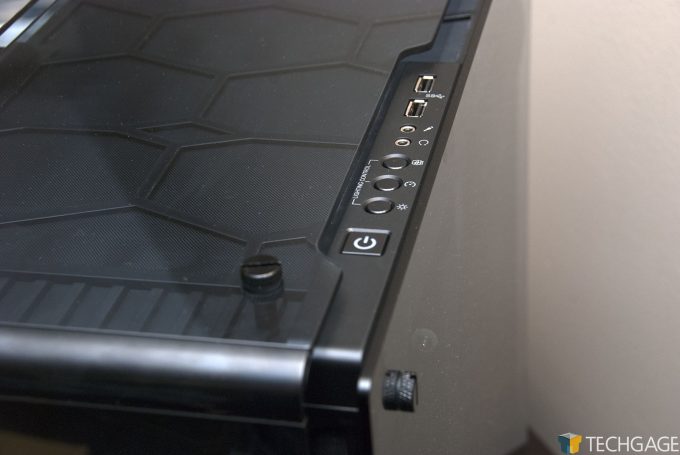
Inside the back panel, and also on the top, are a trio of buttons used to control the three front 120mm RGB fans, with different colors and modes available. Also at the top are dual USB ports, audio in and out, and also a power button.
“HEY! Where’s the reset button?” That’s a super simple question to answer: there isn’t one. Nor is there an HDD activity LED. This is despite the fact that both are referenced right in the manual. I admit that as I was building this machine last night, I was outright baffled – I had thought that somehow the cables got lost in the mess in the back of the chassis. But no – there is no reset button, which I assume is because it’s become a rare occurrence to need one.
The photo above shows how each pane of the tempered glass secures in place. The top and front panes have long screws, while the side panels have shorter screws. Removing any one of these panes of glass is no hassle at all; the most important thing is setting the glass somewhere safe while you work inside. I had a heart attack moment where the top pane, which was leaning up against a wall, somehow slid down to the floor and made a loud bang. Fortunately, I could save my tears for another day.
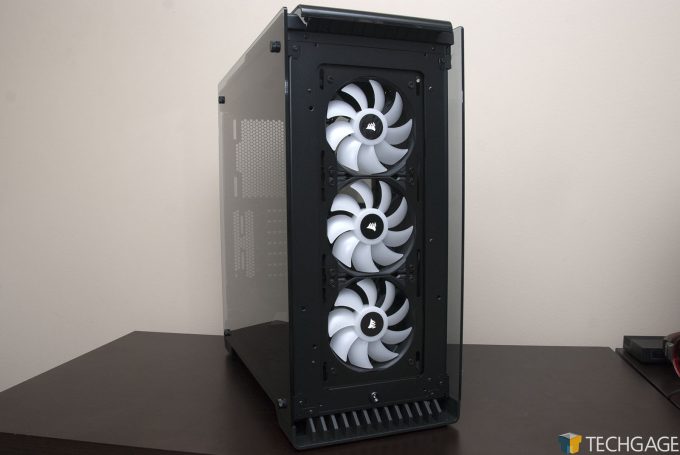
Some chassis come with one or two fans, but the 570X includes three. As mentioned before, these are RGB fans, and look beautiful once lit up. There are many different colors available, so no matter the color scheme you’re going for, this chassis will complement it.
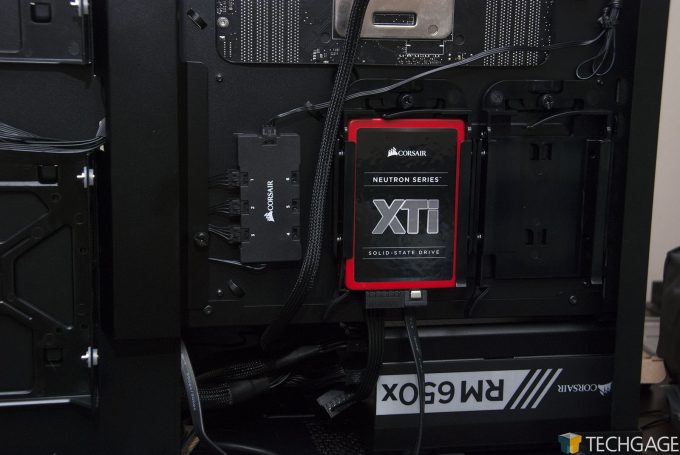
Because the entire back panel is exposed just like the other side is, Corsair has a number of mechanisms in place to help things looking clean. That includes dual bays for both mechanical hard drives and SSDs. No screws are needed to secure these drives, as the HDD bays have preinstalled screws (or pillars, more accurately), and the SSDs simply slide up into place.
Also seen in the shot above is the Corsair controller for plugging RGB fan headers into. You’ll still need your own power headers to actually have the fans work, though. That ties into a problem I am now facing: I don’t have a back fan in the chassis installed, but it’ll be rectified, somehow. Unfortunately, GIGABYTE opted for 5 headers on this motherboard rather than 6, complicating those matters a wee bit.
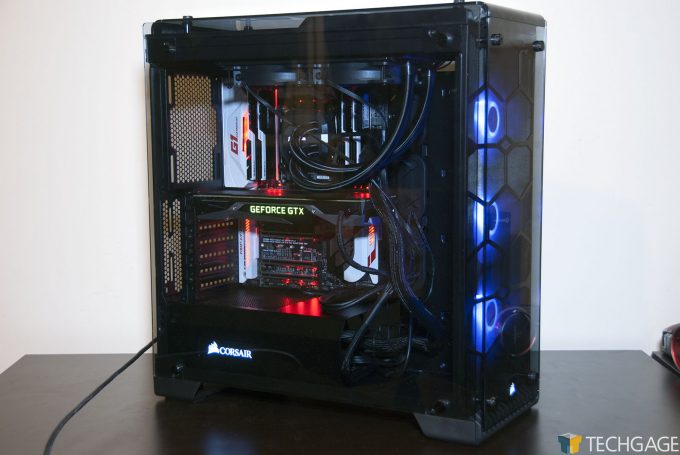
Nonetheless, when all is said and done, this is how the finished build looks before I figure out how to add a fan in the back:
“Your cable management sucks!” You’ve got that right, but I did the best I could. Some of the cables are rather thick, and can’t hide behind in the back, but I am sure someone with more talent would be able to keep the cables looking even cleaner. Regardless of those cables though, I seriously love the overall look of this build, and look forward to using it for our GPU testing.
As the title of this post implies, this is just a first impressions; I’ll dig deeper and publish a full review in the next week or two. But is it even needed? The chassis does kind of sell itself.


