- Qualcomm Launches Snapdragon 4 Gen 2 Mobile Platform
- AMD Launches Ryzen PRO 7000 Series Mobile & Desktop Platform
- Intel Launches Sleek Single-Slot Arc Pro A60 Workstation Graphics Card
- NVIDIA Announces Latest Ada Lovelace Additions: GeForce RTX 4060 Ti & RTX 4060
- Maxon Redshift With AMD Radeon GPU Rendering Support Now Available
Thermaltake Soprano DX
Thermaltake has a case for everyone and for every price range. The Soprano is one of their less expensive ones, but you wouldn’t know it by looking. In addition to it’s sleek styling, it has a piano mirror coating and a brushed aluminum front panel.
Page 2 – Inside the Case
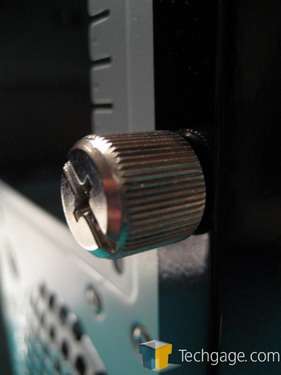
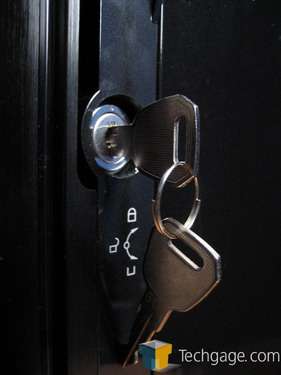
Opening the case is as simple as removing two (giant) thumb screws and pulling on a latch. A key is included, but it’s irrelevant considering most manufacturers use the same locks.
The inside had enough room to justify the absence of a removable motherboard tray. I mentioned that this case was bigger than others I had come across, and Thermaltake didn’t add the extra girth for nothing.
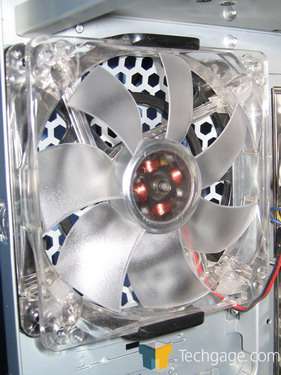
Here’s a shot of the 120mm fan from the inside.
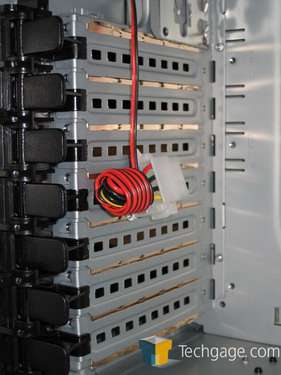
Going towards the bottom, we have a shot of the expansions slots with the tool-less installation that has been made popular over the years. This is a trend that you’ll see throughout most of the chassis.
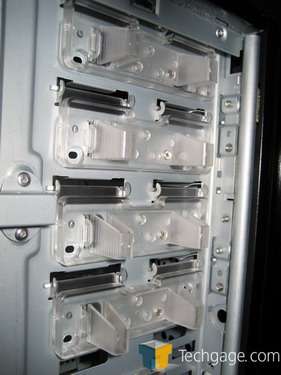
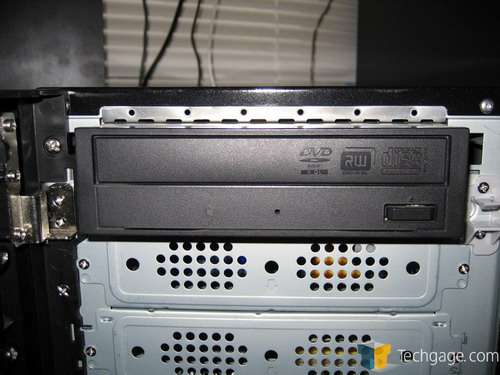
The case holds five optical drives with 5.25†bay rails, and two 3.5†floppy drives. Again, we have the same tool-less installation feature here.
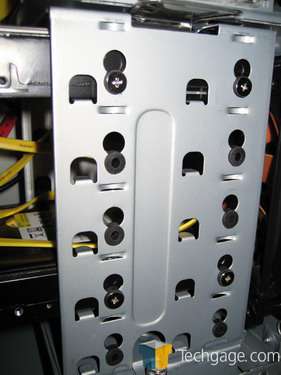
The hard drive bay, which holds five drives, is held into place by another thumbscrew. To remove it, you only need to take off the thumbscrew and push down the tab on the top.
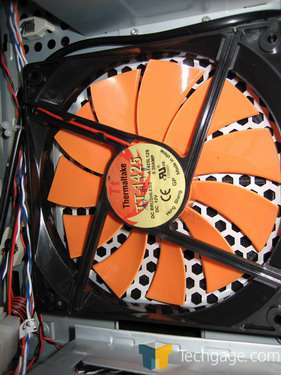
There is a massive 200mm fan behind the hard drives pulling in air. I prefer this to other solutions that place the fan on the other side of the cage, because it offers better airflow (meaning there isn’t a fan in the middle of the system sucking in air, but one placed on the side).
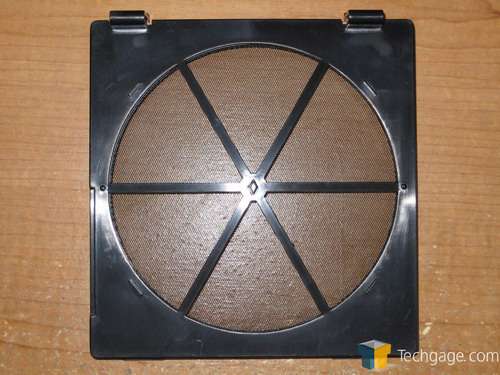
Taking off the front panel is a breeze. There’s another lock on the right side of the case near the front panel. Thermaltake includes another separate set of keys for the front panel. Unlocking the door to get to the drives and power/reset buttons involves rotating the key 90 degrees, and accessing the optical drives requires a 180 degree rotation. There is a washable filter in front of the intake fan that can be removed by squeezing on its tabs on the front.
Before we jump into the installation, you may wish to review my system specs:
- CPU: AMD A64 3700+
- Motherboard: DFI LanParty Ultra-D
- Memory: PQI Turbo 1GB
- Video: eVGA 7800GT
- Sound: Onboard AC’97
- Storage: Seagate 7200.9 320GB, Western Digital 7200.9 250GB
- Etcetera: OCZ EvoStream 600W, Windows XP Professional w/ SP2
(Products linked are to our reviews)
Let’s take a look at the installation and then finish off with my conclusions.
|
|
Support our efforts! With ad revenue at an all-time low for written websites, we're relying more than ever on reader support to help us continue putting so much effort into this type of content. You can support us by becoming a Patron, or by using our Amazon shopping affiliate links listed through our articles. Thanks for your support!


