- Qualcomm Launches Snapdragon 4 Gen 2 Mobile Platform
- AMD Launches Ryzen PRO 7000 Series Mobile & Desktop Platform
- Intel Launches Sleek Single-Slot Arc Pro A60 Workstation Graphics Card
- NVIDIA Announces Latest Ada Lovelace Additions: GeForce RTX 4060 Ti & RTX 4060
- Maxon Redshift With AMD Radeon GPU Rendering Support Now Available
Freespire RC1

Linspire recently announced a free version of their popular distribution, appropriately called Freespire. Though early in testing, we take a hard look to see if this will be a distro you should be considering.
Page 1 – Introduction
Linspire told us back in April that they were working on a free version of their popular distro, so all eyebrows raised. This was not really that much of a surprise though, considering there have been countless offers in the past to get Linspire for free. I will admit something straight out though… I have never much cared for either Lindows or Linspire. The reasons I dislike it are the same reasons new users love it, more than likely. This is certainly not a distro you would want to use to ‘learn’ Linux, but rather one you just want to use to get things done. After all, that’s what is important.
I think the goals of Michael Robertson and his crew are obvious. To deliver a completely free operating system that’s incredibly easy to learn and maintain. In reality, if you set a complete novice down in front of a Windows and Linspire machine, they would no doubt pick up on the latter much quicker. So you may ask, “Why a free version?” Well, the package management system, CNR, will still cost $20 or $50 a year, depending on what version you prefer. That’s where they will continue to make money, and it’s hardly a bad game plan. In some ways, CNR is well worth the cash. Without further ado though, let’s hop into the installation.
To give the latest release a try, I downloaded the RC1, essentially the third out the door. Like most distros I test out, I use my Intel 820 D, with a clean hard drive. Though I was unable to grab screenshots from early steps in the installer, I will just guide you through the process. The first option you find yourself on is an agreement, followed by partitioning information. If you are interested in dual-booting with Windows, Freespire will support that option.
Then it’s time to choose your username and password. By default, the root account is not activated on the system, but you are free to use sudo for simple tasks. After you accept the installation, within 10 – 15 minutes the entire process will be completed. Once done, you remove the disc and reboot. It really is the easiest Linux installation I’ve ever seen.
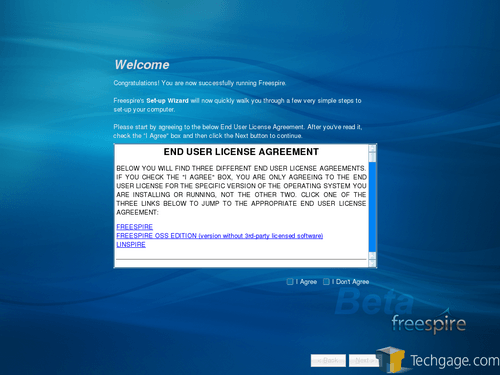
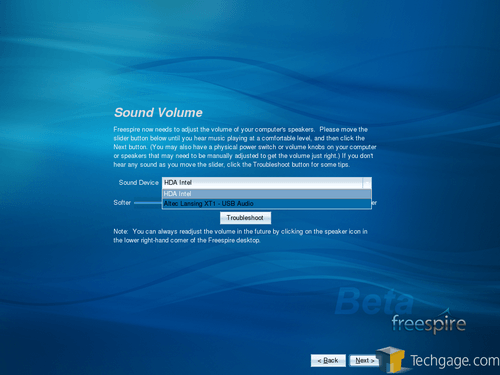
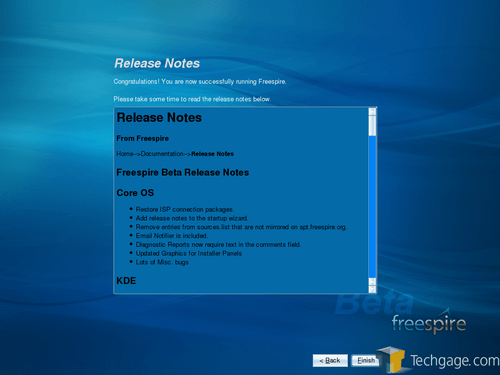
After the reboot, you will be greeted with a license agreement, and sound card setup.
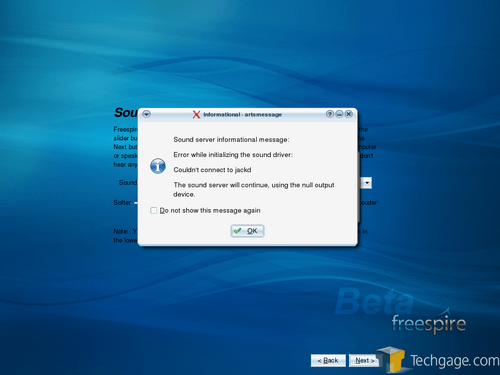
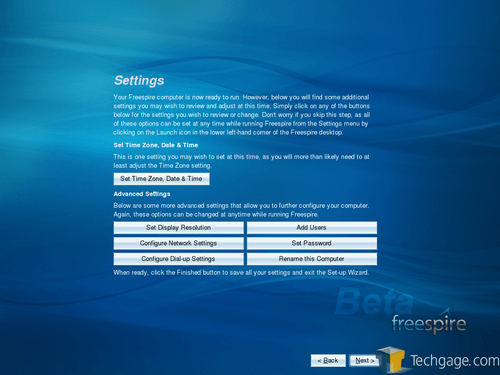
As you can see in the above picture, I was unable to select my USB audio, which happens to be the main source of sound on the PC. Even with my onboard HDA Intel Audio selected, it would also not function. Freespire chose to include the JACK sound system, which turns out to be rather quirky. Installing on my other computer, I had no problems. There are apparent issues with the sound system working on my Intel, which could be due to the i975x chipset. However, this is the first distro used on this PC that has had this issue. The USB audio module is not loaded, and cannot be loaded because it doesn’t exist. Regardless, the next screens you will see is for finalizing the installation.
Support our efforts! With ad revenue at an all-time low for written websites, we're relying more than ever on reader support to help us continue putting so much effort into this type of content. You can support us by becoming a Patron, or by using our Amazon shopping affiliate links listed through our articles. Thanks for your support!


