- Qualcomm Launches Snapdragon 4 Gen 2 Mobile Platform
- AMD Launches Ryzen PRO 7000 Series Mobile & Desktop Platform
- Intel Launches Sleek Single-Slot Arc Pro A60 Workstation Graphics Card
- NVIDIA Announces Latest Ada Lovelace Additions: GeForce RTX 4060 Ti & RTX 4060
- Maxon Redshift With AMD Radeon GPU Rendering Support Now Available
AC Ryan Playon!HD mini Media Player
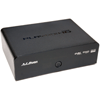
AC Ryan was once known as a company to produce many different products used to spice up your PC, but well over a year ago, it launched its Playon!HD media player series, and recently, those players became available in the US. We’re taking a look at the “mini” edition of the series, and see how it compares to the competition.
Page 2 – Setup and Usage
Like most of the media players out there, the Playon!HD mini was a breeze to setup and “install”. You simply connect your video cable from the device to your display, and then the power to the unit, and you’re good to go.
Oddly, I for some reason received a copy of the Playon!HD mini with outdated firmware, and everything from the UI to the options available were different. Fortunately, updating to the latest firmware was a breeze (requires copying the file to a thumb drive, and then the unit will basically do the hard work for you), and once done, I had the much-improved interface and more options available to me.
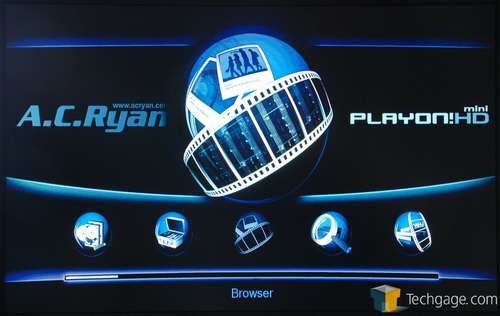
I apologize in advance for the less-than-stellar photos. It’s difficult to photograph a monitor sometimes, and it’s only made worse when the image on the screen is as dark as the interface here. What you see below is the main screen for the Playon!HD, and from left to right, you can access the various features available.
In total, there are six options: Browser, Media Library, Movie Jukebox, Internet Feeds, Internet Radio, File Copy and Setup. Browse isn’t for the Internet, but is rather the one-stop shop to go view your media. It doesn’t matter if you want video, audio or images, everything can be accessed through this one section. I prefer this method over separate sections.
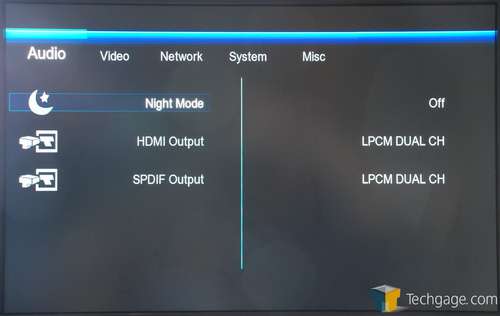
Almost just as important as the media support are the setup options for these devices, and the Playon!HD delivers, with nary an option missing that I would have liked to see. In the first section, for audio, you can choose whether to enable night mode or not (lowers bass), and change the output from HDMI to SPDIF, along with choosing to use passthrough audio.
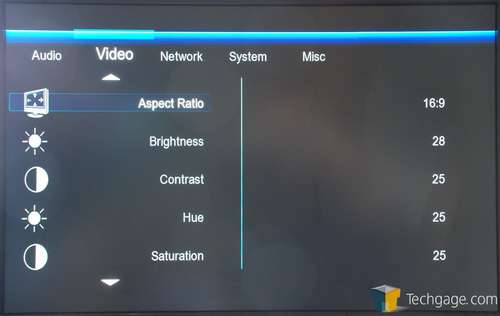
The video section is rather self-explanatory without even looking at it, allowing you to change things like the brightness and saturation, and also the resolution and mode for your display. If you want to run 1080p24 mode, you’re able to do that as well.
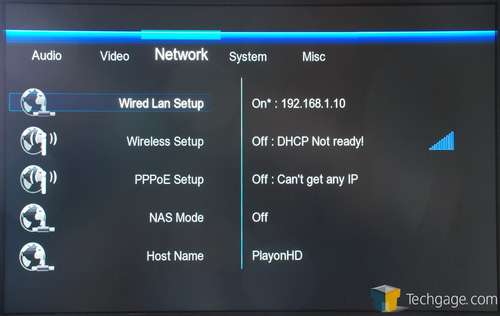
In the networking section, you can configure either your wired or wireless connection (AC Ryan sells a wireless adapter), and also enable NAS mode if you want to use it. NAS mode would allow you to access any data that’s accessible to the Playon!HD via external storage through other PCs or devices.
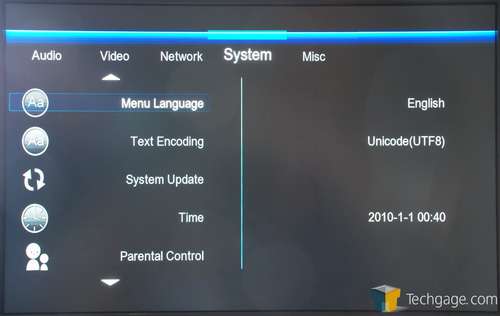
Under the system menu, you can configure things such as the text encoding, time, parental control, DVD auto-play and also update the firmware. The process of doing that is quite simple, and once you have it on your thumb drive, it takes about two minutes for the unit to update.
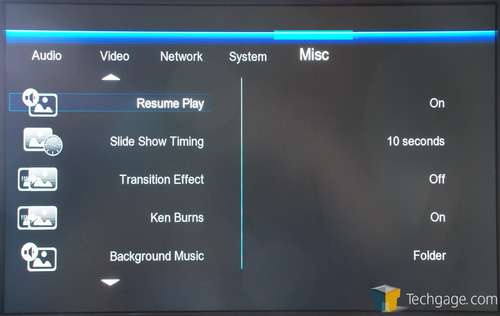
For things like screen saver delay time, slideshow transition effects, resume play feature, movie preview and other things, you can go to the miscellaneous section. The screen saver is set to 1 minute by default, so if you’re like me and hate seeing a screen saver often, you might want to change that value to 5 minutes, or if you have a TV that’s not prone to screen burn, you could turn it off (I don’t recommend it though).
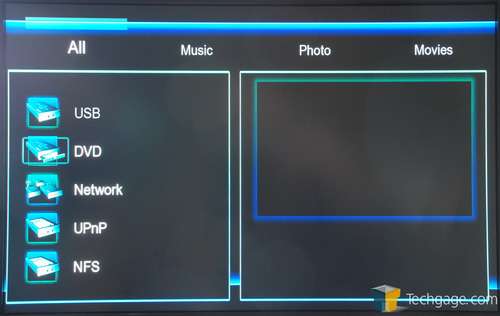
Once inside the “Browser”, you can access your media via a USB device, a DVD-ROM, the network, a UPnP device or through an NFS drive. The latter three options are all network-related, but depending on your setup, you might have to rely on either UPnP or NFS and not “Network”.
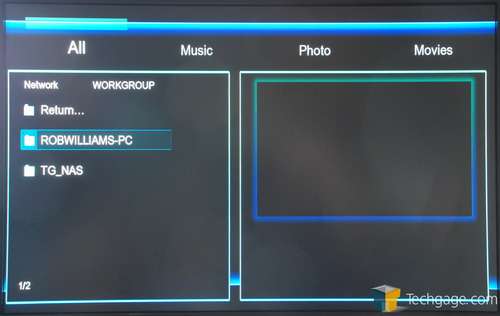
If you need to connect to a network PC or device that requires a login, the Playon!HD will allow you to save the credentials so that you don’t have to type them in each time. However, accessing those saved profiles is a little counter-intuitive… at first. I expected that when I’d log into the same PC again after saving the information, the device would automatically enter the credentials, but I was surprised to see it asking me for them again.
What I didn’t realize is that these saved profiles are stored in the “My Shortcuts” folder. At first, I hated this since I almost didn’t even clue in, but in the end, it’s actually best this way since you can access your media device in a few less menus.
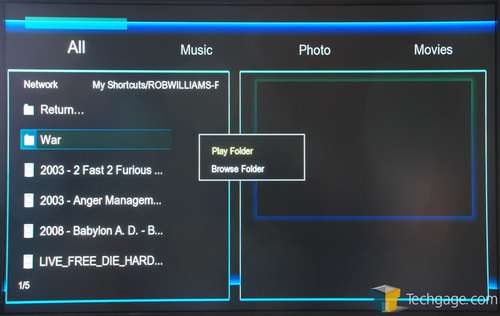
As the Playon!HD supports pretty much everything you can throw at it, it doesn’t really matter how you rip your Blu-rays if that’s what you want to view on the device. In the folder shown below, I have Blu-rays that were encoded into MKV format, and also an ISO and finally, an extracted folder. If you try to enter the folder, it will ask you whether you want to browse or play. Play will simply begin the main movie, as the unit doesn’t support Blu-ray menus. To my knowledge, no set-top media player currently does.
It’s impossible to show the image quality reliably with a camera, but this is the best I can do. Of all the content I watched on the Playon!HD, most of it consisted of Blu-ray rips, and they all looked great, with clean images and great color. The image quality I saw didn’t differ from watching the same Blu-rays on the PlayStation 3.
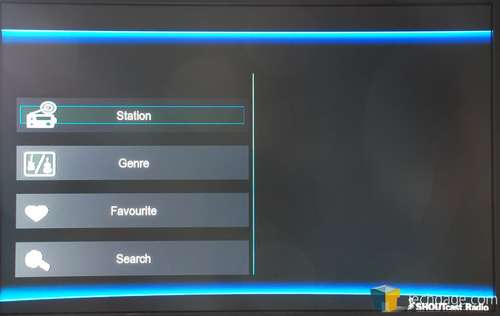
I’m not going to touch up on all of the features on the Playon!HD, and unfortunately, I didn’t manage to grab photographs of some because they were not working for me at the time I was taking them. That includes the Internet Feeds, which includes weather, Flickr, Picasa and RSS. I do have to say that their implementation is the best I’ve seen so far, though, especially the RSS. Flickr and Picasa are a bit slow to load, but I’ve found that to be the case on all media players I’ve dealt with so far. Personally, I don’t see a ton of use for those features given that they aren’t that fast to load, but if you like them, the implementations here are good (especially Picasa).
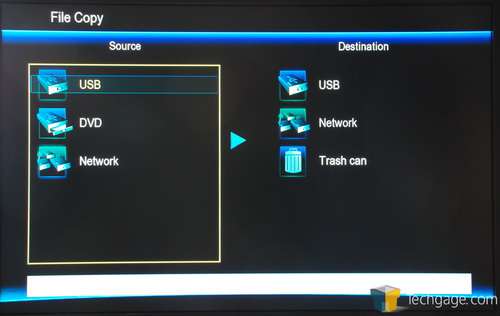
File copy is one feature I didn’t quite get a grasp on at all. Just when I thought a file would copy, nothing would happen, and no button I pushed would do anything. I’m in the process of waiting to hear back from AC Ryan, since the manual couldn’t help me out.
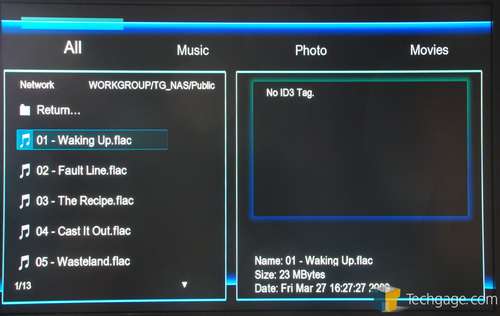
Listening to music is pretty straight-forward, and while a song is playing you can browse the rest of the Playon!HD interface and not have to worry about it stopping. An oddity, though, is that when a song transitions from one to the next, the system has the tendency to lag right before it happens. I haven’t had that happen with other media players.
One thing I can say though, is that this is the best media player I’ve used up to this point for photo viewing. The images are near-perfect, and scaled properly to the screen. They also load rather fast as well, but if you’re viewing through a network, larger images might take up to two seconds to load.
Overall, I found the interface on the Playon!HD to be easy to use, but the actual aesthetics could have used a little bit of extra work. There are some rough ends, but nothing that seriously detracts from the experience. But, compared to the ultra-clean and refined interface on the WD TV Live, it’s hard to not notice small details like this when they exist.
Support our efforts! With ad revenue at an all-time low for written websites, we're relying more than ever on reader support to help us continue putting so much effort into this type of content. You can support us by becoming a Patron, or by using our Amazon shopping affiliate links listed through our articles. Thanks for your support!


