- Qualcomm Launches Snapdragon 4 Gen 2 Mobile Platform
- AMD Launches Ryzen PRO 7000 Series Mobile & Desktop Platform
- Intel Launches Sleek Single-Slot Arc Pro A60 Workstation Graphics Card
- NVIDIA Announces Latest Ada Lovelace Additions: GeForce RTX 4060 Ti & RTX 4060
- Maxon Redshift With AMD Radeon GPU Rendering Support Now Available
An In-Depth Look at Ubuntu 11.04

After months of anticipation, Ubuntu 11.04, codenamed ‘Natty Narwhal’, has launched in its final form. The big news this time around is that the OS ships with Canonical’s ‘Unity’ desktop environment as default – a large risk on behalf of the company. To see if that risk paid off, let’s take an in-depth look to see what Unity’s made of.
Page 2 – Installing 11.04
One of the biggest reasons that Ubuntu is recommended to newer users of Linux so often is that Canonical tries to take the pain out of the installation process. Though once a relative chore, most any popular Linux distro installs with relative ease today, but Ubuntu takes things to the next level. For a lot of people, the process will involve just a couple of questions, and then waiting for the install to finish.
Thanks to its excellent hardware detection, booting up into the Live CD environment should trigger all of your PC’s hardware well enough that getting the OS installed, or testing it out, shouldn’t be a problem at all. For this review, I tested 11.04 on both my desktop and netbook, to see if the experience would differ. For the most part, it didn’t.
On the desktop, Ubuntu picked up on my Intel server NIC no problem, so I was online right from within the installer, and on the netbook, I had to boot into the live CD environment, but sure enough, the wireless card was detected and activated so that I could get online to download the package updates for the installer to use.
Before diving in, I should mention that a CD isn’t required for booting up with and installing Ubuntu. Should you have a thumb drive kicking around with free space on it, you could turn it into a bootable one with 11.04 right on it. With the final build, I used both the startup disk creator from within Ubuntu itself, and also UNetbootin, and both worked flawlessly.
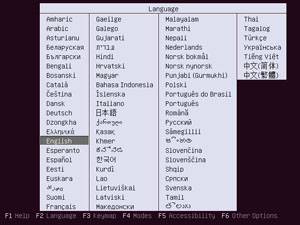
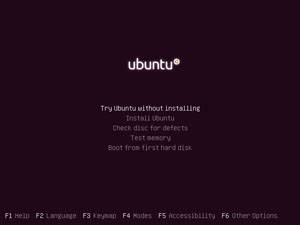
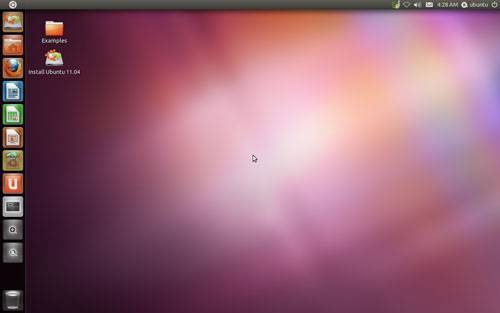
After clearing through the boot screen, you’ll either wind up directly at the installer, or at the live environment where you can both test drive and install the OS. If you’re installing the OS on a notebook without a wired Internet connection, but want to take advantage of pre-install package downloads (recommended if you have the bandwidth), the live environment method is recommended, since there’s a better chance your wireless card will be noticed and able to be activated.
Note: For the sake of ease, all of the screenshots on this page (except of the desktop itself) were taken from a virtual machine install of the OS. Actual testing of the OS was done with native installs, as mentioned above.
Speaking of the live environment:
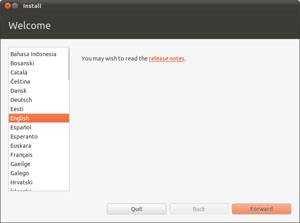
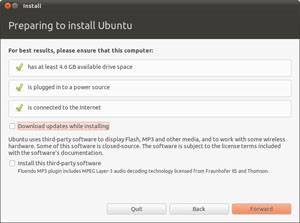
After launching the installer, you’ll need to choose a language (of the 50+ available), and then proceed onto a brand-new screen that asks a couple of simple, but useful questions. With 11.04, you will have the option to “Download updates while installing”, which does just as it says. Since Natty was just launched, there aren’t going to be many updates available, but imagine how useful this option will be months down the road. In addition, there’s also an option to install third-party software, which includes various media codecs, including Adobe Flash. Choosing this option is the equivalent to installing “restricted extras” after the install.
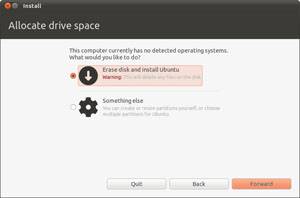
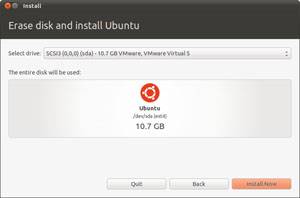
Up next is the partitioner. Because I’m installing to a virtual machine, the options are simple. But if you had Windows or another version of Linux installed, it’d offer up options to install 11.04 beside another OS, or install straight to an empty partition if you created one beforehand.
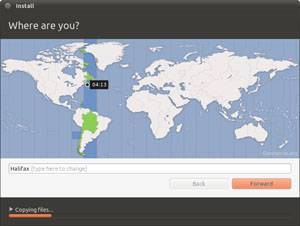
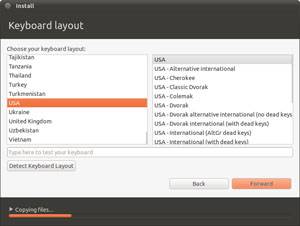
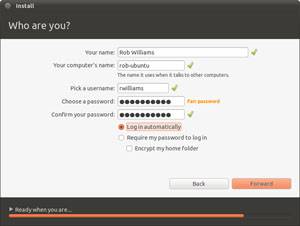
The coolest thing about 11.04 is that the installation is made quicker by asking you questions during the process, not prior. As it installs, you’ll be able to choose your timezone (which will likely be properly set already if you are online), keyboard layout and then user information. Depending on how fast you are, the installer might be waiting on you, not the other way around!
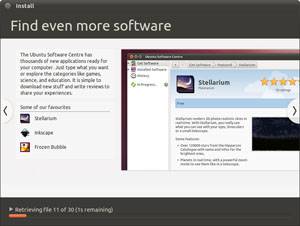
While the installer wraps things up, you can peruse some of the slides available, to get some ideas for software to install once you hit your native desktop. Once this process is done (can take 5-15 minutes, or more depending on your Internet connection if it applies), the installer will give you the option to reboot. After doing so, you’ll be at your native install in a matter of a couple of minutes.
Support our efforts! With ad revenue at an all-time low for written websites, we're relying more than ever on reader support to help us continue putting so much effort into this type of content. You can support us by becoming a Patron, or by using our Amazon shopping affiliate links listed through our articles. Thanks for your support!


