- Qualcomm Launches Snapdragon 4 Gen 2 Mobile Platform
- AMD Launches Ryzen PRO 7000 Series Mobile & Desktop Platform
- Intel Launches Sleek Single-Slot Arc Pro A60 Workstation Graphics Card
- NVIDIA Announces Latest Ada Lovelace Additions: GeForce RTX 4060 Ti & RTX 4060
- Maxon Redshift With AMD Radeon GPU Rendering Support Now Available
Antec P182 Performance Mid-Tower
It’s a well-known fact that Antec produces some of the best cases on the market, and the P182 is a perfect example of that. We have here a case that looks great, packs a lot of smarts and is efficient, all at a price that’s easy to swallow.
Page 3 – Installation
The included manual with the P182 explains how to use everything, but it’s not that intuitive. The entire manual uses a lot of small fonts, so I found myself having to squint half the time to understand what was going on. That all aside, the installation was rather simple, as we will find out.
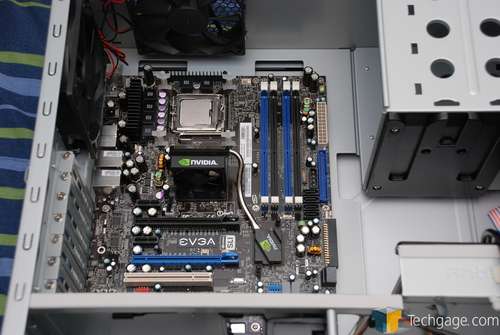
The board installation could not have been more simple. Though it’s not normally considered difficult, Antec sped up the process by having the motherboard mounts in place already, so all I had to do was set the board in.
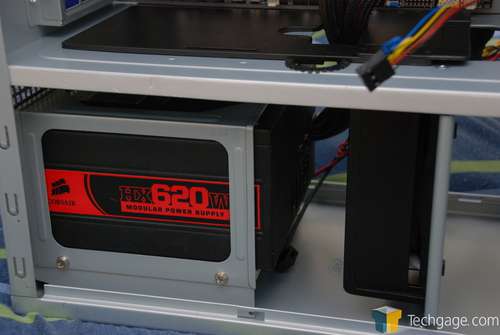
The power supply mounting at first, confused the heck out of me. I wasn’t sure how exactly I was supposed to actually fit a PSU in there, but I managed. See those two screws there? There are two more on the opposite side, allowing you to remove this bottomless frame.
Once thats removed, you need to put the frame over your PSU, and then place it into the case. Sounds simple, but it is a tight squeeze. Once in, apply some screws and it’s secure. The cables route up through the hole seen here.
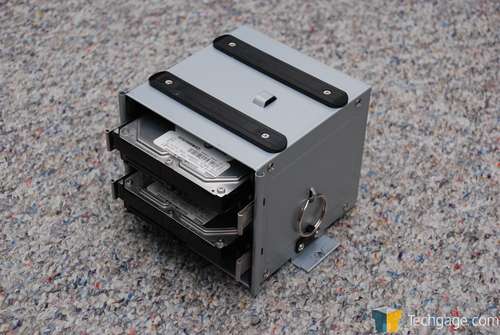
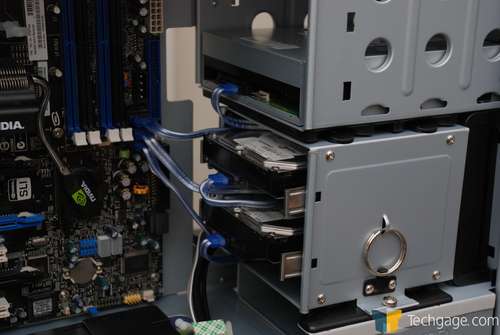
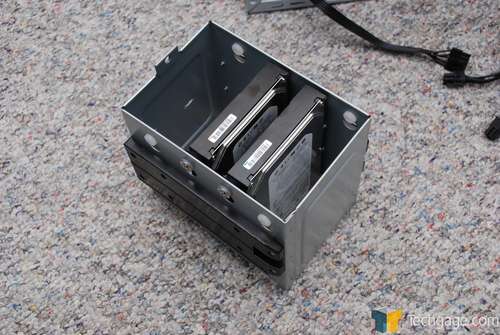
Now, I made a mistake with the hard drive installation, but I will explain why exactly shortly. This is the middle box that you see. Once hauled out, you can set the hard drives into the trays and slide them in. It’s very easy, once you know what you are doing. The trays utilize rubber mounts in order to reduce vibration. Essentially, the only thing standing between your hard drives and the rest of the frame, are those rubber mounts.
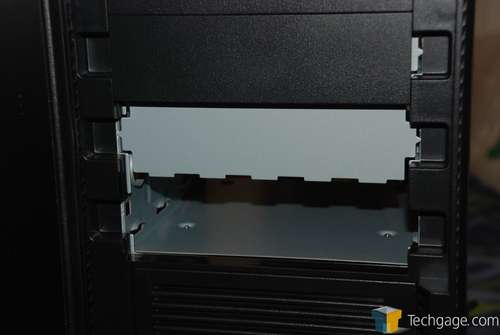
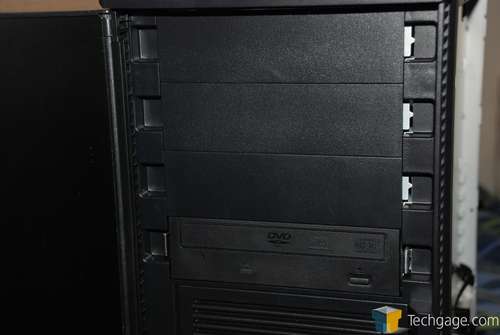
Also, on the opposite side of that box (not pictured) is a small case that allows you to store leftover screws. Very handy. Optical drive installation was as easy as can be expected. You need to first pop out the plastic piece and then remove the metal blocker. That is an experience that could have been made easier, but it was out in about two minutes.
After applying the plastic mounting pieces to each side of the drive, you can slide it right in, and be left with a clean looking result.
When all the drives are installed, it will look like this.
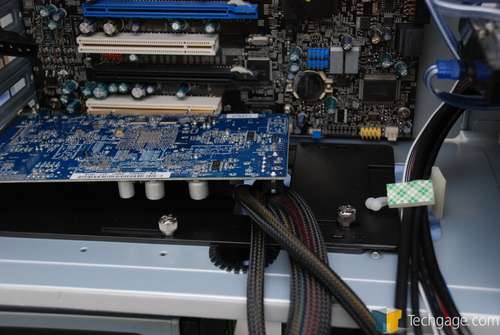
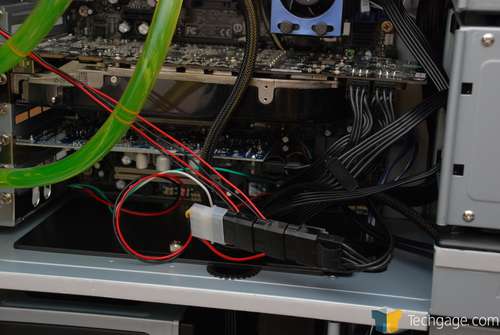
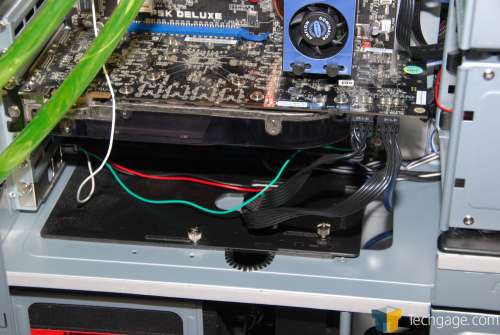
One fact I learned quickly was that the bottom slot of your motherboard may be deemed unusable because of the power supply cables that run through. Here you can see I tried to install an AGEIA PhysX card, but was unable because of those cables. Depending on how long the card you are trying to install is, you may have a difference experience.
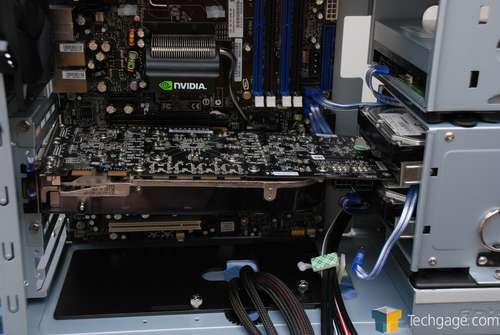
Remember earlier when I mentioned that I goofed with the hard drive installation? Here is precisely why.
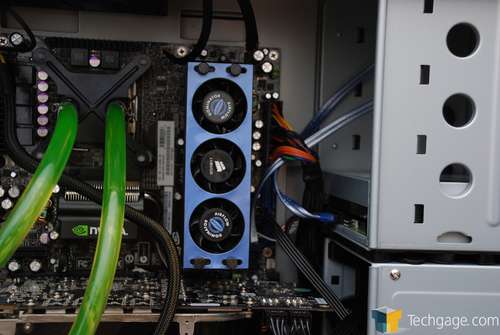
The mammoth 8800GTX card is so big, that it was unable to be installed with the hard drives installed. Actually, the trays had to be removed as well, in order to fit it in there. Begrudgingly, I removed the trays, so that the card would fit. This is not the fault of the case, as it’s not designed around such a large card. This problem is taken care of with the P190, although I am unsure to what extent.
Back to installing the hard drives again. The bottom box has you install the drives in a similar manner, except you don’t need a separate tray. I have to say though, that the mounting method is incredibly smart. The rubber mounts are easy to deal with, and are really effective in keeping vibration to a minimum.
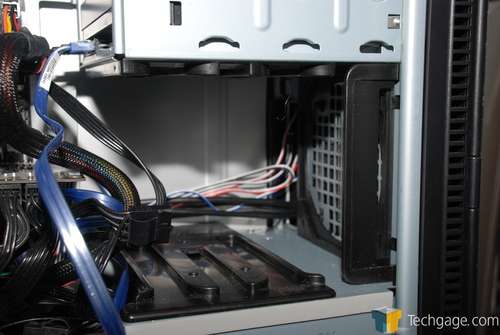
Once the rest of your stuff is installed, routing the wires in the most efficient manner will be fun. In the photo below, you can see that there is a mess of wires all grouped in one spot. The good thing is that this is really the best place for them. Although difficult to tell from that photo, below the middle hard drive tray, is an empty area that will allow you to push some of the cords into.
Here is a top down view of the top fan guard. Its ultimate use may be questionable, but it looks great regardless.
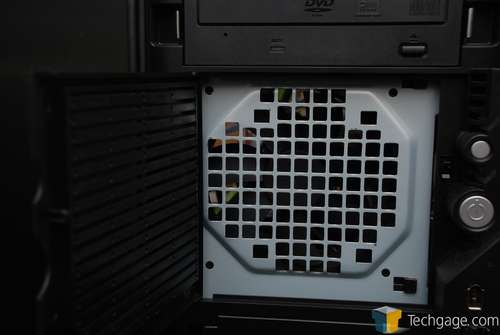
Before I finished up, I wanted to install a single 120mm fan behind one of the drive bays. Considering nothing was now placed in the center hard drive box, I installed it there.
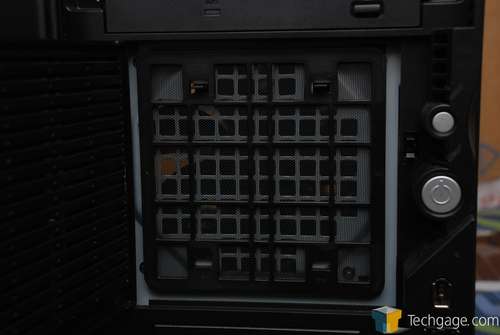
After opening the front door, I removed the mesh in order to access the screw holes. After that, it’s as easy as putting the fan in place, and using large screws in order to secure it.
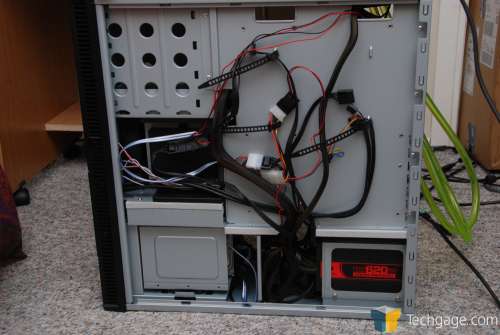
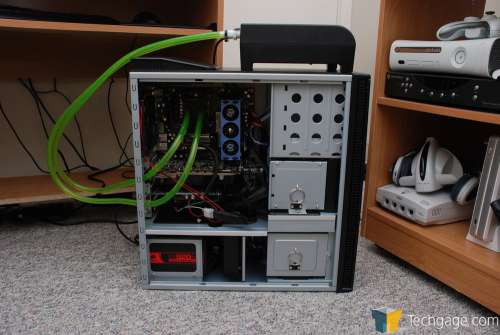
One feature I didn’t elaborate on too much is that the P182 gives you the ability to cleverly route some of your cables up through the backside of the case. If your PSU cables are long enough, you could route them through the back, as you can see in the photo below, and then around the side to reach their destination. That effectively rids the clump of cables shown above.
Finally, here is the final result of all the effort.
Overall, I don’t have any large complaints about the installation process. Some things could have been made easier, but those gripes are overshadowed by the overall sensibleness of the layout and design. Some things are a little more difficult to place because once finished, they are secure and in an optimized spot.
|
|
Support our efforts! With ad revenue at an all-time low for written websites, we're relying more than ever on reader support to help us continue putting so much effort into this type of content. You can support us by becoming a Patron, or by using our Amazon shopping affiliate links listed through our articles. Thanks for your support!


