- Qualcomm Launches Snapdragon 4 Gen 2 Mobile Platform
- AMD Launches Ryzen PRO 7000 Series Mobile & Desktop Platform
- Intel Launches Sleek Single-Slot Arc Pro A60 Workstation Graphics Card
- NVIDIA Announces Latest Ada Lovelace Additions: GeForce RTX 4060 Ti & RTX 4060
- Maxon Redshift With AMD Radeon GPU Rendering Support Now Available
Antec Sonata III Mini Tower
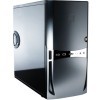
The Sonata was Antec’s flagship case for it’s time and set the standard for the competition. It offered quiet performance with an affordable price tag for the budget market, which made it a favorite among system builders. Two generations later, Antec is using the Sonata III to improve on it’s legacy and offer builders the same quality and bang for their buck.
Page 2 – Inside the Case, Installation
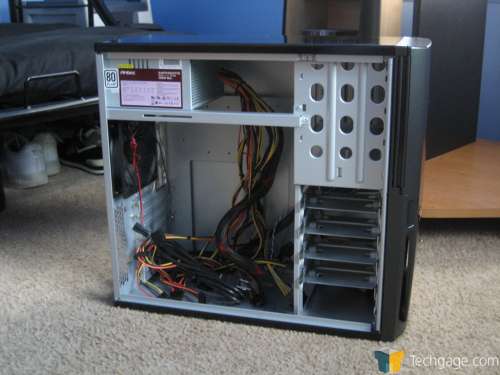
The inside of the case is really the standard affair. For a mid-tower case, the Sonata III has a pretty roomy interior.
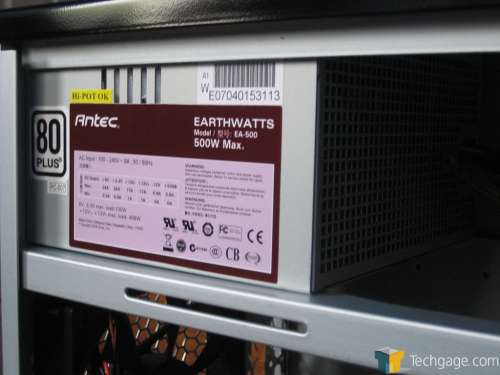
You’re probably tired of my mentioning the older model by now, but if you’ve ever seen the insides of a Sonata case before, there’s nothing new about the chassis worth mentioning. The line was quiet because of components (the fans and power supply) inside, and thankfully, Antec did give those an upgrade. Inside sits an EarthWatts 500 Watt power supply, which has a standard array of connectors: a 24-pin ATX connector, an 8-pin connector, a 4-pin connector, six Molex connectors, four SATA connectors, and two PCI Express connectors. The load is spanned across two +12v rails which have 17 amps of power.
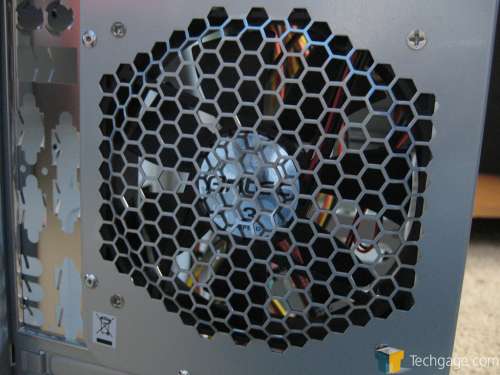
The fan in the back of the case is the same type of TriCool fan found in other Antec cases. The fan has a switch for three speed settings: low, medium, and high.
Another 120mm fan can be mounted next to the hard drive bays. The hard drives should stay cool enough in most circumstances, but installing another fan isn’t a terrible idea if you want to ensure proper airflow both in and out of the case. In some cases, the extra fan may get in the way, so you’re experience may depend on your hardware.
There’s nothing out of the ordinary with handling the install process. There are no special precautions you have to take or no glaring problems people should have to work around. Dealing with my fair share of cases that have certain problems with larger components or installing certain hardware, I’m grateful I didn’t run into any problems this time around.
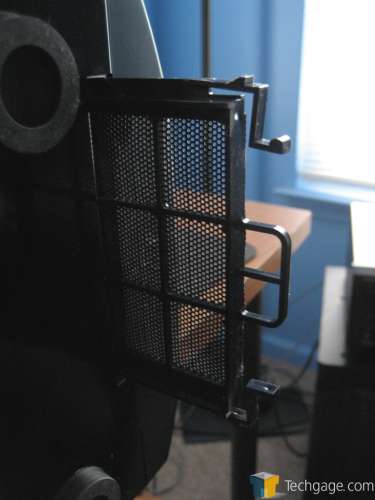
The washable air filter is taken out from the bottom by pinching the two ends.
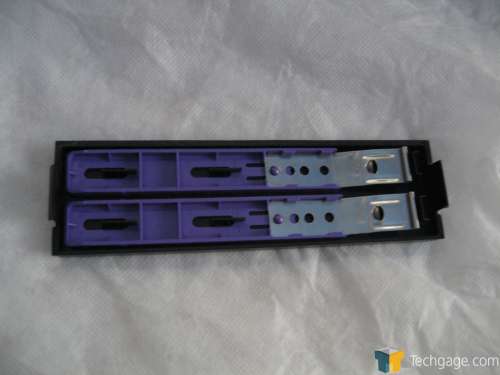
Optical drive and 3.5″ component installation is done with the same drive-rail system. The rails are located behind the drive bezels and must be screwed on (which brings a tear to my eye, just getting used to tool-less installations). After they’re fastened on, it’s just a simple push and connecting a few wires to get the job done.
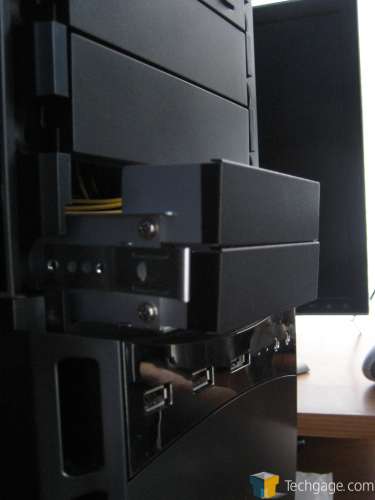
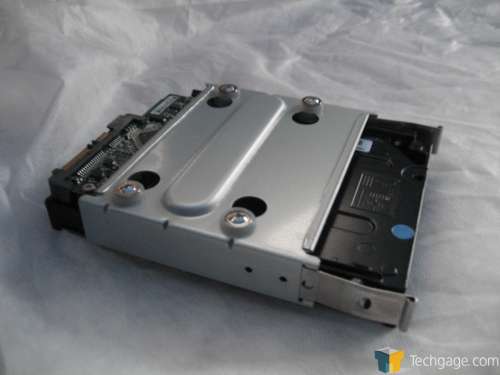
The hard drives are secured by screwing them on the hard drive rail, connecting the wires and sliding them in. If you’re not used to Antec’s method of installation, the rails use the threads on the bottom of the drive, rather than the sides.
I’m not personally a fan of how the inside deals with wire management, because there are only a handful of places you can use to hide wires, most of them being near the drive bays. Zip ties can be used along the rail at the top to keep some wires from hanging freely in the case, but that’s about it. Some wires can be routed to the bar and held into place with a zip tie, but you’re going to have a hard time unless you get overly creative.
With the last generation, a lot of people rated the included power supply highly. Regrettably, after about a year or so, there were a flood of people complaining about failures and general problems. Hopefully, this won’t happen this time around. The PSU is the highest watt power supply in Antec’s EarthWatts lineup. The power supply has the ability to spin the fan up and down with the system is pulling a certain amount of power. When I first turned the computer on, I was shocked at how quiet it actually was.
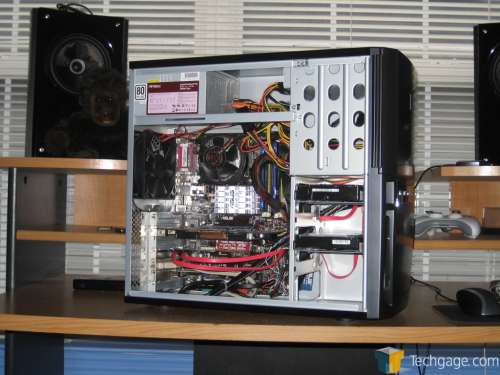
Here’s what it looks like with everything installed.
There was one negative I did come across. The hard drive and power LEDs are both blue, which made things confusing at first, especially since you can’t just glance down and read a label (well, since there are none).
Support our efforts! With ad revenue at an all-time low for written websites, we're relying more than ever on reader support to help us continue putting so much effort into this type of content. You can support us by becoming a Patron, or by using our Amazon shopping affiliate links listed through our articles. Thanks for your support!


