- Qualcomm Launches Snapdragon 4 Gen 2 Mobile Platform
- AMD Launches Ryzen PRO 7000 Series Mobile & Desktop Platform
- Intel Launches Sleek Single-Slot Arc Pro A60 Workstation Graphics Card
- NVIDIA Announces Latest Ada Lovelace Additions: GeForce RTX 4060 Ti & RTX 4060
- Maxon Redshift With AMD Radeon GPU Rendering Support Now Available
Apple TV (2010)
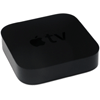
The latest Apple TV media streamer is here, and unlike the original that launched in 2007, this one has a lot of competition. It features a super-small frame, fantastic iTunes movie rental and Netflix support, a clean-looking and smooth-operating interface and overall good performance. But can Apple’s latest compete with the established competition?
Page 3 – Movie Rentals
Hooking up the Apple TV is as simple as to be expected. You connect the HDMI and power cables to the device, and then the other ends to their proper locations (please don’t try plugging the HDMI cable into the power socket, okay?). After that’s done, the device might already be turned on, but if not, any of the buttons on the remote will take care of it.
Apologies in advance for some of these photos, as they’re horrible. Photographing a UI like this on a typical display isn’t too easy!
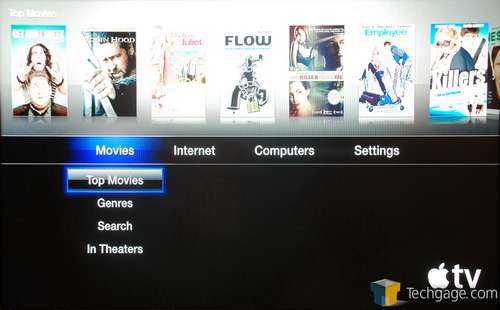
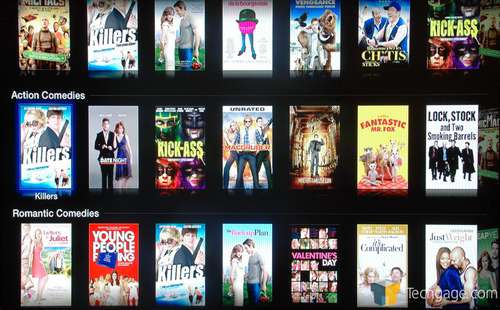
The interface as a whole is rather simple, with the main screen being comprised of the menu options down bottom, and recent content being shown above. The “Movies” section is the first one listed, and it’s all about iTunes integration. The movies shown are available as rentals, and can be selected by simply using your remote to access that area and then pushing the button to enter a particular title.
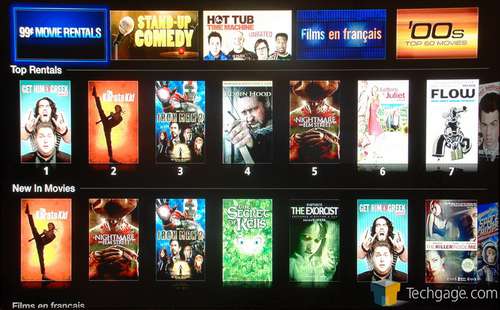
For all intents and purposes, the interfaces for both iTunes and Netflix are similar, but I will tackle them separate since they do vary in some interesting, but not so noticeable ways. After entering the “Top Movies” section, you’ll be greeted to a barrage of different movies available for rent. Not all are going to be available in HD, and unfortunately, there’s no way to know which are until you access one.
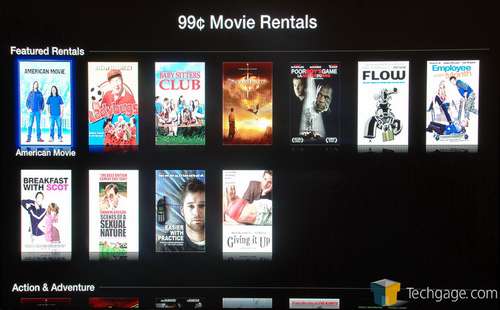
At the top of the display are different featured categories, including one where you can access $0.99 rentals if you’re feeling like watching a flick on the cheap. HD rentals, if available in this category, are priced at fairly modest $1.99 each.
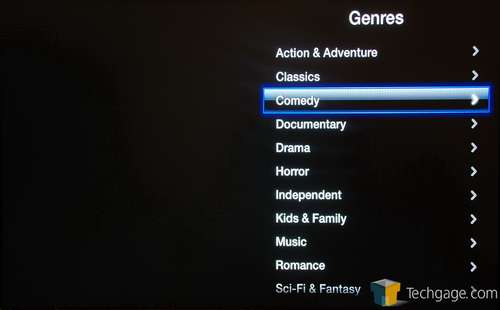
For the most part, these featured categories are nice if you want to simply find a movie fast, but like with iTunes, the Apple TV can let you fine-tune the genres to help you find something more suitable for your mood.
Once a category is chosen, the resulting selection is further refined by splitting up the results into sub-categories, such as Action Comedy, Romantic Comedy, et cetera. By default, about 20 movies are shown per category, but you’ll have the option to view more with the help of a button at the end of each of them.
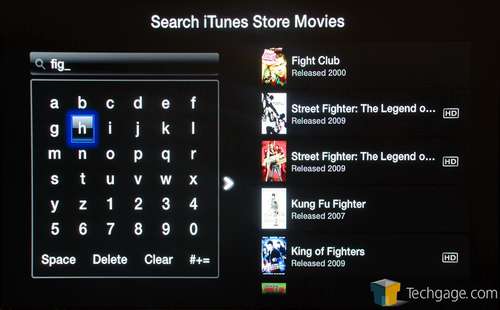
Finding a specific movie to watch is quite simple, and all of my tests proved fruitful. As you “type” in the name, the results will automatically be displayed on the right side, a la instant Google. In the example below, I typed in “fig”, and it brought Fight Club up right away.
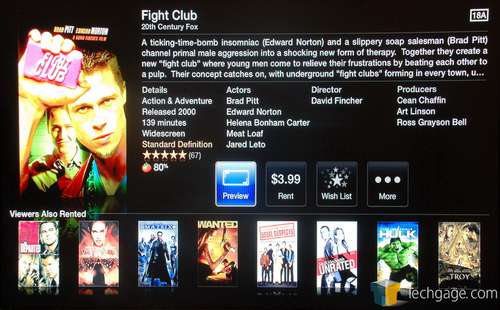
After selecting a movie, you’ll be greeted with a light description, an actor list, and other bits of various information, including whether or not the rental will be in HD. Conveniently, all of the movies available here that have a Rotten Tomato rating will also be seen here, helping you to avoid movies that might not be worth a rent at all. Fight Club is far from being one of those.
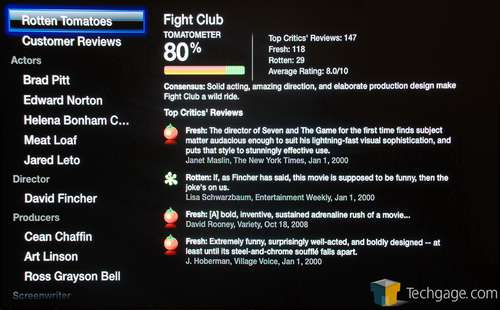
Selecting the “More” option will replace the entire screen with specific movie info, including actual quotes from various critics at Rotten Tomatoes, more rating information, and also a split-up list of actors, producers, directors and so forth. Any of these names can be selected to get a fresh list of movies that are related to that person.
Overall, the implementation of iTunes on the Apple TV is quite good, but there are a couple of downsides. The main one is the fact that from the Apple TV itself, you can only rent movies, not purchase. If you wish to do the latter, you will need to do so through iTunes on a computer. Another light downside is that not every movie available on iTunes is available as a rental, so in some regards, the selection could prove to be a little slim.
Support our efforts! With ad revenue at an all-time low for written websites, we're relying more than ever on reader support to help us continue putting so much effort into this type of content. You can support us by becoming a Patron, or by using our Amazon shopping affiliate links listed through our articles. Thanks for your support!


