- Qualcomm Launches Snapdragon 4 Gen 2 Mobile Platform
- AMD Launches Ryzen PRO 7000 Series Mobile & Desktop Platform
- Intel Launches Sleek Single-Slot Arc Pro A60 Workstation Graphics Card
- NVIDIA Announces Latest Ada Lovelace Additions: GeForce RTX 4060 Ti & RTX 4060
- Maxon Redshift With AMD Radeon GPU Rendering Support Now Available
ASUS P9X79 PRO Motherboard Review

Intel’s X79 platform may seem a little dated by this point, but it in fact remains the best choice for those needing to build the biggest, baddest PCs around – especially with Ivy Bridge-E likely 9+ months away. Complementing X79’s goals perfectly is ASUS’ P9X79 PRO, a motherboard that offers a rich feature-set in both hardware and software.
Page 4 – Features: Fan Xpert+, USB 3.0 Boost & Other Tools
Fan Xpert+
Today’s motherboards are beyond feature-packed, but something many of them still lack is truly robust fan control. For those who really want to tweak their fan’s behavior, this has no doubt been a little frustrating. When ASUS noted this void in the market, it released Fan Xpert+. This solution is driven by an on-board fan controller, negating the need for a hardware fan controller (unless you happen to want one for easy manual control).
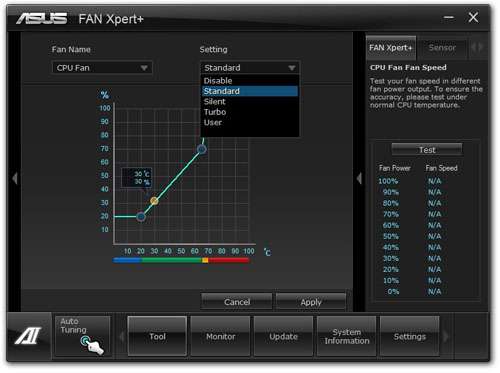
In Fan Xpert+ (there’s a sequel, which I’ll touch on in a moment), you’re able to choose between a couple of different profiles; Standard, Silent, Turbo and User – all of which I’m sure are self-explanatory. User is the most powerful option here, as it allows you too choose exactly how fast each fan will go at a given CPU temperature. But how could you possibly know which RPM the fan will output at a given power output percentage? That’s where the “Test” option comes in.
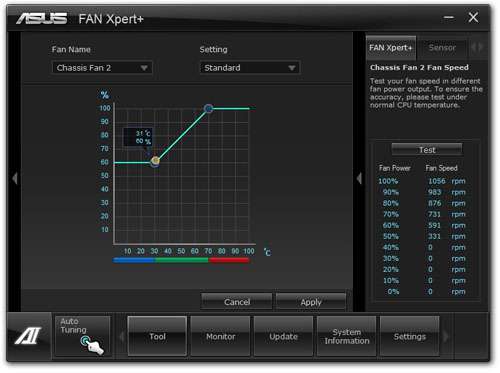
Clicking the Test option will spin down the chosen fan and slowly ramp it up to its max value. Along the way, it will record the given RPM value at each each increment of 10%. You can see an example of a result in the shot below:
As you can imagine, different fans can behave in very different ways, and it’s for that reason that this Test tool is so useful. In this particular case, I have a fan that doesn’t even power on until 50% of its voltage is applied – rather nonsense if you ask me. However, between 50~100%, the fan ranges from 331 RPM straight up to 1,056 RPM. With these nice jumps in between each 10%, you can easily create the perfect profile for a given CPU temperature. The software is also aware of two fans for the same CPU, labelled as CPU_FAN and CPU_OPT, so the second fan won’t be treated as a chassis fan.
More ridiculous than the fan above might be one that doesn’t scale based on power at all, such as this one. It could be that this fan actually is ramping up in a regular manner, but for some reason isn’t reporting back the appropriate value. In this case, you’d actually have to listen by ear as the test conducts and get a feel for things that way. Ideally, you won’t have fans like this installed in your PC.
With ASUS’ Z77 launch came Fan Xpert+ 2. What it adds is an auto-tuning option which tests each and every installed fan, one by one, much in the same way the test does above. However here, the tool will automatically create profiles using advanced algorithms built in-house based off of testing with a large collection of different fan models. Of course, once the profile is created, you’re able to further tune each and every value. It’s a little unfortunate to not have this ability available here, but on the upside, the Test feature at least is.
USB 3.0 Boost
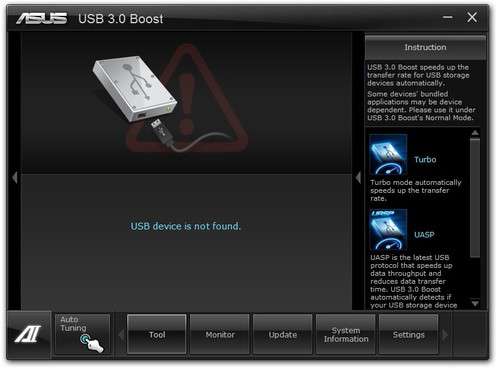
Ever since the release of the first USB 3.0 products, we’ve heard the word “boost” everywhere, either in regards to transfer speeds or charging. It’s for that reason that I didn’t quite appreciate ASUS’ USB 3.0 Boost to the extent I think I should have. However, as I discovered, it does in fact have quite a bit of value.
The most effective USB 3.0 transfer protocol is UASP, “USB Attached SCSI Protocol”. Compared to the traditional BOT transfer method, UASP is able to send files along more effectively at higher queue-depths. When you can copy more than one file at a time, that’s much more effective than going in a sequential order. Even though UASP, to me, should be standard on every motherboard, that’s not the case even at this point in time. ASUS once again had the foresight to include the solution as early as possible – so early, that it had to release the official upgrade after this board was released. If you want to know just how standard UASP is – Windows 8 utlizes it by default.
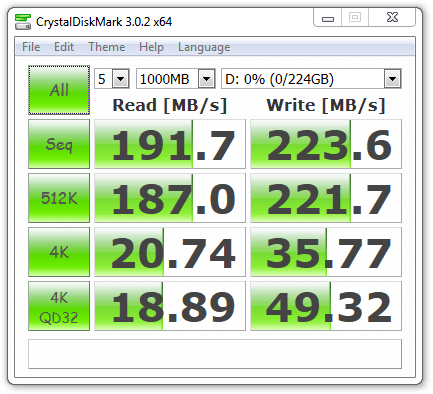
Here are the differences between the traditional BOT and new UASP protocols in terms of throughput:
It goes without saying that I’m a lot more interested in UASP than BOT after seeing these results. The other X79 board we tested ASUS’ P9X79 PRO against does not have UASP, so it’s our hope that it’s a feature that will become 100% common with the updating Haswell-targeted motherboards. It’s worth mentioning that you need a UASP compatible device (card reader or dock) in order to take advantage of the extra speed. Unfortunately, these are still quite rare at this time, and the only hard drive dock that we’re aware of is the updated Thermaltake BlackX 5G.
Other Tools
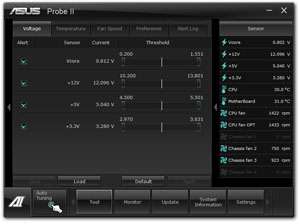
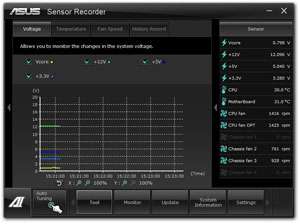
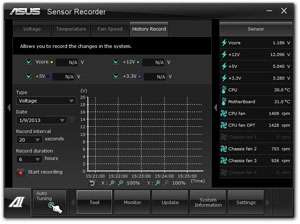
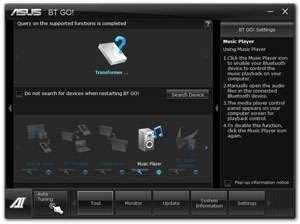
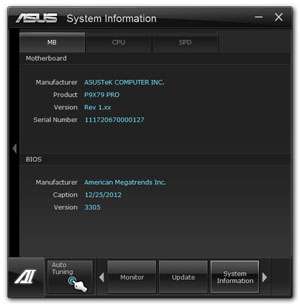
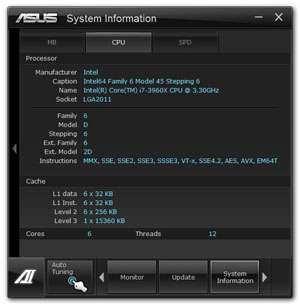
To help wrap up our look at Ai Suite II, we’ll just briefly talk about a couple of the other smaller tools that ASUS includes in the package. Probe II is a hardware monitor that has the ability to alert you if one value experiences an unsafe variance; Sensor Recorder needs no explanation; BT GO! is ASUS’ Bluetooth solution that can provide extended interoperability with mobile devices (though my experience with my Transformer Prime was limited); SSD Caching, yet another self-explanatory feature by this point, and finally, System Information, a minimal system information tool.
Have you had your fill of Ai Suite II yet? If not, please re-read this page and the last. If so, let’s jump right into the benchmarks!
Support our efforts! With ad revenue at an all-time low for written websites, we're relying more than ever on reader support to help us continue putting so much effort into this type of content. You can support us by becoming a Patron, or by using our Amazon shopping affiliate links listed through our articles. Thanks for your support!


