- Qualcomm Launches Snapdragon 4 Gen 2 Mobile Platform
- AMD Launches Ryzen PRO 7000 Series Mobile & Desktop Platform
- Intel Launches Sleek Single-Slot Arc Pro A60 Workstation Graphics Card
- NVIDIA Announces Latest Ada Lovelace Additions: GeForce RTX 4060 Ti & RTX 4060
- Maxon Redshift With AMD Radeon GPU Rendering Support Now Available
ASUS X99-DELUXE Motherboard Review

The name “DELUXE” is often used on products that don’t quite deserve it, but when it comes to ASUS’ motherboards, the company makes sure that isn’t the case. Given that, it’s little suprise that the X99-DELUXE does in fact deserve its name, as it doesn’t just offer a slew of features and capabilities, it packs in extras we wouldn’t ever expect.
Page 2 – A Tour Of The Software & EFI
An archive including all of the screenshots we captured (EFI + software) can be downloaded here (.ZIP, 4.4MB).
It used to be that the software included with a motherboard could be ignored – it was often uninspired and not that useful. Thankfully, that’s something that’s dramatically changed over the past few years, with ASUS being one of the spearheads of making sure our motherboard software is useful.
With each new motherboard generation, I always look forward to seeing what the updated software packages look like, and explore the features that have been added. With ASUS’ Ai Suite 3, I’m not sure that much has been actually added, but what’s here is definitely what we’ve come to expect from the company. Quite simply, I think if you own an ASUS motherboard, installing Ai Suite should be one of the first things you do.
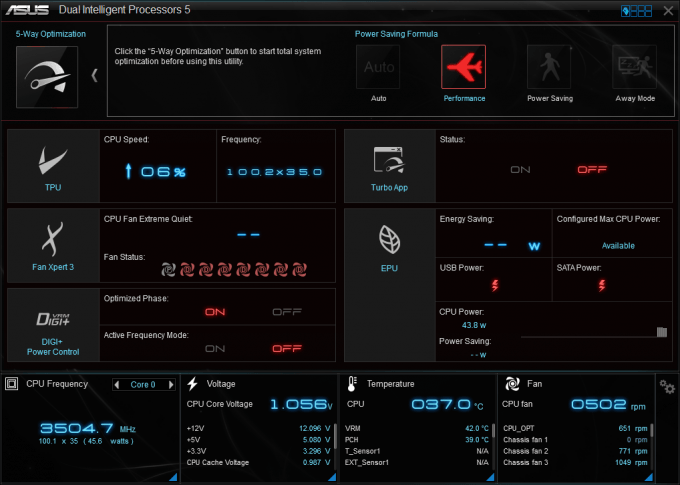
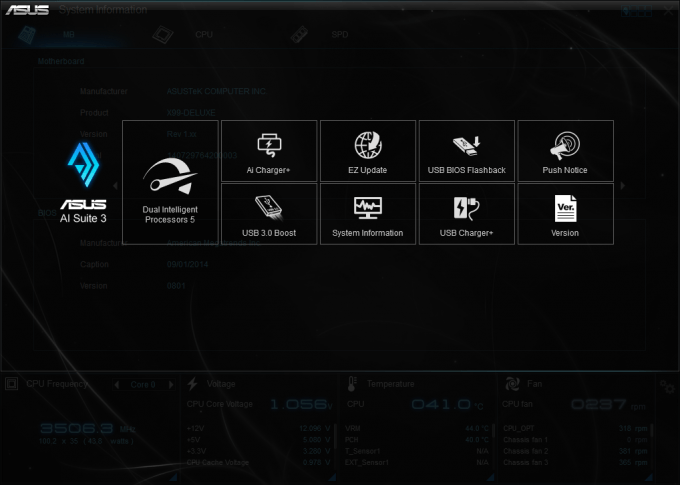
The main screen in Ai Suite 3 is Dual Intelligent Processors 5. This reflects the culmination of all the various power-related features ASUS has packed into the board, including TPU and EPU. From this screen, you can simply monitor the power-related aspects of your system, and adjust a couple of related options.
At the bottom of each Ai Suite page is a bar that reflects the current status of the CPU clock speed, voltages, fan speeds, and also temperatures. This is all standard fare, but ASUS packages it up nice.
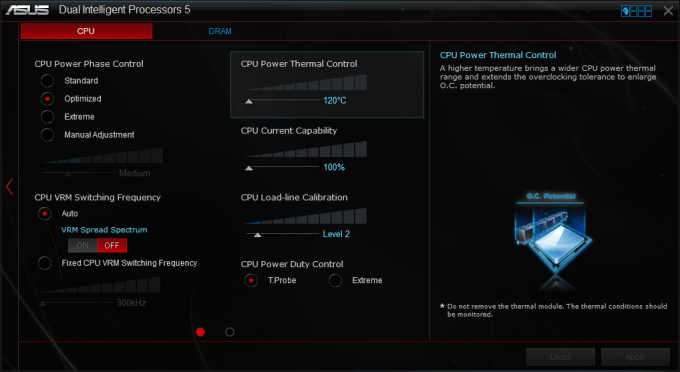
On this same main screen, the individual features can be clicked on to bring you straight to a dedicated screen. For example, clicking on ‘DIGI+ Power Control’ will bring you to the screen below, where you can take advantage of many tweaking options related to the CPU and memory.
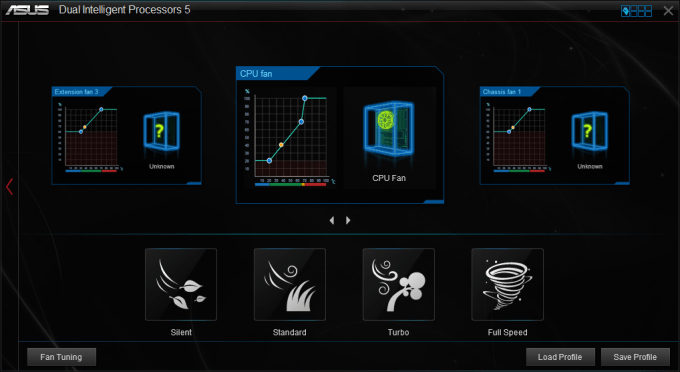
I’d wager that most people won’t need to adjust a single option in there, but it’s great that those who would at least have the option. Where regular folk might spend some time is in the Fan Xpert 3 section:
To make the best use of this screen, the Fan Tuning option at the bottom must be used. This will allow the software to detect all of the fans, and their respective speeds at certain percentage levels. Once done, you can fine-tune things to your liking, simply by selecting the fan and then dragging the plot points to where you want them.
What makes the level of control here really useful is that if you feel so inclined, you can adjust values on a per-profile basis. Full speed, as its name suggests, will peg all of the fans to 100%. If you’d rather it peg them to 90%, you’re able to adjust that. The level of control here really can’t be understated – it’s simply awesome.
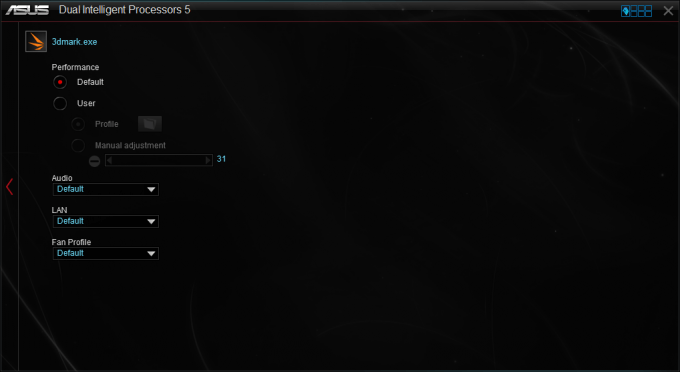
Speaking of a good level of control, let’s take a moment to talk about the unique Turbo App function of Ai Suite 3, seen below.
That screen might look a little boring but what it allows you to do could prove very useful to some people. After adding an app (via its executable) to Turbo App, you’ll gain the ability to change a couple of defaults, such as which audio device, LAN port, and fan profile it will use. Of those three things, it seems fan profiles might be the biggest reason someone might want to set a profile (eg: if your development IDE is open, you probably want as quiet an environment as possible), but there could be a couple of use cases for LAN and audio as well.
Oh, but let’s not ignore the “Performance” option as well, which is faded out in the shot above. Want to auto-OC your PC whenever you run 3DMark? That can be done.
I think Turbo App is one of those features that’s definitely going to be considered niche, but at the same time it could be hugely appreciated by those who need to take advantage of it.
Dual Intelligent Processors might make up the bulk of Ai Suite 3, but there are a number of other tools that might prove useful as well, such as Ai Charger+ for quicker charging of mobile devices, and USB Boost 3.1, which enables the UASP protocol for faster USB 3.0 transfers (and as seen before, it makes a huge difference).
If there’s just one complaint I have about Ai Suite 3, it’s that it installs a quick-launch “tab” of sorts that sits in the bottom right-hand corner of your screen. In the picture, it’s fully extended, but normally you’ll only see a small piece of it sticking out. Ultimately, this is useful for those wanting to go to a specific area of Ai Suite 3 fast, but as someone who hates any applets running, I’d love to be able to make it disappear.
ASUS’ X99-DELUXE EFI
The Ai Suite solution included with the X99-DELUXE looks just about identical as the one included on the last ASUS board I looked at, the fantastic Z97I-PLUS, so it doesn’t come as much of a surprise to see that its EFI solution looks identical, as well. That’s a good thing, as ASUS’ focus was more on function and ease-of-use than aesthetics (some vendors could take a note).
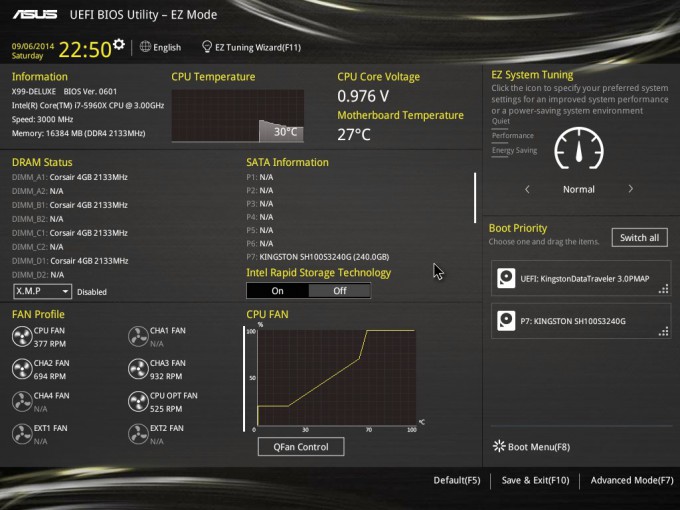
As has become a stature of ASUS’ EFIs, this one has an ‘EZ Mode’, which is the first thing you’ll see after entering the EFI. From here, you can monitor both the CPU and motherboard temperature (something I appreciate, as the first thing I want to do after building a new rig is make sure I installed the CPU cooler correctly), change the tuning profile, look at an overview of installed SATA devices, change the boot priority, and monitor fans.
While it might be called EZ Mode, this screen offers the end-user quite a bit of important control. From here, users can set their XMP profile, something that used to require them to search through a list of options. I’d actually say that if there’s one thing EZ Mode really takes the hassle out of, it’s with the boot priority. I’ve always found changing that to be a chore in any BIOS / EFI, but here, all you have to do is drag and drop the device to the top that you want to be primary. It’s very EZ, you might say.
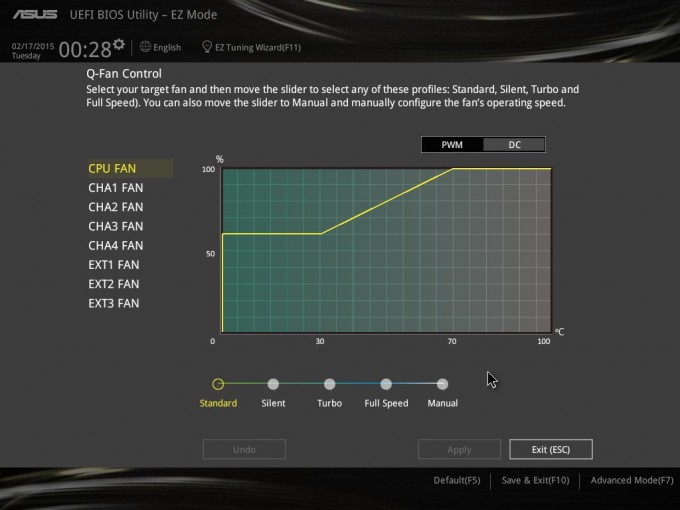
Introduced a couple of generations ago, ASUS’ Q-Fan Control might be one area first-time users could hit up. Similar to the Fan Xpert 3 section we saw in the previous section, the Q-Fan Control let’s people scan their fans to create a profile, and then adjust things after-the-fact as necessary. Whether via the EFI or software, ASUS really wants to give you advanced fan control.
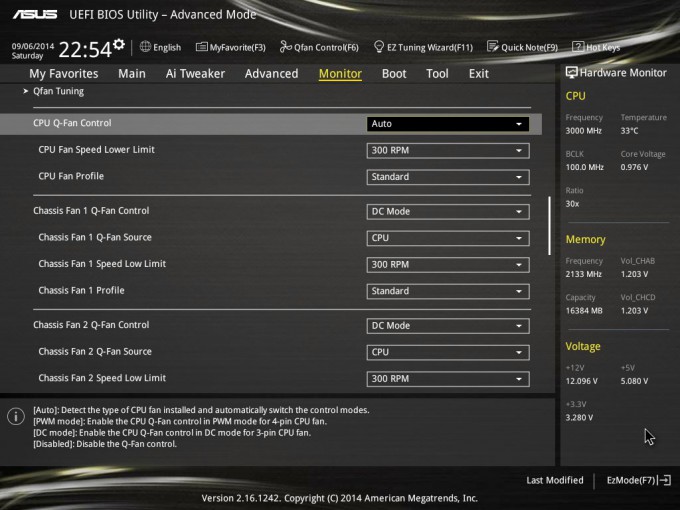
After finishing up with Q-Fan Control, you can head into the Advanced Mode to configure more advanced (surprised?) options relating to the feature. This is useful in case you want to adjust minimum fan speeds, or enable DC mode for 3-pin fans so that they don’t lose the ability to scale up and down based on temperature.
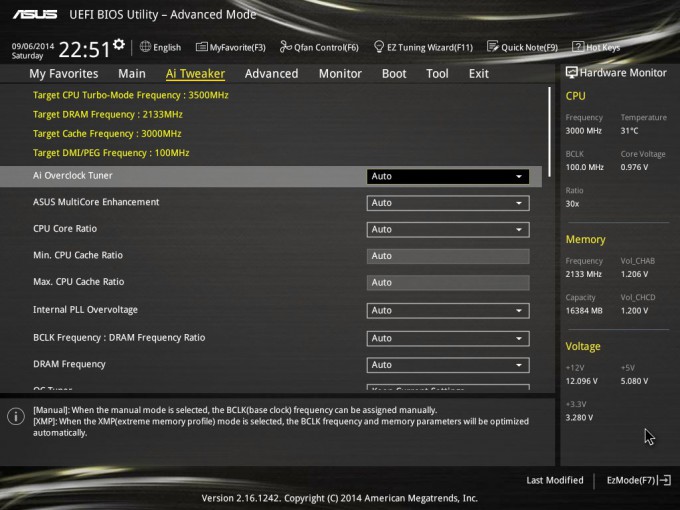
It’s hard to find a motherboard nowadays that doesn’t offer an enormous number of overclocking options – even if the board doesn’t list overclocking as a feature. There’s not much to say about Ai Tweaker that isn’t immediately obvious, except maybe that if you don’t want the board to automatically overclock your CPU based on DRAM speeds, you’ll want to disable the ASUS MultiCore Enhancement option.
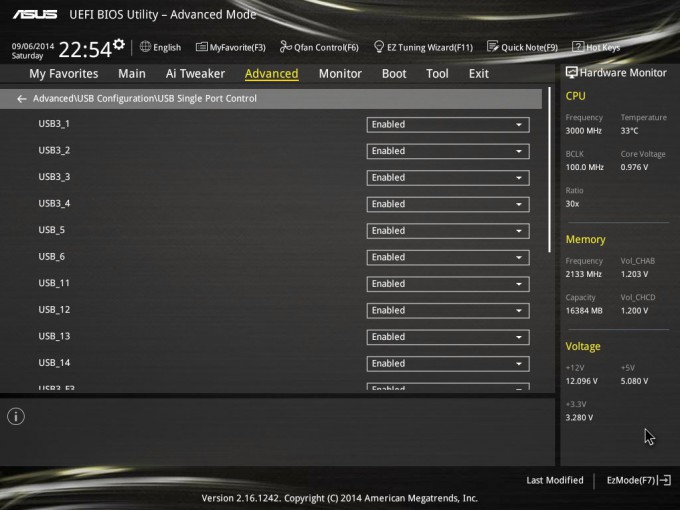
The final feature I’ll talk about here is a simple one, but it acts as a perfect example of a feature that most people won’t use, but could be very useful to certain people. On the “USB Single Port Control” screen, you’ll be able to disable any of the USB ports you won’t be making use of. Why would you ever do such a thing? A big reason is to prevent someone from plugging in a flash drive or other storage device and milking information off of your machine. This would be especially important if the X99-DELUXE was being put to work in a workplace environment, rather than just sit next to your desk at home.
Overall, there’s not too much that I can say here that I haven’t said in multiple ASUS motherboard reviews in the past. Both the software solution and EFI are what I’d consider top-notch, and I wholeheartedly believe that ASUS is one of the reasons other vendors have upped their software game so much in recent years. There’s nothing revolutionary with either software solution on this board, but given how good they are already, it doesn’t really matter.
Support our efforts! With ad revenue at an all-time low for written websites, we're relying more than ever on reader support to help us continue putting so much effort into this type of content. You can support us by becoming a Patron, or by using our Amazon shopping affiliate links listed through our articles. Thanks for your support!


