- Qualcomm Launches Snapdragon 4 Gen 2 Mobile Platform
- AMD Launches Ryzen PRO 7000 Series Mobile & Desktop Platform
- Intel Launches Sleek Single-Slot Arc Pro A60 Workstation Graphics Card
- NVIDIA Announces Latest Ada Lovelace Additions: GeForce RTX 4060 Ti & RTX 4060
- Maxon Redshift With AMD Radeon GPU Rendering Support Now Available
ASUS M2N32-SLI Deluxe WiFi Edition
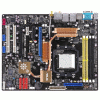
The M2N32-SLI Deluxe is one feature packed motherboard in every sense of the word. Whether you are a hardcore gamer, enthusiast overclocker or Joe HTPC, this board delivers what you are looking for.
Page 4 – Look at the BIOS
The BIOS in the M2N32 comes straight from Phoenix and is one of the best I’ve ever used. Before I jump into the screens though, I will explain a minor problem, that almost cannot even be called a problem. This motherboard POSTs incredibly fast. Yes of course this is a good thing for the most part… shorter boot time is hard to complain about. However, I have found myself having to rapid-tap the DEL button after turning the PC on, in order to assure I will get into the BIOS. Even then, I’ve had to reboot the PC a few times before getting in there. So, it is a problem and it isn’t, just depends on how much overclocking or BIOS customizing you plan on doing :-)
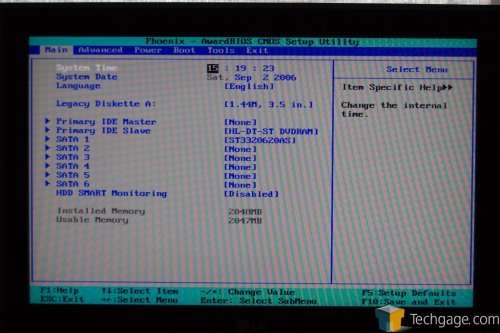
If you’ve ever been in a Pheonix BIOS you are well aware of what you will see first. Setting the time and date is rather mundane, but must be done. One thing I find somewhat odd here is the fact that by default, HDD SMART is disabled while Diskette A: is enabled. I’m willing to bet the majority of people with this board will not even use a Diskette drive, but most everyone would want SMART. Could be just me, who knows!
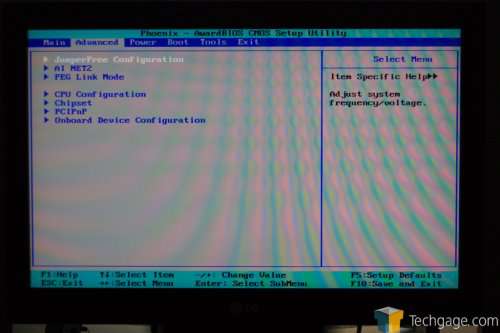
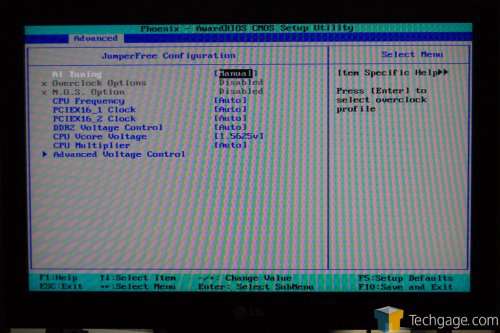
This is where all of the fun stuff takes place. Anything overclocking or tweaking related is in here. The first option is for Jumperfree Configuration and here is where you can overclock your CPU and set voltages. Since ASUS includes a feature called “AI Overclock”, you could use that if you want a modest overclock but want to remain in safe boundaries. Of course the real fun takes place when you set the option to manual, which allows you full control over everything.
The max VDIMM on this board is 2.500v while the max CPU VCORE is 1.5625v. Nothing extreme here, although you are able to enter the Advanced Voltage Control area and enable the Vcore Offset voltage, which gives an approximate 5% – 6% boost. Using 1.5625 and that option gave me 1.66Vcore according to AI Booster.
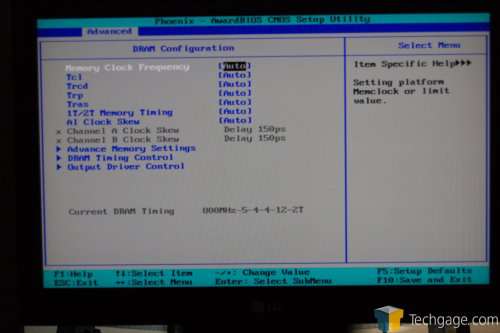
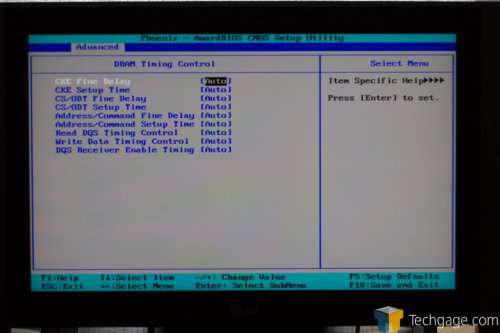
Under the CPU Configuration, we will see more DRAM values than CPU, really. Within these menus you will be able to customize your ram timings, default speeds and drive strengths. This is where the board comes alive though and proves that it’s an enthusiasts motherboard. There are -so- many options to deal with, it’s actually overwhelming when you first look at it. I previously thought the DFI Ultra-D was amazing in this regard, but the M2N32 takes things to a new level.
One interesting option to note is the AI Clock Skew, which effects the memory clocks signal timing. Simply put, if you master this setting, you should be seeing some of the best memory overclocks out there, within the 2.5vdimm reason of course. This setting came in handy soon after I got a hold of this board. As I was playing around with an NDA memory kit, I -had- to manually adjust this setting in order to have 100% stability. This primarily had to do with the memory chips used though, and chances are you will have a rough time buying memory with those particular ones. In the end though, it’s great to have this option, which is exclusive to ASUS boards.
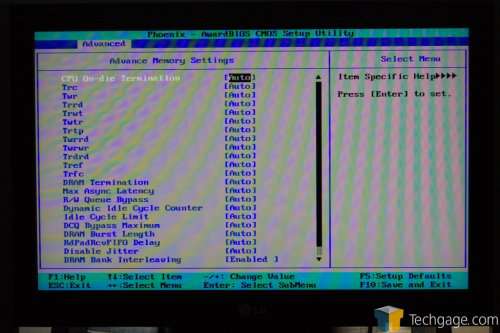
Taking a quick look inside the Advanced Memory Timings, you can see what I mean when I say overwhelming. You have simple timings such as tRC, tWR and tRRD, but also a few such as tWRWR and tWRRD. Wow… I’ve never even heard of those ones. Most of these settings will be for hardcore memory overclockers because it would prove to be a very time consuming task. Regardless, it’s great to have such a wealth of options and tweaking ability here.
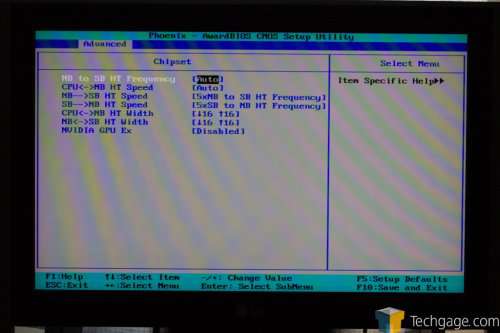
To aide in better overclocking, there are a few Chipset related options worth taking a look at. One of the most important is the CPU<->NB HT Speed. By default it’s at 5x (200MHz * 5 = 1000HT) but you have the choice of 1 – 5. You can also configure bus widths and also HT speeds. I personally never played around with these that much… most people would not. I am happy to report that this board is stable with 1425HTT (285*10). It may go higher, but there is no real point of even trying as there will be no real gain.
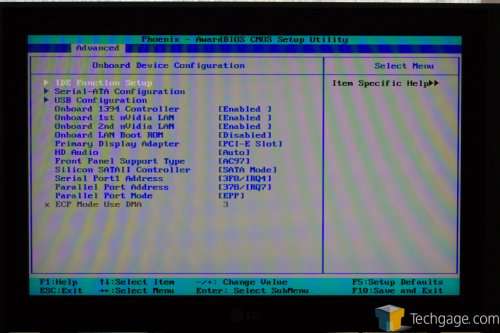
Under the Onboard Config you will find all the options related to the onboard peripherals. You can enable/disable your LAN, audio, S-ATA and more. These are also the menus you will be playing in if you have an S-ATA RAID set up. Other features that I will not get into include the AMD Live! and AMD Cool’n’Quiet. If you have EPP enabled memory installed, you will see additional options specifically for overclocking it.
|
|
Support our efforts! With ad revenue at an all-time low for written websites, we're relying more than ever on reader support to help us continue putting so much effort into this type of content. You can support us by becoming a Patron, or by using our Amazon shopping affiliate links listed through our articles. Thanks for your support!


