- Qualcomm Launches Snapdragon 4 Gen 2 Mobile Platform
- AMD Launches Ryzen PRO 7000 Series Mobile & Desktop Platform
- Intel Launches Sleek Single-Slot Arc Pro A60 Workstation Graphics Card
- NVIDIA Announces Latest Ada Lovelace Additions: GeForce RTX 4060 Ti & RTX 4060
- Maxon Redshift With AMD Radeon GPU Rendering Support Now Available
ASUS P5E3 Deluxe WiFi-AP @n
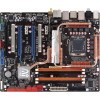
If you’re on the lookout for a DDR3 motherboard, the P5E3 Deluxe proves to be a superb choice. It’s one of the most feature-packed offerings on the market, with it’s passive cooling, on-board WiFi, high energy efficiency and even a remote control – all while being a solid overclocker as well.
Page 2 – The BIOS
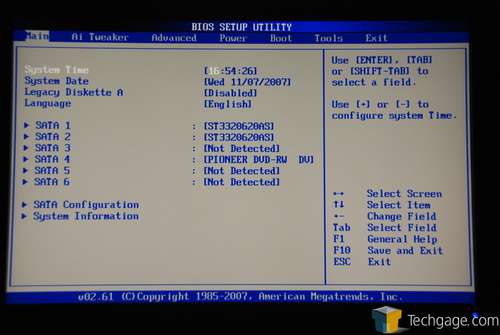
Despite not being designed for overclockers specifically, we will find out that there is a bit of everything for everyone in the BIOS. The first page of the BIOS is your one-stop-shop to configure hard-drives. It’s under “SATA Configuration” that you are able to configure your drives for S-ATA, RAID or AHCI. I personally appreciate the “System Information” section, because it gives quick information regarding the system frequencies and settings.
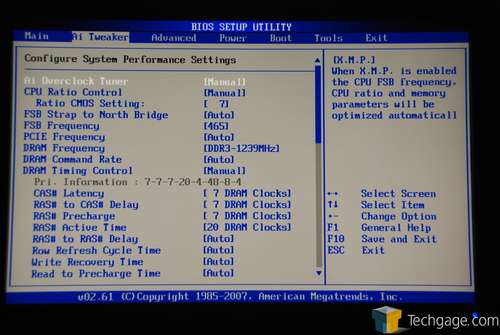
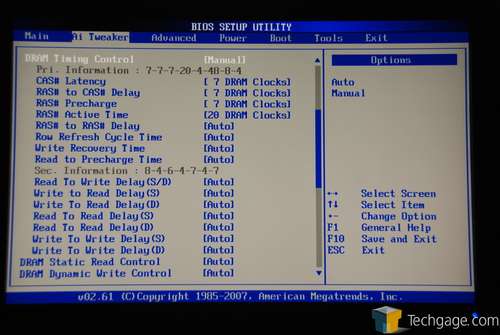
It doesn’t take too long before you hit the overclocking page. Here are numerous overclocking and tweaking-related options that should appease even the hardcore overclocker. Full control is given over various clocks and frequencies, and the memory can be configured any way you like.
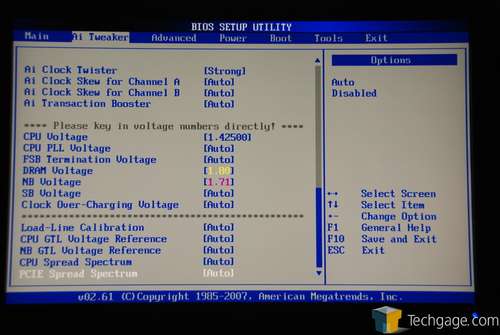
The voltage allowances are where ASUS boards normally shine, but here the overall top-end have been lowered to be more consumer friendly. The P5E3 is not designed for the hardcore overclocker. That job is left up to the Maximus Extreme, a board we will be taking a look at soon.
That said, the voltages are still far from weak, with many of the top-end settings still being unsafe for most people, and should only be used if you really know what you are doing.
-
ASUS P5E3 Deluxe Voltages
- CPU: 1.10000V – 1.70000V (Increments of 0.00625V)
- CPU PLL: 1.50V – 2.78V (Increments of 0.02V)
- FSB Termination: 1.20V – 2.48V (Increments of 0.02V)
- DRAM: 1.50V – 2.78V (Increments of 0.02V)
- Northbridge: 1.25V – 2.53V (Increments of 0.02V)
- Southbridge: 1.05V & 1.20V
- Clock Over-Charging: 0.70V – 1.00V (Increments of 0.10V)
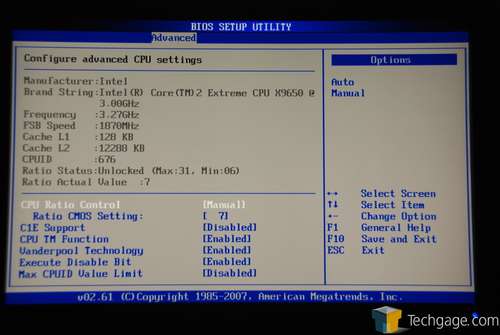
In the advanced tab we will find CPU and FSB information, and also various CPU functionality options. I disable C1E support prior to any testing to assure that the stock clock speed is constantly kept. Note that the CPU listed in the screenshot is not the one used for this review.
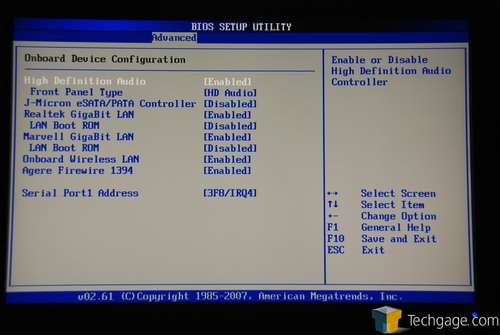
Also under the advanced tab we can configure on-board devices. If there is anything you don’t want to use, you can disable it here so that your OS of choice will not pick up on them.
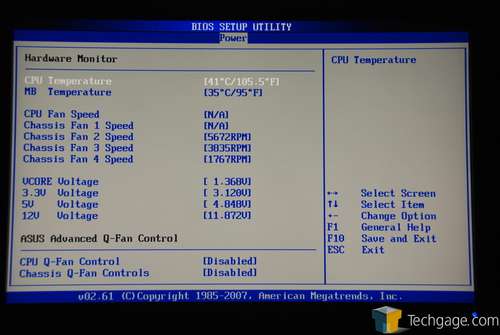
The final screen of real importance is of course the system status. Here, temperatures are relayed, and if any are too high, they will be highlighted red. Voltages are also reported so that you can make sure your PSU is keeping in check.
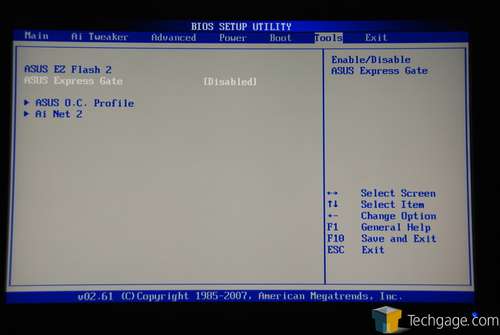
The last screen allows you to do a few things. First is the ability to save your overclocking profile. There’s a choice of two slots, so it’s rather barren. I’d much rather see five slots available. Here you can also enable or disable ExpressGate and also flash your BIOS (via a thumb drive or other FAT32 media and also a CD-Rom).
What’s this ExpressGate in which I speak? More on that next.
|
|
Support our efforts! With ad revenue at an all-time low for written websites, we're relying more than ever on reader support to help us continue putting so much effort into this type of content. You can support us by becoming a Patron, or by using our Amazon shopping affiliate links listed through our articles. Thanks for your support!


