- Qualcomm Launches Snapdragon 4 Gen 2 Mobile Platform
- AMD Launches Ryzen PRO 7000 Series Mobile & Desktop Platform
- Intel Launches Sleek Single-Slot Arc Pro A60 Workstation Graphics Card
- NVIDIA Announces Latest Ada Lovelace Additions: GeForce RTX 4060 Ti & RTX 4060
- Maxon Redshift With AMD Radeon GPU Rendering Support Now Available
CM Storm Scout 2 Mid-Tower Gaming Chassis Review
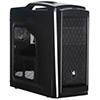
Cooler Master’s original Scout brought a lot to the table when it was released in 2009, and for all it did right, it came highly recommended by us. Will we be left just as impressed with its sequel, the “Scout 2”? On the surface, this LAN-inspired chassis looks the part and its feature-set proves sufficient, so let’s find out.
Page 2 – Installation & Testing
We’ve reviewed quite a few of Cooler Master’s other cases in the past, but this is the first one from the CM Storm line up to now that has hit my bench. Having also reviewed a few CM Storm peripherals and finding them to be excellent products, expectations were naturally high.
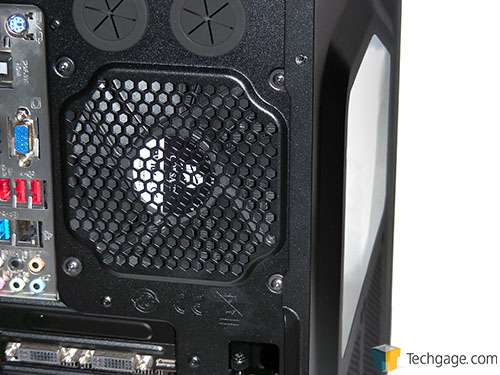
Thankfully, I wasn’t disappointed as every component installed perfectly without any clearance or alignment issues, however the long bolts used to secure the fan and radiator of the H60 did not sit flush like the screws for the stock exhaust fan. This kept the right panel from sliding closed completely and in turn threw off the alignment of the holes where the thumbscrews would thread. This isn’t CM’s fault and I found that if you remove the metal washers included with the H60 and use only the bolts, there is enough room to secure the panel.
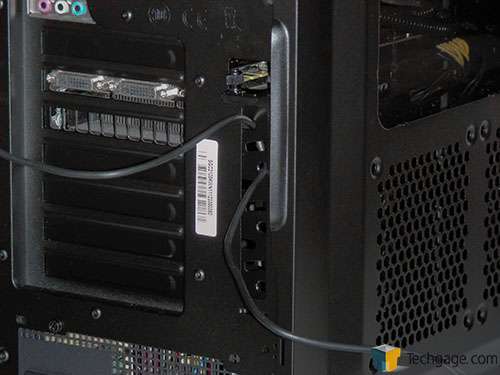
I also wanted to take a closer look at the StormGuard-locking system. Users can loop the cords from their peripherals through the slots and then secure the cover with the thumbscrew. What I don’t particularly like is that the cover can be removed from the outside, meaning your gear isn’t truly safe if someone has enough time. I suppose the thumbscrew could really be tightened down to make it difficult, but having it accessible only from the inside or using a standard screw instead of a thumbscrew would be a better option.
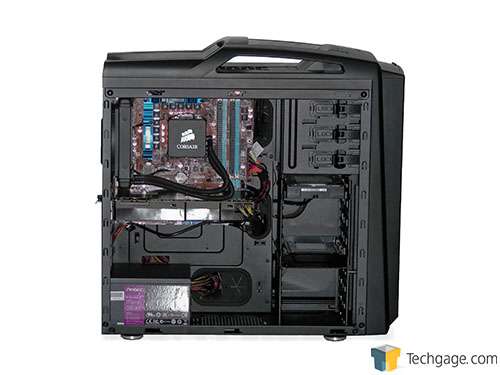
Now, there’s a good amount of room to work in and more than enough for those using larger components. The option to remove the top section of the drive cage is nice since some need extra airflow for hungry systems, are running larger GPUs or have one where the power connections are located on the end. With that said, here’s a quick look at the finished installation.
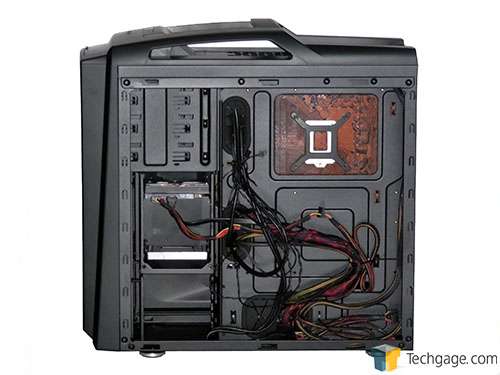
The backside of the motherboard tray is a bus crash like always, however there’s more room back here than any other case that I have looked at in the past. Users can expect almost 3.5cm or just over 1 1/4 inches of clearance from the back of the motherboard tray to the inside edge of the panel, so most should have more than enough room to run their cables.
Testing
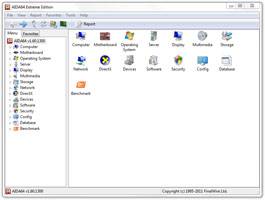
All of our testing is performed in a near steady 20°C ambient environment with readings taken before and after with a standard room thermometer. AIDA64 Extreme Engineer is used for monitoring and recording all system temperatures throughout the testing process.
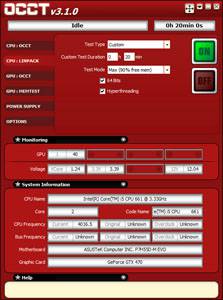
Windows is allowed to sit idle for 10 minutes after startup to ensure all services are loaded before recording the idle CPU and GPU temperatures. CPU load temperatures are generated by performing a 20 minute run of OCCT LINPACK using 90% of the available memory, while GPU load temperatures are generated by OCCT’s built in test, also for 20 minutes.
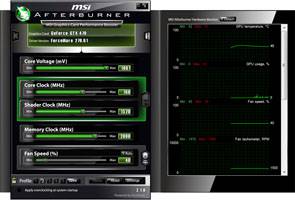
Stock CPU settings were obtained by setting the AI Tweaker option with the BIOS to Auto and the maximum stable overclock frequency of 4.0GHz was obtained after extensive testing to ensure stability. The final clocks for the GPU are 760MHz on the core and 1000MHz QDR (4000MHz relative) for the memory with the voltage increased to 1.087V using MSI’s Afterburner overclocking utility. As with the CPU overclock, testing was done prior to ensure full stability.
The components used for testing are:
|
Component
|
Techgage Test System
|
| Processor |
Intel Core i5-661 – Dual-Core (3.33GHz)
|
| Motherboard |
ASUS P7H55D-M EVO mATX – H55-based
|
| Memory |
Corsair Dominator 2x2GB DDR3-1600 7-8-7-20-2T
|
| Graphics |
EVGA GeForce GTX 470
|
| Audio |
On-Board Audio
|
| Storage |
Western Digital 2TB Green
|
| Power Supply |
Antec TP-750 Blue
|
| Chassis |
Cooler Master Cosmos II
Cooler Master HAF 932 Advanced Cooler Master Storm Scout 2 Corsair Carbide 400R Corsair Obsidian 550D Corsair Obsidian 650D Corsair SE White 600T NZXT Switch 810 NZXT Tempest 410 Elite Silverstone Raven RV03 Thermaltake Chaser MK-1 Thermaltake Level 10 GT |
| CPU Cooling |
Corsair H60 (Exhaust Configuration)
|
| Et cetera |
Windows 7 Ultimate 64-bit
|
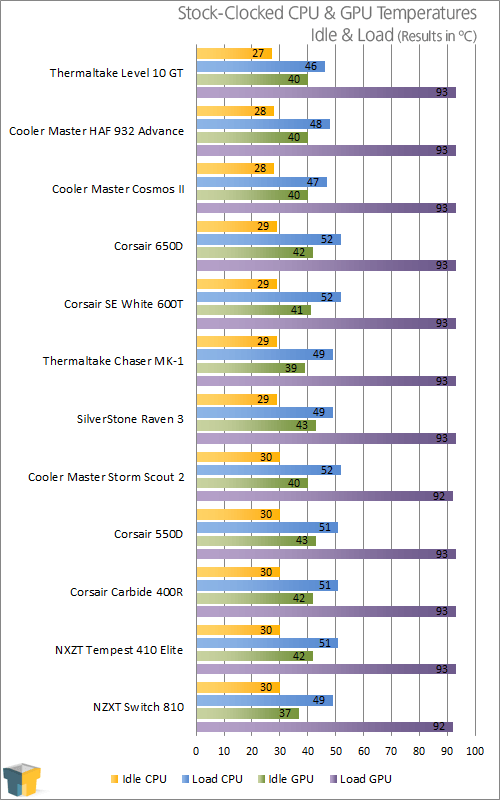
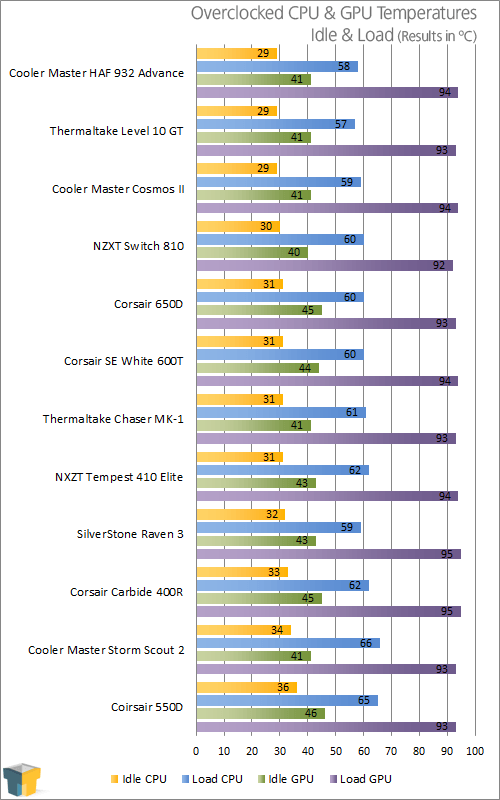
I can’t say that I’m really surprised with the outcome of our temperature testing seeing how the Scout 2 only comes with one fan, which was replaced by the H60.
To be fair to Cooler Master, I had every intention of running the overclocked test again with the H60 secured to the top of the case and then leave the stock fan alone, however there isn’t enough clearance for a top-mounted radiator. Instead, the stock fan was installed in the front, which dropped the fully loaded, overclocked CPU temperature by 3 degrees to 63, putting it in line with the rest of the field thanks to the cool air being pulled in.
Support our efforts! With ad revenue at an all-time low for written websites, we're relying more than ever on reader support to help us continue putting so much effort into this type of content. You can support us by becoming a Patron, or by using our Amazon shopping affiliate links listed through our articles. Thanks for your support!


