- Qualcomm Launches Snapdragon 4 Gen 2 Mobile Platform
- AMD Launches Ryzen PRO 7000 Series Mobile & Desktop Platform
- Intel Launches Sleek Single-Slot Arc Pro A60 Workstation Graphics Card
- NVIDIA Announces Latest Ada Lovelace Additions: GeForce RTX 4060 Ti & RTX 4060
- Maxon Redshift With AMD Radeon GPU Rendering Support Now Available
Cooler Master HAF 932 Advanced Full-Tower Chassis Review
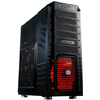
Cooler Master’s HAF series of cases have long been favored by many enthusiasts thanks to their sturdy construction and feature-rich likeness. This was especially true with the HAF 932 released three years ago. For that reason it has been updated to an ‘Advanced’ edition, bringing a refreshed look and some worthwhile new features.
Page 3 – Installation & Testing
Installation was as easy as a high school phys-ed exam. No problems were found due to the design of the case but I’ll still touch on some of the finer points as well as a few features that may cause problems depending on the system being built.
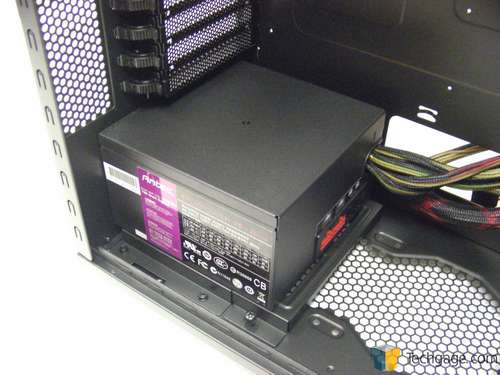
The power supply slid into place with the extendable brace in the original location seeing how our test PSU is quite compact. All of the necessary cables were run through the large opening just in front of it with tons of room to spare, but larger PSUs will cover part of this opening.
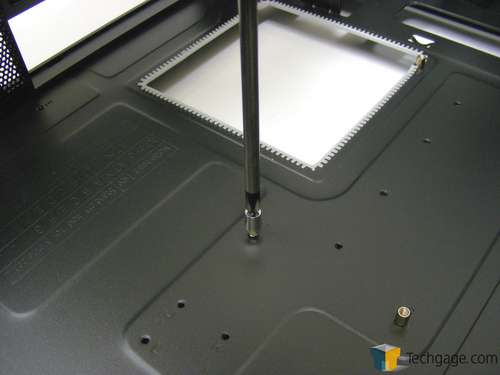
As promised, my favorite piece included with the bag of hardware is the little tiny socket driver to help with tightening down motherboard standoffs. It seems silly, but far too often I have run into instances where the holes were either not drilled large enough or the paint caused them to be to small. Ironically, all of the standoffs in the HAF could be completely tightened down by hand. Better to have it and not need it than the other way around.
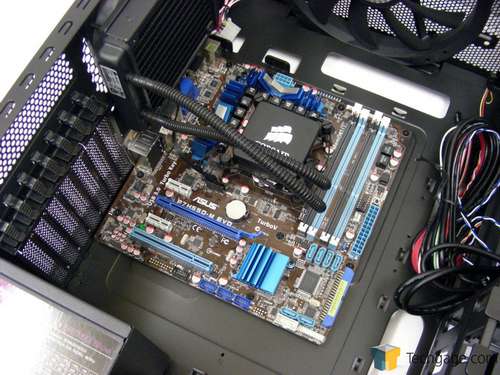
Once the standoffs were in place, the motherboard lined up and installed easily, but our little micro-ATX board looks absolutely puny once inside.
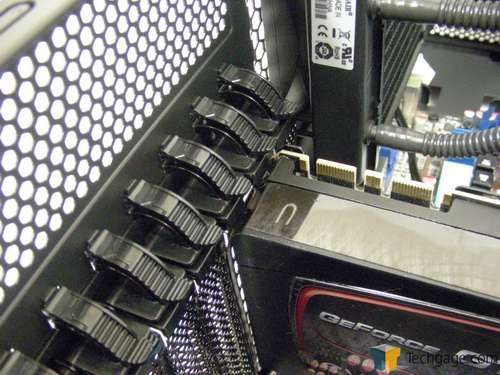
Oh no… I feel faint. I think I need to sit down, because a company finally got this style of tool-less expansion card retention right! After reviewing two cases that used a similar method but would not lock cards in place, the HAF does it just right and makes everything feel very secure while doing so. Pressing in on the rounded section disengages the lock and it swings away. Once an expansion card is in place the lock is moved and pressed down with a click.
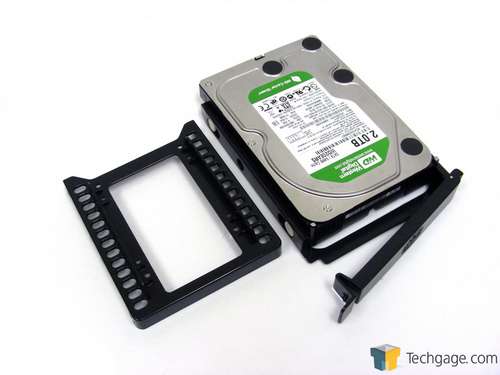
Hard drive installation finds a unique method, at least seeing how this is my first chance to tinker with a Cooler Master case. The hard drive tray comes in two pieces; an outer and inner tray. The inner tray simply pops out and the 3.5″ drives go in to be held in place with metal pegs surrounded by rubber washers that will help absorb vibration.
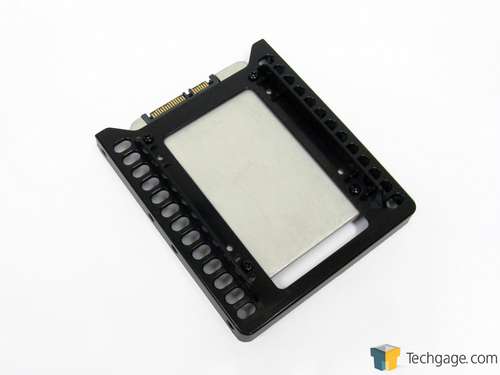
2.5″ drives are installed on the inner tray once it has been removed. Four screws through the holes in the top keep it in place and then the inner tray pops into the outer tray just like a 3.5″ drive. Once the drives are in the tray, they simply slide into the bay with the latch open, and when the latch closes it locks the drives in place securely by catching on part of the metal hard drive cage.
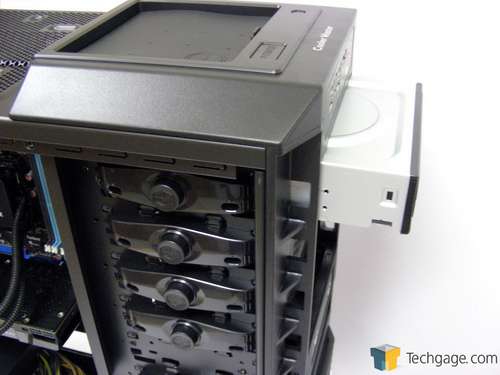
We sure have come a long way from the days of securing everything with screws. 5.25″ devices install with the push of a button. One push disengages the metal pegs in the bay so the drive can be installed and another push engages them to keep the device locked in place.
Visible in the shot below is the grey exterior of the optical drive and this is where the black adhesive pads come in handy. They can be positioned in the exact place on the side of the drive that will show through the holes left when the 5.25″ bay covers are removed, so the overall black theme remains constant. With the drive locked into place, simply trace around the opening with a pencil and that will give the exact place where the pads should be applied.
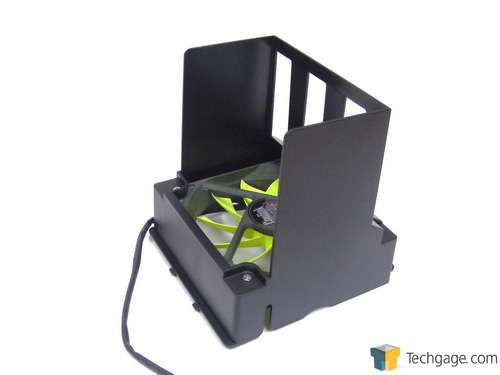
The bracket where an additional fan can be installed to help supply air to the GPU is removed by thumbscrews and the fan secured. It then goes back in the same way but can be moved up or down based on the location of the GPU since motherboards use different spacing. We always try each feature of a case if possible depending on the components of our test system to ensure it works as intended, but will not use a fan in this location during official temperature testing.
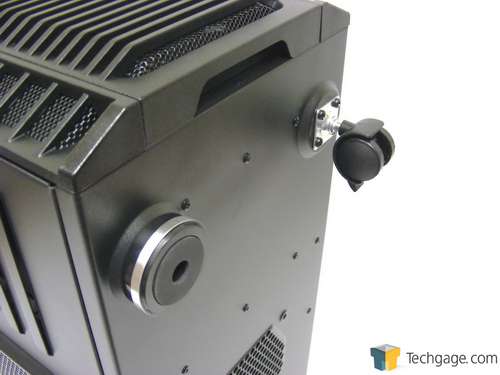
Swapping out the feet in favour of the casters was easy as well. A screw through each foot is all that needs to be removed. Each caster is then attached using the included screws and the case is able to slide across the floor. These casters have a lock on each one so users do not have to worry about the case sliding about.
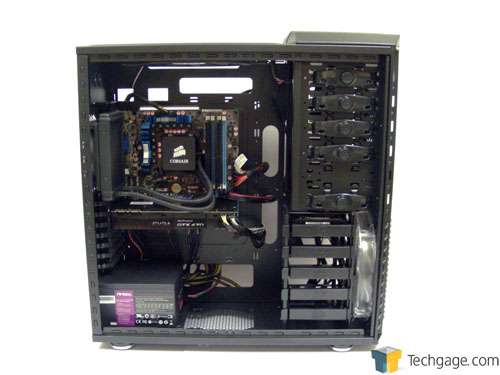
Without spending a whole lot of time on cable management, here’s what users can expect to see once the system has been built.
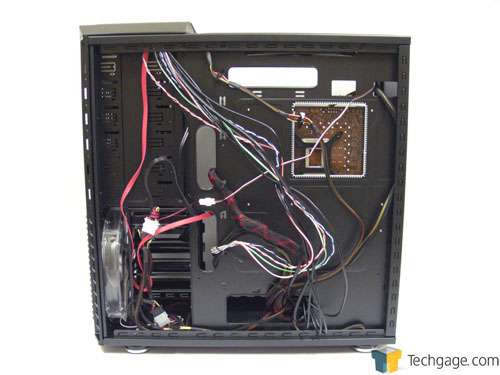
The back of the motherboard tray is a bit of a mess but the side panel goes on easily with only slight bending thanks to the raised area. If it weren’t for that, it would have been nearly impossible to route cables, but I do suspect that those using a higher-end system with multiple GPUs may run into a problem.
Testing
All of our testing is performed in a near steady 20°C ambient environment with readings taken before and after with a standard room thermometer. AIDA64 Extreme Engineer is used for monitoring and recording all system temperatures throughout the testing process.
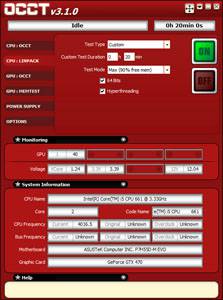
Windows is allowed to sit idle for 10 minutes after startup to ensure all services are loaded before recording the idle CPU and GPU temperatures. CPU load temperatures are generated by performing a 20 minute run of OCCT LINPACK using 90% of the available memory, while GPU load temperatures are generated by OCCT’s built in test, also for 20 minutes.
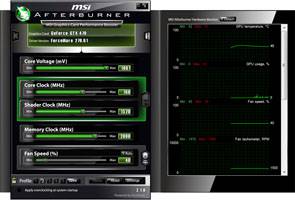
Stock CPU settings were obtained by setting the AI Tweaker option with the BIOS to Auto and the maximum stable overclock frequency of 4.0GHz was obtained after extensive testing to ensure stability. The final clocks for the GPU are 760MHz on the core and 1000MHz QDR (4000MHz relative) for the memory with the voltage increased to 1.087V using MSI’s Afterburner overclocking utility. As with the CPU overclock, testing was done prior to ensure full stability.
The components used for testing are:
|
Component
|
Techgage Test System
|
| Processor |
Intel Core i5-661 – Dual-Core (3.33GHz)
|
| Motherboard |
ASUS P7H55D-M EVO mATX – H55-based
|
| Memory |
Corsair Dominator 2x2GB DDR3-1600 7-8-7-20-2T
|
| Graphics |
EVGA GeForce GTX 470
|
| Audio |
On-Board Audio
|
| Storage |
Western Digital 2TB Green
|
| Power Supply |
Antec TP-750 Blue
|
| Chassis |
Cooler Master HAF 932 Advanced
Corsair Obsidian 650D Corsair SE White 600T NZXT H2 Rosewill Blackhawk Sentey Arvina Silverstone Raven RV03 Thermaltake Level 10 GT |
| CPU Cooling |
Corsair H60 (Exhaust Configuration)
|
| Et cetera |
Windows 7 Ultimate 64-bit
|
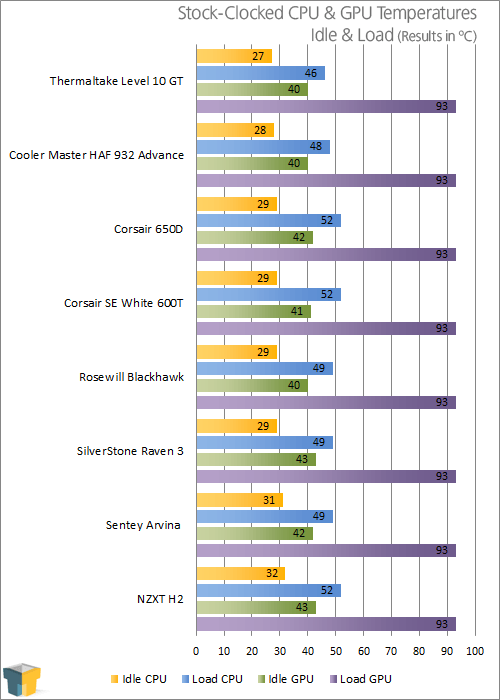
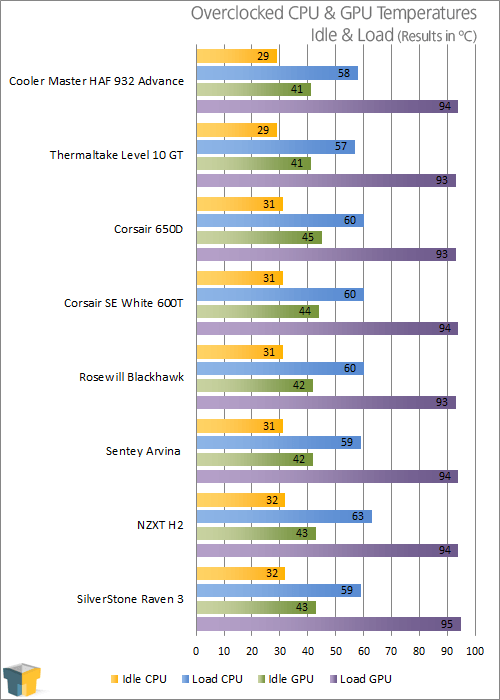
This one came down to the wire after the HAF either tied or bested all of the cases in our database during load testing except for the Level 10 GT that costs $100 more. CPU and GPU load temperatures when overclocked were only a single degree higher, although with such a huge fan blowing directly on the GPU, I expected the HAF to at least match the leader.
All of our cases are tested using only the included fans in the stock configuration, so readers will know where each one stands out of the box. But just for fun, a Coolink SWiF2 120mm fan was installed in the bracket to supply the GPU with extra air. It managed to reduce the fan from 89% of maximum speed to 84%, but because the fan is left on auto during testing, temperature still reached 94 degrees seeing how a rise in temperature is what causes the fan to spin up. This may not necessarily mean lower temperatures in scenarios such as this, but the potential is there for less overall system noise.
Speaking of which, the HAF is slightly louder than I thought it would be given the size and specifications of the fans. While running the temperature tests, it sat directly behind me and could be heard over my personal system, but it’s not what I could call disruptive.
So Cooler Master has given us a refreshed version of the original HAF 932. Should those who own the original 932 be running to the stores? I really don’t think so. Should those who have been eying the original for some time be running to the stores? Read on.
Support our efforts! With ad revenue at an all-time low for written websites, we're relying more than ever on reader support to help us continue putting so much effort into this type of content. You can support us by becoming a Patron, or by using our Amazon shopping affiliate links listed through our articles. Thanks for your support!


