- Qualcomm Launches Snapdragon 4 Gen 2 Mobile Platform
- AMD Launches Ryzen PRO 7000 Series Mobile & Desktop Platform
- Intel Launches Sleek Single-Slot Arc Pro A60 Workstation Graphics Card
- NVIDIA Announces Latest Ada Lovelace Additions: GeForce RTX 4060 Ti & RTX 4060
- Maxon Redshift With AMD Radeon GPU Rendering Support Now Available
Cooler Master Storm Scout Mid-Tower
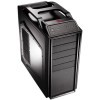
Cooler Master impressed us greatly with their first “Storm” chassis, the Sniper, and we’re happy to report that their follow-up, the mid-tower Scout, is yet another winner. Like the Sniper, the Scout has features directly targeted towards LAN gamers, has great cooling abilities, runs quiet, and is set to be priced at an affordable $120 USD.
Page 1 – Introduction
With the release of Cooler Master’s CM Storm Sniper mid-tower, the war was officially declared against the gaming world. Months and months of planning helped Cooler Master carry out their mission to infiltrate the LAN world, and in bringing us their latest weapon of mass destruction, the CM Storm lineup is filling out their ranks and sending in plenty of reinforcements.
Today we take a look at the second release by this upstart, the Scout. Built with the same military standards as the Sniper, the Scout is aimed squarely at the LAN gamer. With its rugged good looks and reinforced carrying handle, there is no mistaking the mission planned. Throw in a heavy dose of “Storm Tactics” into the design and this new breed of soldier is ready for battle.
To quote CM Storm: “Today, CM Storm is celebrating the deployment of the Scout true gaming chassis, created in close cooperation with the world’s leading professional gaming teams and eSports organizers, including Kode5, Team Fnatic and mousesports. Like all gear developed in the CM Storm Labs, the Scout has been heavily injected with Storm Tactics to ensure complete Strength, Security, and Control to the discerning gamer.
Developed with elite engineering skills, and reinforced by the highest grade materials, your Storm gear will perform and deliver with unfailing reliability, letting you focus on your game and worry less about your hardware.“
So let’s tear open the box and make sure Cooler Master’s claims are true and that the “CM Storm Scout is the True Ultimate LAN Gaming Case“!
Closer Look
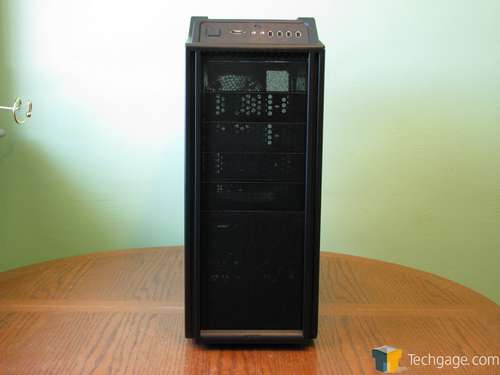
Once the chassis out of the box and stripped of the protective plastic layers, we get our first look. In the front, CM Storm has chosen to use extensive grilling and have also placed foam filtering material behind it all. The front panel is easily removed with a simple pull, so cleaning it will also be a snap.
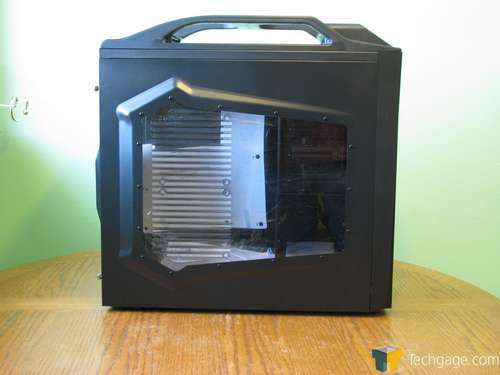
Moving to the side exposes the tinted windowed cover panel. I really like the effect of using a custom molded design instead of the cookie cutter square. The plastic is heavy and the panel feels solid.
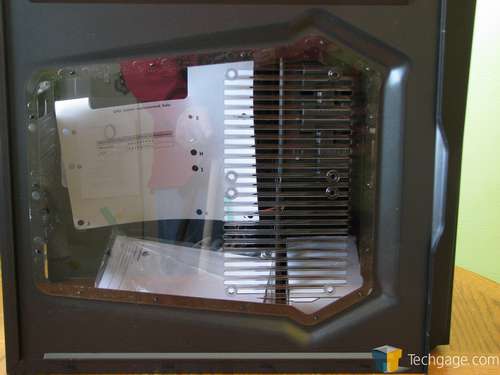
Flipping this panel to expose the backside gives you a better view of the optional dual 120mm fan mounting capabilities. This is an excellent feature that is sure to please those who require maximum air flow. There are no fans included in the package.
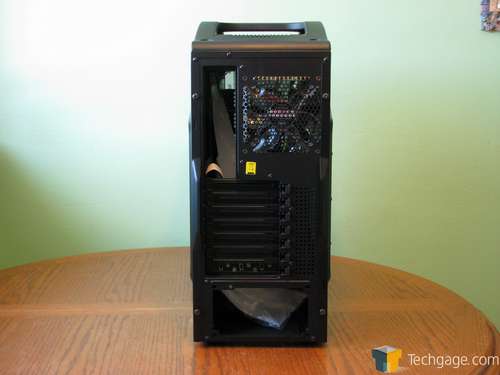
Looking at the rear exposes the business end of the Scout. There is a single 120mm exhaust fan included here. The “Storm Guard” feature is implemented as a part of this chassis, which allows you to secure your peripherals while at a LAN party. The bottom PCI slot is dedicated to this function and could be moved up or down should you choose. All exposed steel is painted black to give it that stealthy feel. There are no provisions for water cooling.
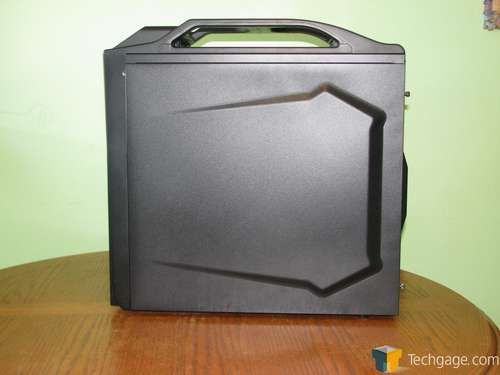
When looking at the opposite side panel, there is little to see. The same stamped design used on the windowed panel is carried out here. This is a nice feature since it does help give you some more room behind the motherboard tray for wiring.
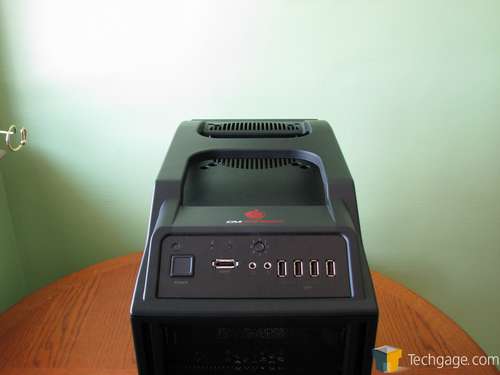
The front I/O panel is located on the roof of the chassis above the front panel. The power button and reset buttons are to the left. Moving to the right you see the HDD LED and power LED above the e-SATA port. Next up is the power button for the LED’s on the fans with the microphone/headphone jacks below. Finally, you get 4 USB ports for all your needs.
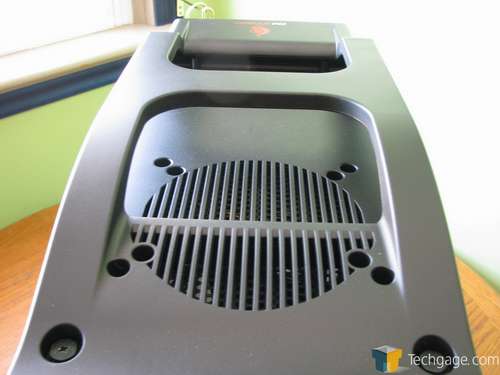
Looking at the molded top panel from the rear you see the fan opening for the top mounted exhaust fan. You can use either a 120mm or the included 140mm fan here. Also note the heavy molded carry handle. CM Storm has done an excellent job making this handle feel almost bullet proof. I was able to shake the case very hard and the handle exhibited no flex at all. You will have no worries using the handle for safe repositioning of your PC.
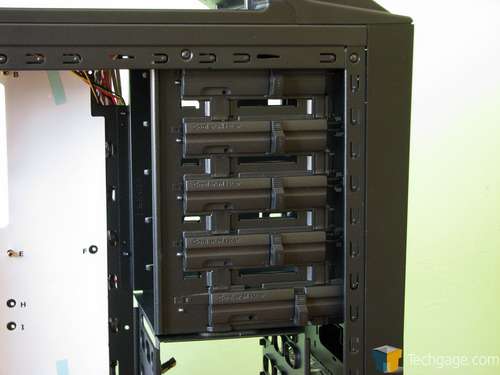
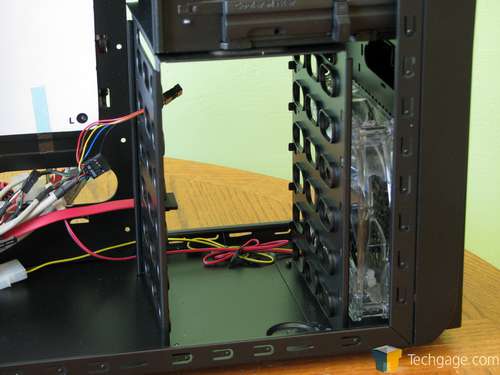
Once inside, we get a look at the new tool-less mounting design used in the Scout. They have departed from the push button that has been used on many of Cooler Master’s previous releases. These locks have a solid feel and firmly hold the drive in place. Unlike many locks used by most companies, once you lock your drive in place there is no movement at all. These are the first I have personally used that made me feel like the drive was absolutely not going to move.
As for HDD mounting, the designers have chosen the tried and true mounting rail method for installing your drives. All it takes to slide your drives in is to place the guides on and push them in until you hear a click. Again, the mounting felt very firm and secure.
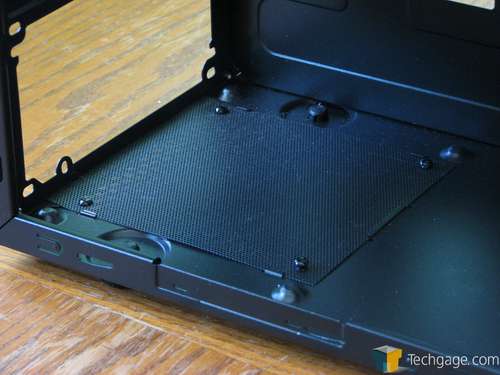
The power supply mounting area is also treated to the same mesh style grill used on the front of the case to allow you to mount your power supply’s cooling fan facing down allowing it to draw fresh air inside.
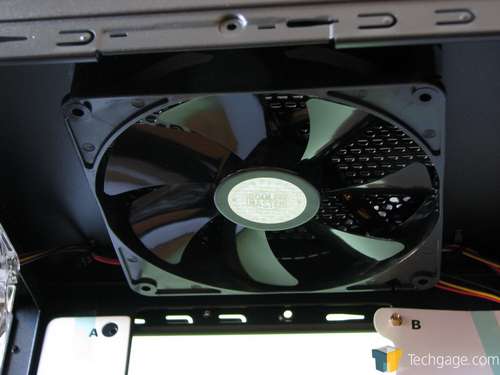
The top mounted exhaust fan is a non-LED 140mm unit. It can be swapped out with a smaller 120mm fan if you so desire.
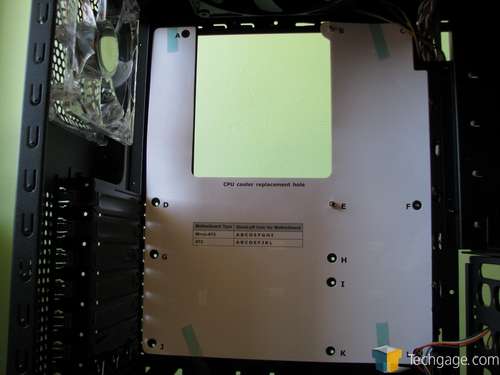
Looking at the motherboard area we see that Cooler Master has chosen to include the same removable paper mounting guide that we saw with the Sniper. While not necessary, it is a nice touch to help the novice builder. Another feature that is becoming a trade mark is the extra large open area behind the CPU allowing easy access to install heat sinks. Also note the rear mounted exhaust fan which sports red LEDs.
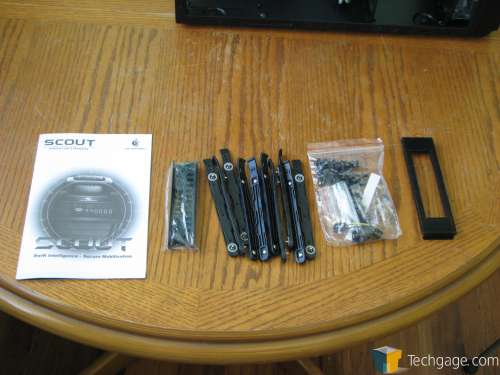
You get an installation guide and a pile of hardware to allow you to install your hardware effortlessly. I really like the included rails that will allow you to mount a 1.8″ and 2.5″ drive into one of the 3.5″ drive bays.
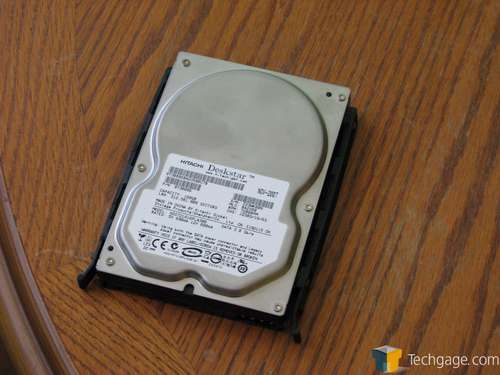
The rails that allow you to mount your hard drives just pop right onto your drive with no tools needed.
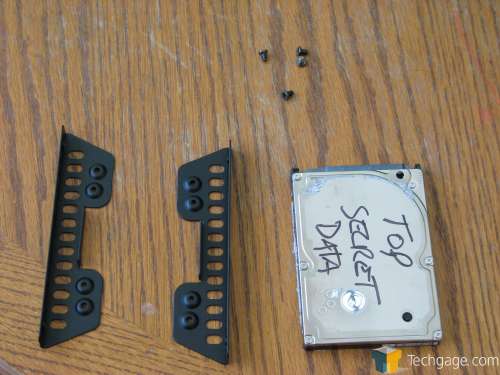
Here is a closer look at the rails that will adapt the smaller drives for installation. I used a laptop 2.5″ drive for my demonstration but you can use any 2.5″ drive. This is a great feature with the rising popularity of SSD drives.
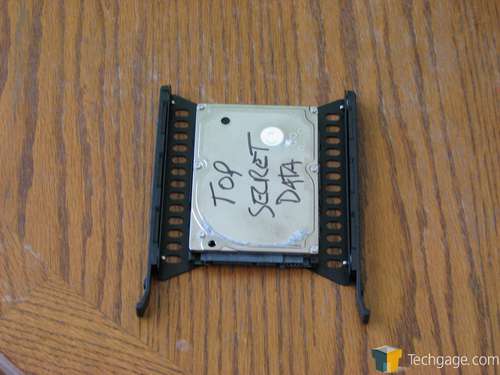
Once you screw the rails to your drive, all you have to do next is use the included 3.5″ rails and slide the whole assembly home.
With that exhaustive look out of the way, let’s move right into installation and testing.
Support our efforts! With ad revenue at an all-time low for written websites, we're relying more than ever on reader support to help us continue putting so much effort into this type of content. You can support us by becoming a Patron, or by using our Amazon shopping affiliate links listed through our articles. Thanks for your support!


