- Qualcomm Launches Snapdragon 4 Gen 2 Mobile Platform
- AMD Launches Ryzen PRO 7000 Series Mobile & Desktop Platform
- Intel Launches Sleek Single-Slot Arc Pro A60 Workstation Graphics Card
- NVIDIA Announces Latest Ada Lovelace Additions: GeForce RTX 4060 Ti & RTX 4060
- Maxon Redshift With AMD Radeon GPU Rendering Support Now Available
CoolIT Freezone CPU Cooler
Page 3 – Installation
Installation of the Freezone isn’t any different than any other water kit I have worked with. The motherboard needs to be removed to install the mounting equipment for the waterblock.
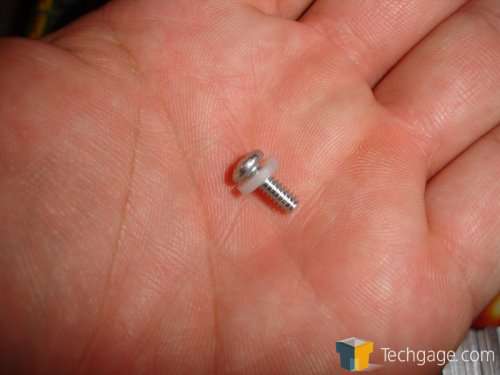
The first step is removing the motherboard. After that, you have to install the mounting towers that will hold the retention brackets. These are held onto the motherboard with bolts and nylon washers.
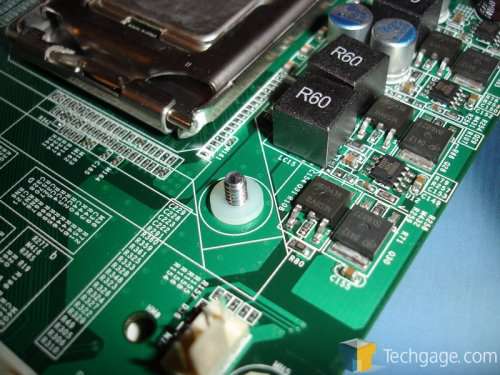
Once through the motherboard, you need to place another washer on top of the motherboard and then install the standoffs.
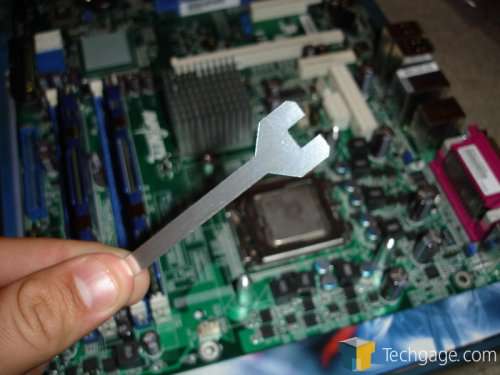
Included in the kit is a small wrench that you can use to tighten down the standoff.
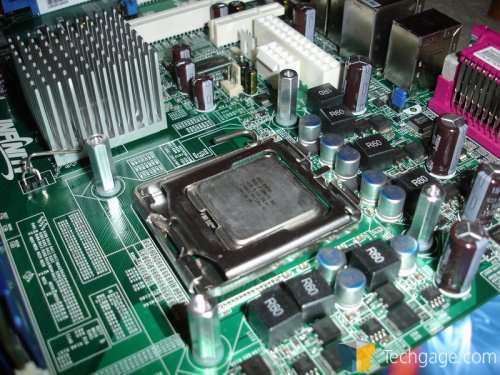
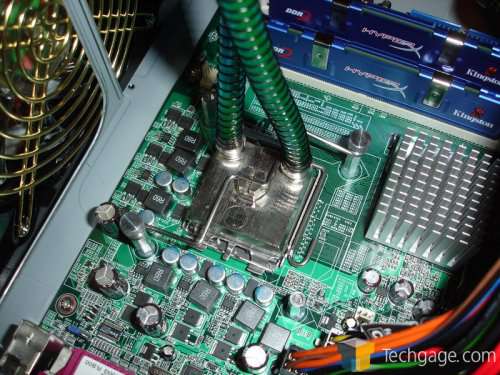
Once everything is installed, your motherboard should look like this:
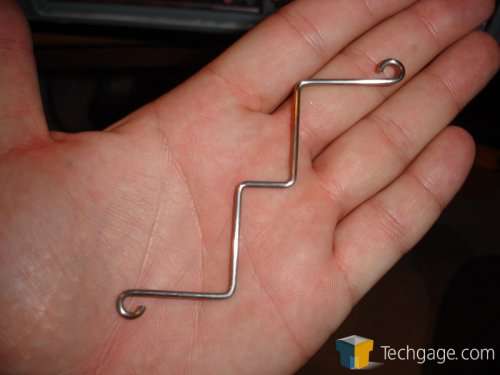
From here, we need to install the waterblock. You need to install the waterblock first because the aluminum plate on the cooler will block all the mess made by the hoses and the wires. To install the block, we will use the socket 775 retention brackets included with the kit. We will be using 2 and they look like this:
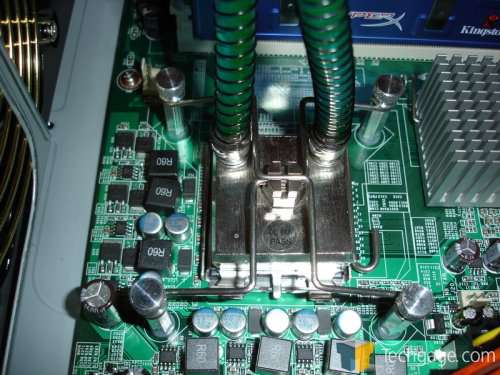
From here, we will place the waterblock on the CPU and hold it in place while the retention bracket is installed to hold the block down, allowing us to install the other bracket. The included thumbscrews make installation a snap.
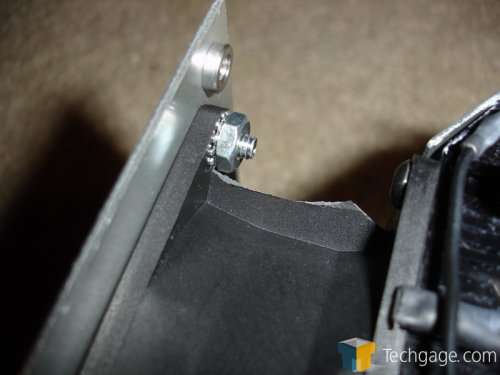
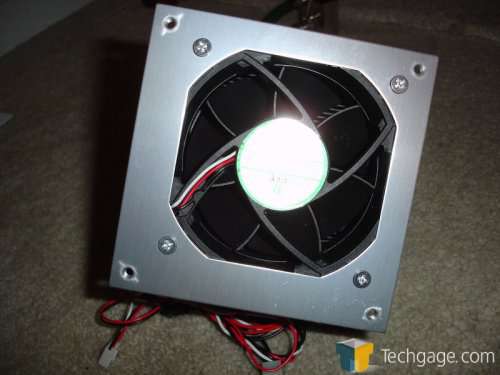
Once we have the waterblock securely down on the CPU, we turn to the Freezone itself. To mount the unit, we have to first install the 92mm to 120mm conversion plate. This is held on by 4 bolts and nuts. Here is where I ran into my first problem with the Freezone. The fan itself, by the fan’s design, doesn’t allow you the room to get the nuts on the bolts. This was easily fixed by me and my pliers. This is something that I would like to see fixed but is not something that cannot be fixed by the end user. It is however not something that the end user should have to do when they shell out the money that they will have to do if they want to own the Freezone.
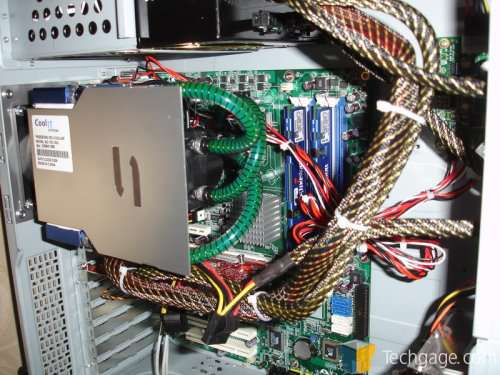
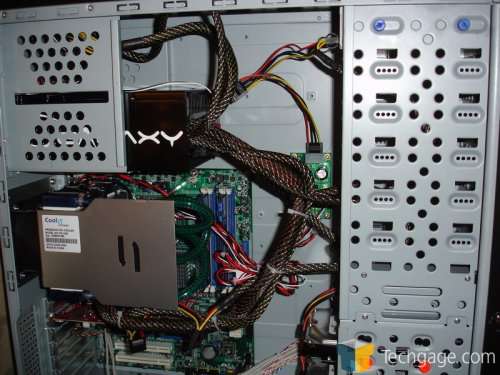
With the plate on, we are ready to install the Freezone into my case. For this review, I am using the JustPC R910 server case.
To install the Freezone, all one has to do is screw the 120mm converter plate onto the back of the case just as you would do with any fan you would use. 4 screws and you are done, it’s that simple.
Next we need to install the Thermal Control Module. This can be mounted anywhere in your case but first you will want to check and see if the cables will reach. This case is the largest I have ever worked with and the cables reached just about everywhere so you should be fine. I choose to mount the TCM in the middle of the case, close to the motherboard. The TCM can be seen behind the power cable.
|
|
Support our efforts! With ad revenue at an all-time low for written websites, we're relying more than ever on reader support to help us continue putting so much effort into this type of content. You can support us by becoming a Patron, or by using our Amazon shopping affiliate links listed through our articles. Thanks for your support!


