- Qualcomm Launches Snapdragon 4 Gen 2 Mobile Platform
- AMD Launches Ryzen PRO 7000 Series Mobile & Desktop Platform
- Intel Launches Sleek Single-Slot Arc Pro A60 Workstation Graphics Card
- NVIDIA Announces Latest Ada Lovelace Additions: GeForce RTX 4060 Ti & RTX 4060
- Maxon Redshift With AMD Radeon GPU Rendering Support Now Available
Corsair Nautilus500 External Water Cooling
It may come as a surprise to some, but memory moguls Corsair actually threw together quite a great water cooling kit called COOL. Well, now they are testing different waters.. an external kit! We will be testing it on a very, very hot Intel Dual Core, so let’s see how it does.
Page 3 – What You Get
The box that showed up turned out to be far smaller than I expected it to be. This is a small all-in-one kit, but that’s a good thing as long as it still has the performance we need. The first thing you’ll come across after opening the box is the full detailed manual. This is a fantastic manual that’s clear and concise, and includes many detailed pictures to help you along during installation. You can see the manual in PDF form right here.
- Package Contests
- 1 All copper CPU water block with Micro Channel Technology(tm)
- 1 AMD Socket 754, 939 and 940 retention bracket
- 1 Intel LGA 775 retention bracket
- 1 Intel socket 478 retention bracket
- 1 Foam pad
- 1 Syringe with thermal grease
- 1 PCI pass-through bracket with internal 4-pin power connector
- 1 Power extension cable
- 2 Quick connect self sealing connectors
- 2 Quick grip clams
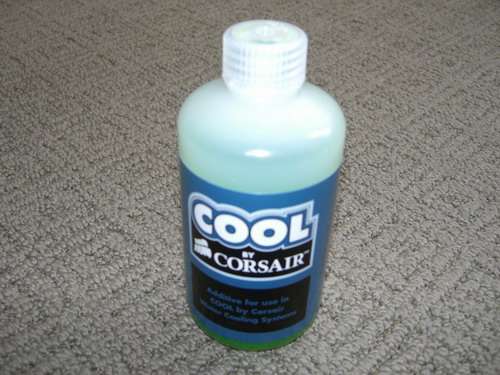
- 1 Bottle of Corsair COOL Coolant
- 1 Installation manual
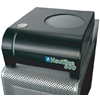
The unit is made of a hard plastic and has a very unique look to it. It’s very streamlined though and should look great with any case it’s on top of. On the front of the unit, you have the Nautilus badge in addition to a small strip of white plastic, which is actually the reservoir. Directly above this is the cap you need to remove to add the water and coolant. Then there is a huge mesh grill which lies directly atop a 120mm fan. This fan acts as an exhaust, blowing warm air to freedom.
On the back of the unit are the quick-disconnects, fan speed control and power connector. Looking closer at the two tube connections at the back, you can see that you need to push down on the button in order to get the tube into place. Once the tube is in place, you let go and it assures a very tight fit. The fan speed control on high will power the fan to push out air at 1800RPM. There is no mention or what the low speed setting does, but I assume it to be around 1200RPM.
Before we move on to some of the extras that are included, here are some specifics:
- Water Pump Specification
- Spherical Motor Electronically commutated with brushless DC (direct current) design to minimize noise production and extend product life.
- Voltage Range 8 to 13.2 VDC
- Max. System Pressure 22 PSI
- Head Pressure 13.05 Feet (390 m/bar) @ 12 Volts
- Maximum flow @ 12 Volts 350 LPH (1.54 GPM)
- Fan (High Speed) Specification
- Voltage 12 (VDC)
- Current 0.3 (Amp.)
- Speed 1800 (RPM)
- Air Flow 74.4 (CFM)
- Pressure 3.2 (mmAq)
- CPU Block Specification
- Features 100% solid copper construction for maximum heat absorption
- One(1) 3/8" hose barbs
- Supports Delphi Delphi" Micro-Channel Technology
- Supports Intel Pentium 4 processors (Socket 478 and LGA775)
- Supports AMD AMD64 processors (Socket 754, 939, and 940)
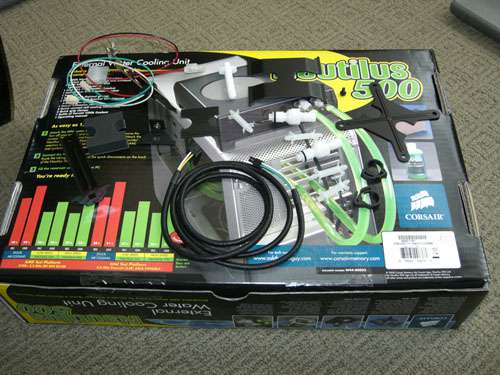
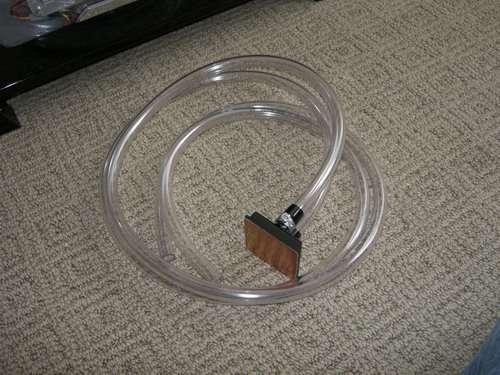
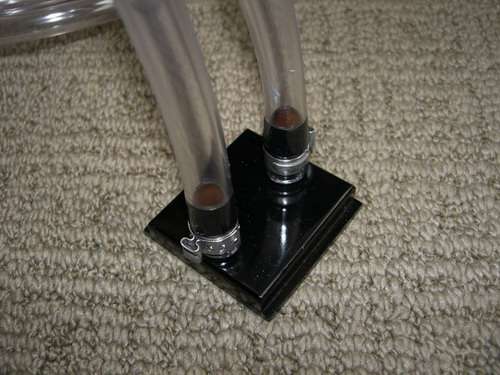
The water block is already connected to one end of the tube, so you are good to go that way. There is a small plastic layer you must tear off before installing the block though. This is a thick tube, so there’s very little chance you will ever pierce it. Good thing, since it’s in my hands. On the Nautilus box, you can see the all of the extras that are included. Depending on what CPU socket you have, you will only need one of the included brackets.
You’ll notice that the power cable is well sleeved, and feels like rubber. You’ll also notice that the bracket that you plug into a slot in the back has three separate wires, but neither of them are sleeved. Not that I am particularly fussy about such things, it would have been nice to see them in different, ‘cooler’ colors, not white/teal. There is also a foam piece that’s included that is important for the installation, but we’ll save that for the next section..
|
|
Support our efforts! With ad revenue at an all-time low for written websites, we're relying more than ever on reader support to help us continue putting so much effort into this type of content. You can support us by becoming a Patron, or by using our Amazon shopping affiliate links listed through our articles. Thanks for your support!


