- Qualcomm Launches Snapdragon 4 Gen 2 Mobile Platform
- AMD Launches Ryzen PRO 7000 Series Mobile & Desktop Platform
- Intel Launches Sleek Single-Slot Arc Pro A60 Workstation Graphics Card
- NVIDIA Announces Latest Ada Lovelace Additions: GeForce RTX 4060 Ti & RTX 4060
- Maxon Redshift With AMD Radeon GPU Rendering Support Now Available
Corsair Nautilus500 External Water Cooling
It may come as a surprise to some, but memory moguls Corsair actually threw together quite a great water cooling kit called COOL. Well, now they are testing different waters.. an external kit! We will be testing it on a very, very hot Intel Dual Core, so let’s see how it does.
Page 4 – Installation
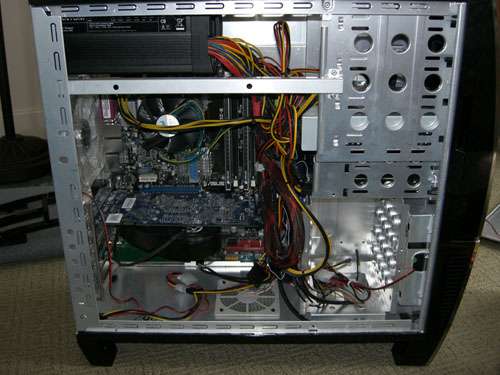
Now for the fun part.. installation! I consider myself to be a huge water cooling noob, so a kit like this is perfect. It also came at the right time, because I was still using the stock Intel cooler that was included with the 820 D. By far, this has been the loudest air cooler I have ever heard, so I was more than happy to remove it from the board and throw it in the trash.
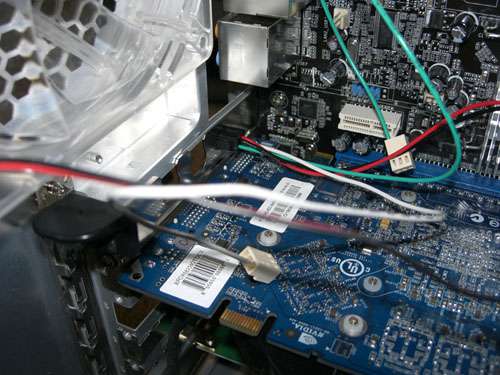
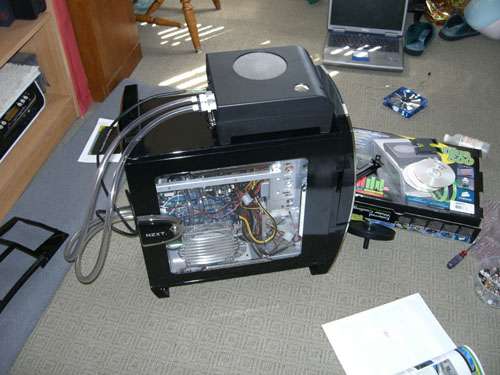
The first thing I did was install the bracket to the back of the computer. It easily fit into a slot directly above my video card. This bracket has two functions. First, it’s what will bring power from the inside of your computer, up to the Nautilus. Second, there are two holes large enough for each tube to fit through.
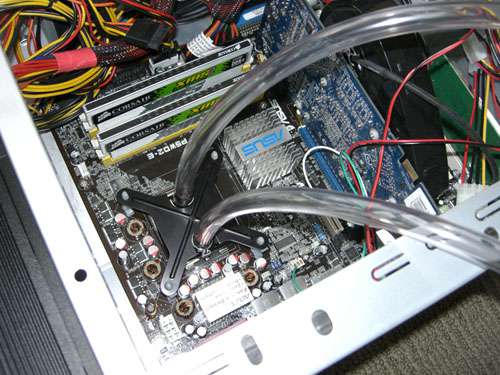
I didn’t take a snapshot of every single step of the process, because a lot of it required two hands, so I couldn’t manage a camera in addition. Since I use an LGA775 socket, I had to fit use 4 small plastic clips in each of the holes surrounding it. Next, I took out the CPU and gave it a good cleaning, then applied the thermal paste that Corsair included in the kit. After that, I put the block on the CPU and used the included foam piece to put on top of it. The foam is what will separate the block from touching the metal bracket, and also keeps the tubes in their proper place.
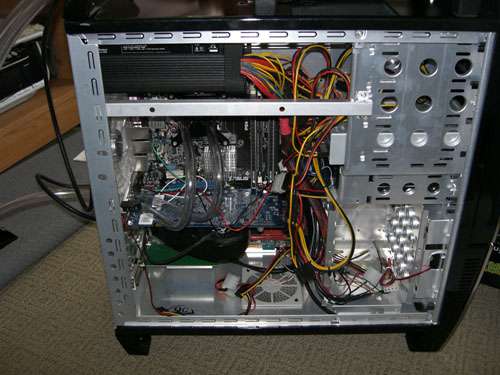
Once that was all in place, I slid the 775 bracket down to sit atop the foam piece. I pushed down on each corner to have them click with each of the plastic clips I installed earlier. Once that was done, I was able to route the tubes through the holes in the PCI slot bracket.
The next step was to install the plastic ‘quick connect sealing connectors’ into the end of each tube. These are designed to fit snuggly and securely into the back of the unit, but also have the ability to be quickly disconnected for transport. The last step of the actual installation was running the small power cord from the back bracket up to the unit, and we were good to roll.
Before adding any water or coolant, I recommend not placing the Nautilus on top of your computer, but rather a flat table or something directly next to your PC. This is just so in case you do happen to spill anything, it will land on the table and not inside your PC. It’s really a matter of first adding the coolant, then filling up the rest with water. After you turn on the unit or your computer, it will start to pump through. As it does, it will open more space inside the unit for more water. As it’s going through it’s loop, you just keep adding water until it’s completely full.
All in all, the installation was rather simple, just as the packaging says. I didn’t run into a single problem, which is not something I can usually say after an installation like this. I didn’t actually time myself, but the entire process took about 60 minutes. That included removing the stock cooler and the thermal paste from the CPU, installing the unit and tube, and actually having the entire thing run. Some of that time was also spent taking photos though.
|
|
Support our efforts! With ad revenue at an all-time low for written websites, we're relying more than ever on reader support to help us continue putting so much effort into this type of content. You can support us by becoming a Patron, or by using our Amazon shopping affiliate links listed through our articles. Thanks for your support!


