- Qualcomm Launches Snapdragon 4 Gen 2 Mobile Platform
- AMD Launches Ryzen PRO 7000 Series Mobile & Desktop Platform
- Intel Launches Sleek Single-Slot Arc Pro A60 Workstation Graphics Card
- NVIDIA Announces Latest Ada Lovelace Additions: GeForce RTX 4060 Ti & RTX 4060
- Maxon Redshift With AMD Radeon GPU Rendering Support Now Available
Corsair Obsidian 650D Mid-Tower Chassis Review
When Corsair released its Obsidian 800D full-tower nearly two years ago, it was the company’s first chassis, but still managed to set standards. For those who were hoping for much of the same aesthetic value and design features in a smaller package, Corsair delivers with its 650D, a premium-priced offering at $180.
Page 3 – Installation & Testing
Seeing how this was my first experience with a Corsair case, and after hearing Rob exclaim about how great the 800D is, I am happy to say that I wasn’t left disappointed. Everything installed without any clearance problems, all cables were long enough to reach the appropriate headers and there was tons of room to work.
The case comes with the motherboard standoffs in place for an ATX motherboard. If a micro-ATX motherboard is used, as is the case with this build, they simply need to be removed and screwed into the correct pre-drilled holes. The middle standoff is a knuckle that keeps the motherboard in place while being secured. This proves to be one of my favorite added bonuses in any case that features it and makes installation a snap because the board does not need to be pushed and held towards the back of the case to line up the holes with the standoffs.
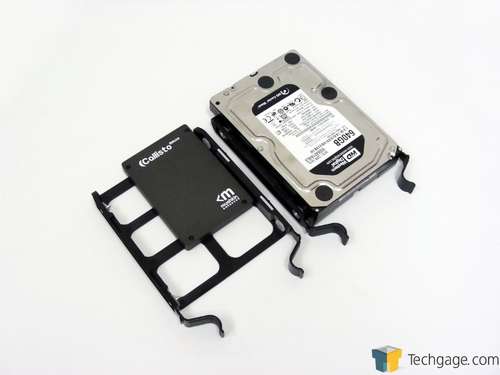
As I mentioned, 3.5″ drives are mounted through use of the metal pegs that slip into the screw holes on the sides of the drives. 2.5″ drives are mounted from the bottom of the tray with the included screws once the metal pegs are removed from the rubber washers on the side that rests against the drive. Once done, they simply slide in and click in place. The mounting system is very solid and should not cause any problems if the case needs to be transported.
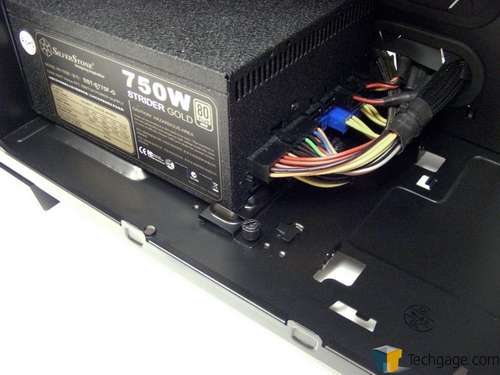
The power supply went into place with all four mounting points lining up dead-on with the opening. The front brace also slid into the perfect position to keep it secure.
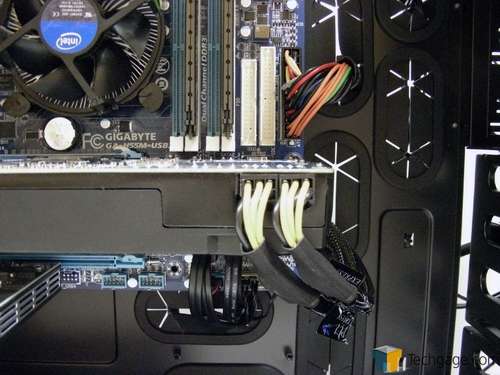
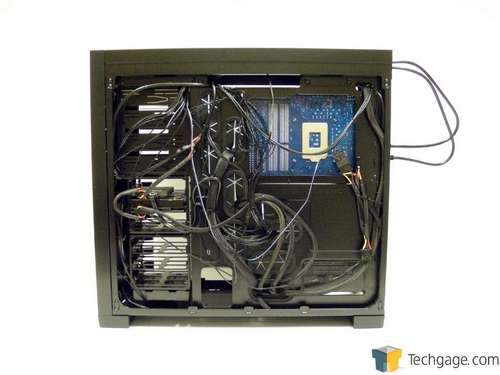
Cable management was an absolute dream in the 650D. Up until now, I had never had so many options for routing cables. The rubber grommets stayed in position perfectly no matter how many cables I fed through. On other cases, these grommets would pull away and prove to be a pain to get back into place. Also, all of the wires are black to help keep the finished product looking clean.
There is also a ton of options for cable management on the backside of the motherboard tray as well as a good amount of space between it and the side panel. Wires can be stashed along the outside edges, under the hard drive cage or tied up tight to the back of the tray using the included zip ties.
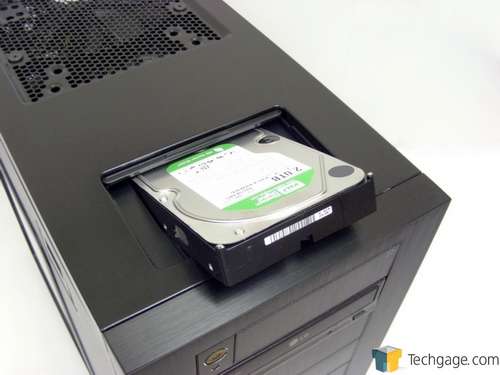
The hot-swap bay on top also worked like a charm. As soon as a partitioned drive was inserted, the operating system picked it up and displayed it in the list.
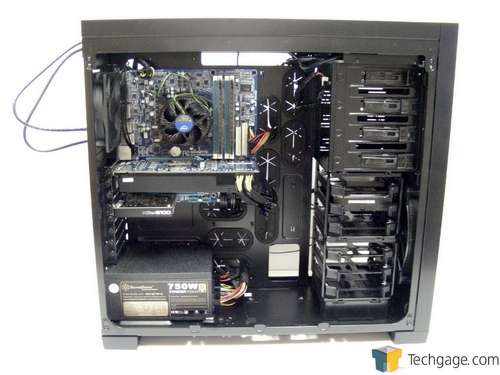
So without further ado, here is the end result of the build using our test configuration. Not too shabby, huh?
During the entire installation, I only ran into two snags. The first came when the top half of the hard drive cage was installed at the bottom of the case. When in this configuration, the bottom tray becomes inaccessible due to the lip of the bottom panel, so unless the drive is pre-installed or the entire cage is removed, that tray cannot be used. Luckily, the thumb screws make removal of the cage a breeze but it’s still something that should have been caught.
The other small problem that I had was when connecting the front panel wires. Since all of the wires are black instead of having one white wire to denote the grounding connection, it may cause some problems for some users seeing how not all connections are marked with positive and negative symbols. I goofed on connecting the hard drive activity LED the wrong way, and it can happen to anybody.
If this is all that is wrong with a case, I’d say it’s a winner – but how will it perform? There’s only one way to tell.
For testing, the stock CPU cooler was used. Due to the fact that the stock cooler is grossly underpowered, even running LinX through OCCT to test full load temperatures proved to be too dangerous as they went into the 90s. Due to this, only stock idle CPU temperatures are reported after the system has been allowed to sit idle at the desktop for 10 minutes.
GPU load temperatures were generated with a 20 minute run of OCCT’s (3.1.0) built-in GPU test. The test was performed at stock speeds and again while overclocked. The final clocks were 1020MHz on the core and 1200MHz for the memory with a +0.025V increase using Sapphire Technology’s TriXX (3.0.2.0) overclocking utility. Stability testing was done prior to ensure the GPU test completes the full run with AIDA64 Extreme Engineer (1.60.1300) monitoring and recording all temperatures.
The components used in the build are:
|
Component
|
Techgage Test System
|
| Processor |
Intel Core i3-530 – Dual-Core (2.93GHz)
|
| Motherboard |
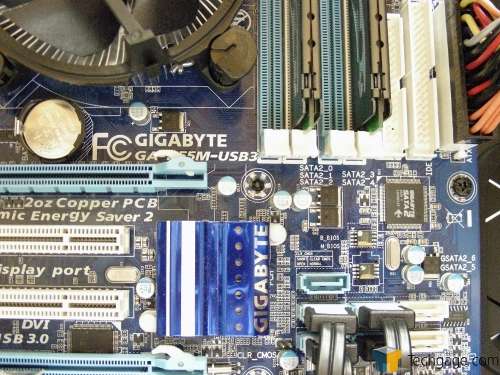
GIGABYTE GA-H55M-USB3 – H55-based
|
| Memory |
G.Skill ECO 2x2GB DDR3-1600
|
| Graphics |
Sapphire Radeon HD 6850 Toxic
|
| Audio |
On-Board Audio
|
| Storage |
Mushkin Callisto Deluxe 60GB SSD
Western Digital Caviar Black 640GB |
| Power Supply |
SilverStone Strider Gold 750W
|
| Chassis |
Lian Li PC-50WB
|
| CPU Cooling |
Stock
|
| Et cetera |
Bigfoot Killer NIC
Windows 7 Ultimate 64-bit |

The 650D kept things cool and quiet while running all fans at 100% and managed to best the AZZA Toledo 301 while keeping up with the Zalman Z9 Plus on the CPU. For the GPU it came in just behind the Toledo, which features a 250mm fan on the side panel but it could not match up to the Z9 Plus. Like the Toledo, the Z9 Plus also has an intake fan on the side panel where the 650D is completely solid, so higher temperatures are to be expected.
If system noise is a concern, it shouldn’t be. The 650D is nearly silent on low and medium settings with only the sound of rushing air while set to high.
Support our efforts! With ad revenue at an all-time low for written websites, we're relying more than ever on reader support to help us continue putting so much effort into this type of content. You can support us by becoming a Patron, or by using our Amazon shopping affiliate links listed through our articles. Thanks for your support!


