- Qualcomm Launches Snapdragon 4 Gen 2 Mobile Platform
- AMD Launches Ryzen PRO 7000 Series Mobile & Desktop Platform
- Intel Launches Sleek Single-Slot Arc Pro A60 Workstation Graphics Card
- NVIDIA Announces Latest Ada Lovelace Additions: GeForce RTX 4060 Ti & RTX 4060
- Maxon Redshift With AMD Radeon GPU Rendering Support Now Available
D-Link DNS-323 NAS
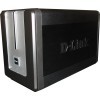
There’s something to be said for convenient, mappable network storage. NAS not only offers an affordable way to keep your data safe, but also a handy way to share all your "stuff". As our review states, this name branded BYOD NAS box delivers on all fronts.
Page 3 – Software and Installation
As we have mentioned before, the installation of hard drives into the DNS cannot be any easier. Simply slide each drive in at a time with the SATA connections in the lower left hand corner of the slots and press them into place. It’s really that simple. With the drives in place, in our testing a pair of Seagate 750GB ES drives will be used, we started to get on our way.
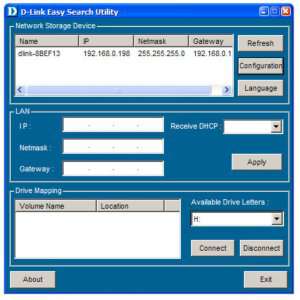
To aid in the setup, D-Link has provided a little app that will search the network and find the NAS box. With the latest firmware installed (v1.03) we had a bit of a problem discovering the 323 so per D-Link’s support line, we downloaded the latest version of Easy Search. This version of the app had no trouble at all discovering the NAS and setting us down the path to setting it up.
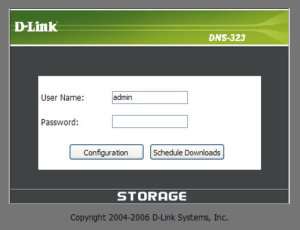
When the device appears, select it and click on the Configuration button. This will start the configuration process and initially will bring you to a login screen. By default, and this information can also be found on the bottom of the DNS itself, the user name is “admin” and the password field is left blank. This isn’t original by any stretch of the imagination but it is easy to remember.
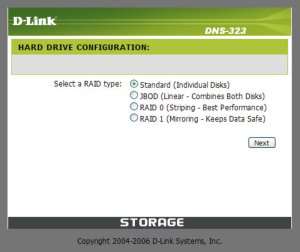
Once logged in, you will be presented with a screen asking you how you would like to configure your drive(s). You can choose between RAID 1 and 0 as well as JBOD (just a bunch of old disks), or you can choose to setup each disk individually, thus creating not one, but two networked drives.
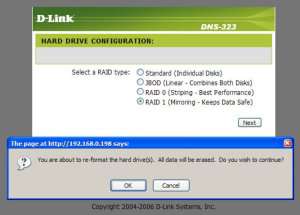
Once chosen, an obligatory warning will pop up reminding you that by formatting the disks, all data that was on the hard drives will be lost… mostly. We will get into recovering lost data in another article, not here. Click Ok and proceed.
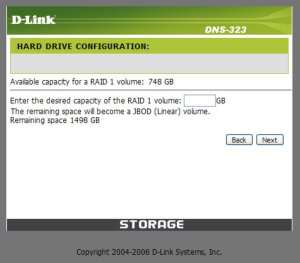
Dependant on the type of disk you decide to setup, you will be allowed to choose how much space you would like to make available for use. Obviously the type of RAID used will significantly change the available amount of space but whatever you decide, simply enter in the number of gigabytes that you want to use.
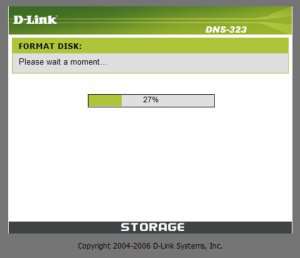
Once the size of the array is decided upon, click next and a status window will pop up letting you know how much of the disk has been formatted and how much is left to go.
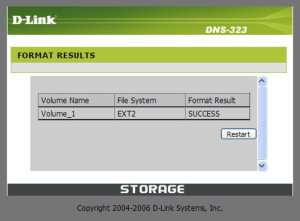
Once completed, we see that our volume name is Volume_1 and it’s using D-Links Ext2 file system. No NTFS for all of you out there.
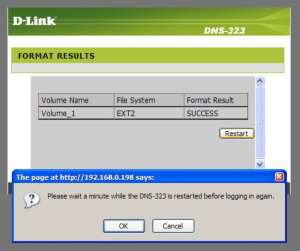
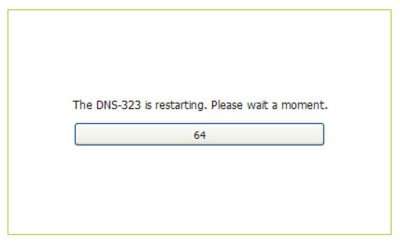
Once completed, you will have to restart your DNS and wait while it configures the settings that you just made. This takes quite a while and by quite a while, I mean a couple of minutes.
Once the NAS restarts, we can now log into the devices web interface. To do so, you can start by typing in the IP address of the 323. If you have your router setup to administer dynamic ip addresses, it should follow the naming scheme of your PC and any other devices on your network. An easy way to find this out is by using the Easy Search Utility provided by D-Link.
In our case, the IP was 192.168.0.198 but this will be different for everyone dependant on the available IP range your router is setup to use. If for some reason you cannot find the DNS, the default IP is 192.168.0.32. The default IP can also be found on the bottom of the DNS as well.
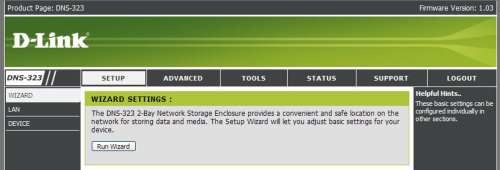
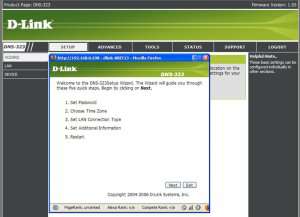
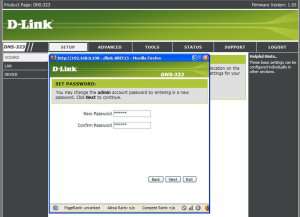
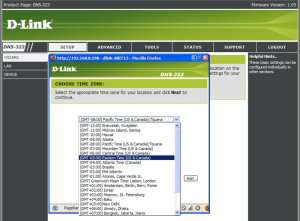
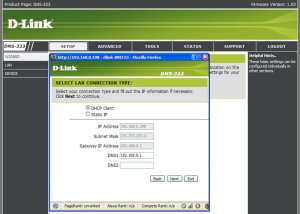
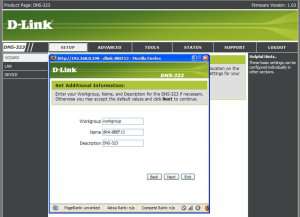
By selecting to click the “Run Wizard” button, you will be prompted to setup the administrator password, the time zone, whether or not a static IP address is used or if the DNS will use DHCP as well as give the NAS a name.
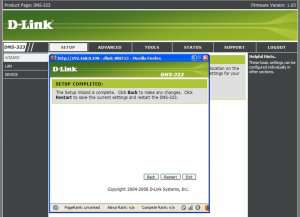
Once you have everything the way that you want it, a simple restart is required to allow the DNS to initialize the settings that were just setup.
Support our efforts! With ad revenue at an all-time low for written websites, we're relying more than ever on reader support to help us continue putting so much effort into this type of content. You can support us by becoming a Patron, or by using our Amazon shopping affiliate links listed through our articles. Thanks for your support!


