- Qualcomm Launches Snapdragon 4 Gen 2 Mobile Platform
- AMD Launches Ryzen PRO 7000 Series Mobile & Desktop Platform
- Intel Launches Sleek Single-Slot Arc Pro A60 Workstation Graphics Card
- NVIDIA Announces Latest Ada Lovelace Additions: GeForce RTX 4060 Ti & RTX 4060
- Maxon Redshift With AMD Radeon GPU Rendering Support Now Available
D-Link DNS-323 NAS
There’s something to be said for convenient, mappable network storage. NAS not only offers an affordable way to keep your data safe, but also a handy way to share all your "stuff". As our review states, this name branded BYOD NAS box delivers on all fronts.
Page 2 – Closer Look
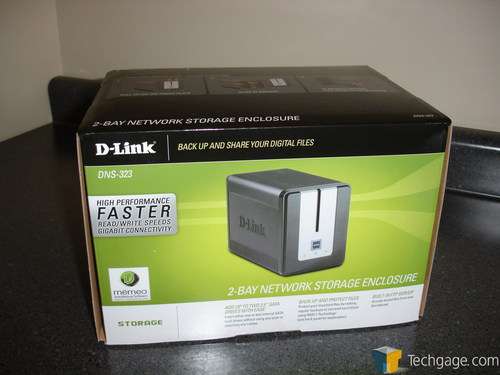
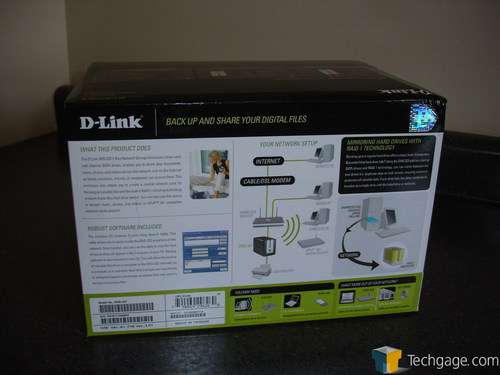
As with the other D-Link hardware we have evaluated, the DNS comes in a typical D-Link box. Instead of the orange found on the network gear, the DNS-323’s box is green in color and full of important information regarding the NAS box and its features.
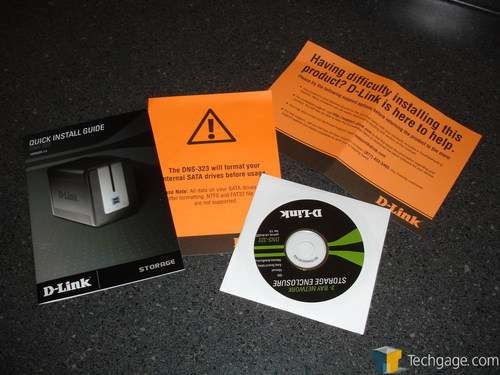
Once opened, the DNS-323 comes securely packaged in a hollow cardboard shell. This not only keeps the NAS in place during shipping, but also protects it from any bumps and bangs it might encounter along the way. With everything out of the box, we notice that D-Link has provided a fair amount of literature with the NAS including a manual, warnings about the uses of this device and how it requires the formatting of the hard drives as well as a disk full of information and the backup software Memeo.
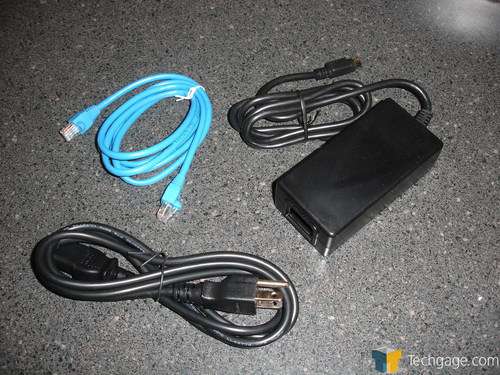
Also included with the DNS are a Cat5e Ethernet cable and power supply and cable.
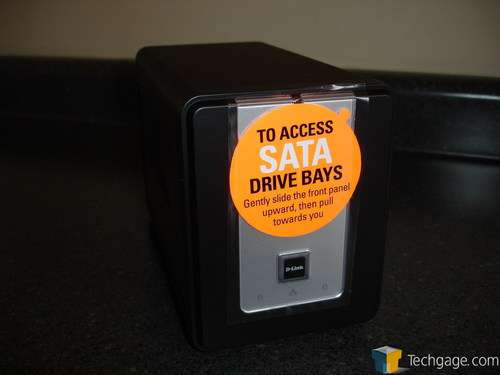
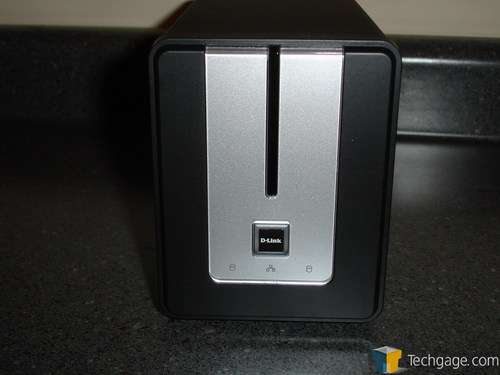
The device itself is all black with silver accents along the face of the unit. The look of the DNS is that of a small toaster. Adorned with a warning sticker that takes up almost the entire face of the NAS telling us that we need only slide the front cover up slightly and pull it forward once it’s detached from the NAS itself.
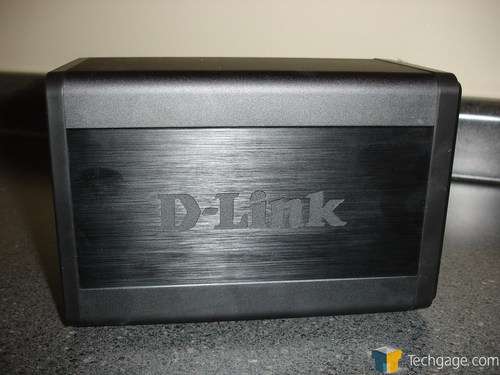
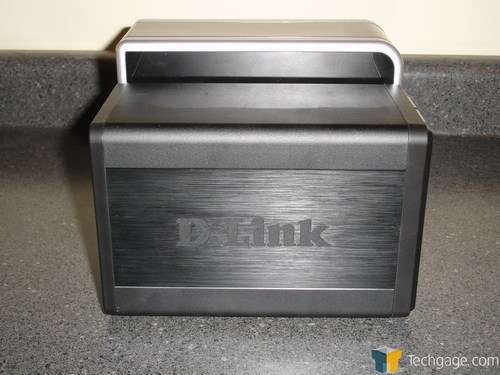
The side of the NAS is completely black with the D-Link logo sunk into the side of the unit. Nothing to special about this but it does look good.
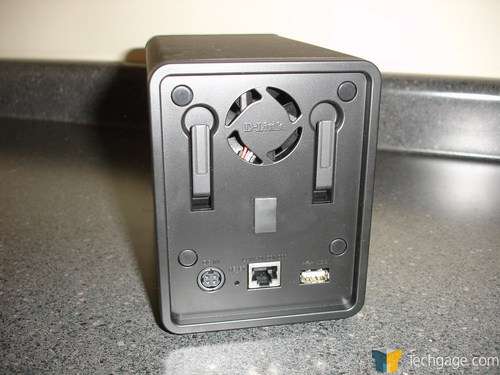
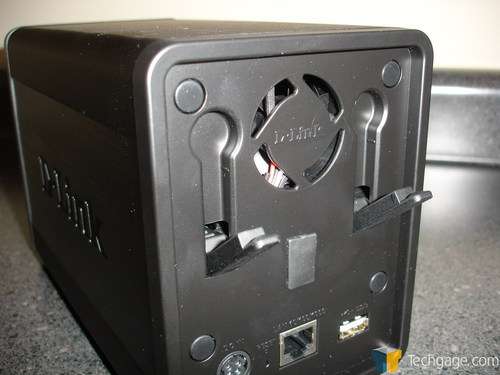
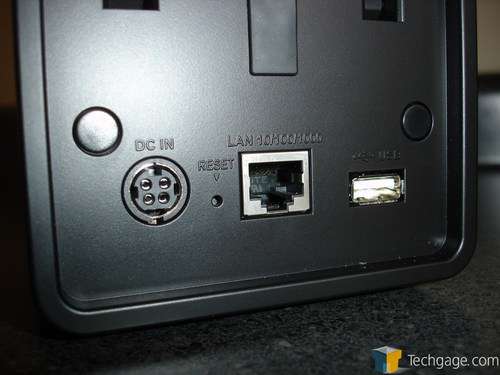
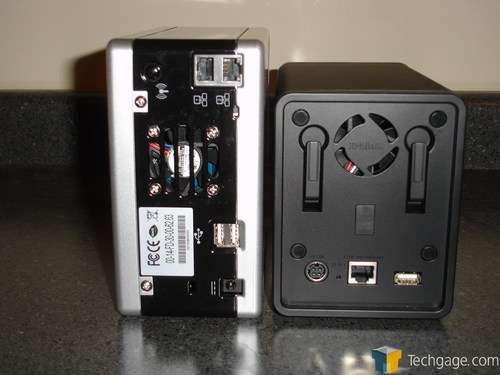
Moving around to the back of the NAS, we see the connections and the small cooling fan. Offering a single USB slot, one 10/100/1000 base NIC, a power port and a reset button, there aren’t any extras to be found, but the essentials are there. Just above the connection ports is a pair of handles that allow the installed drives to easily be ejected out of the device. In between these two handles is the cooling fan that we mentioned earlier.
To eject a drive, or both, all that is required is that the front panel be taken off of the NAS and the levers in the back be pulled down. It’s quite simple and makes swapping drives in and out a snap.
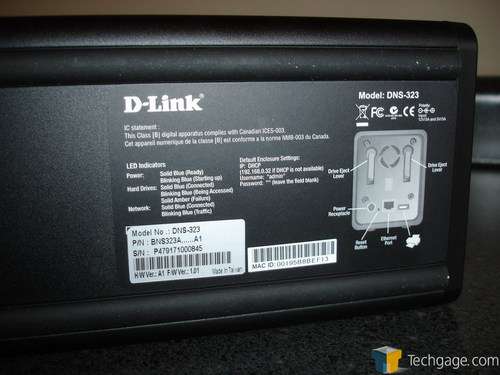
Here is a closer look at the I/O connections at the base of the NAS. Each is clearly marked in raised lettering but if the appearance of the port doesn’t give it away, perhaps you should look elsewhere for a hobby.
Moving back around to the front of the 323, we see the front panel sans the large orange sticker. This panel simply needs to be raised upward slightly and pulled out. This allows access to the interior of the NAS and makes installation of drives a snap.
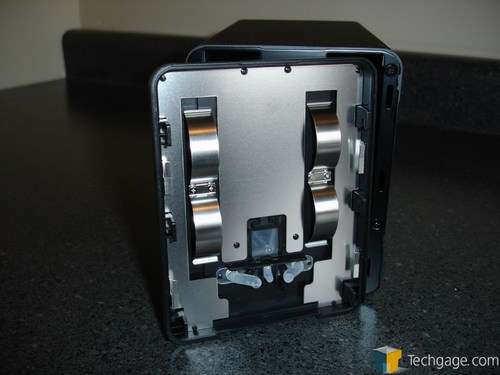
With the panel removed, we see the back of said panel. There is a pair of curved out pieces of aluminum to keep pressure on the drives and hold them firmly in the SATA power and data ports. There is also a set of clear pieces of plastic to channel the light from the four blue LEDs to the front of the panel and to the activity lights.
On the corners of the panel, there are small hooks. These are what hold the front panel to the body of the NAS. As you can see, they aren’t very long so it only takes a slight raise to free the front door from the rest of the device.
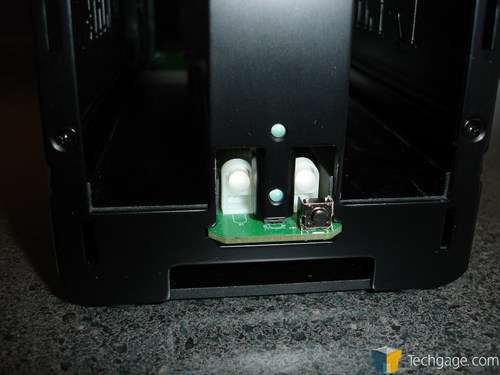
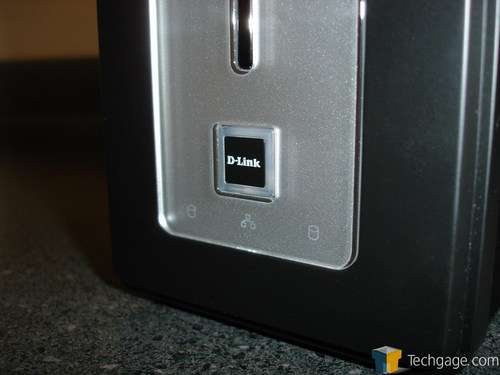
There is only one button on the front and that’s obviously for power. Around the button can be found hard drive activity LEDs and an LED each for the power and network activity displays.
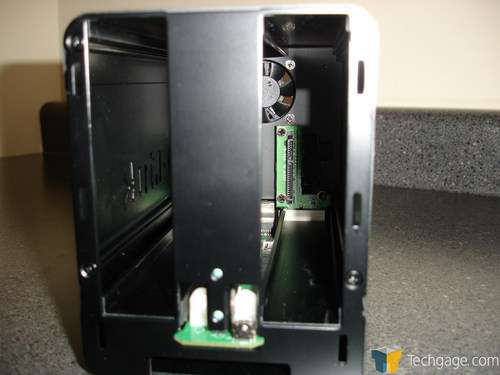
Stepping back a bit, we can see down the DNS and get a good glimpse at the SATA connectors in the back. With the ease of installation, there isn’t any wiggling or working around to get the drives to connect with the NAS itself.
Along the bottom of the 323, there is a pair of thick soft rubber strips that run the entire length of the device. These no only help the DNS from sliding around on a slick surface, but more importantly, they prevent any vibrations from reaching the desk and causing a lot of unnecessary noise.
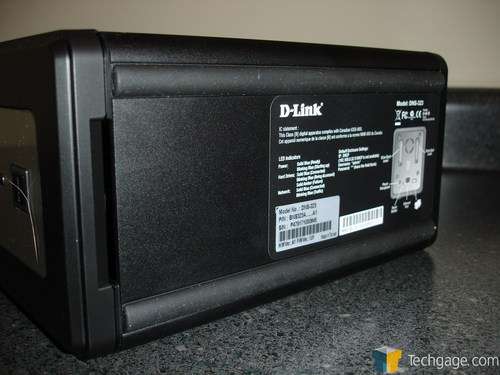
Taking a closer look at the information at the bottom of the NAS, we see that D-Link has placed critical information about the device here. This includes information that will aid in setting up the NAS and getting it up and running. There is also a map of the device and troubleshooting information for the front activity lights.
Moving back to the front of the DNS, we take a closer look at the activity lights and power button. The large square in the center is the power button and just below it is a network activity display. Flanking the network light is a pair of hard disk lights signaling when the drives are being accessed. The design is simple and to the point.
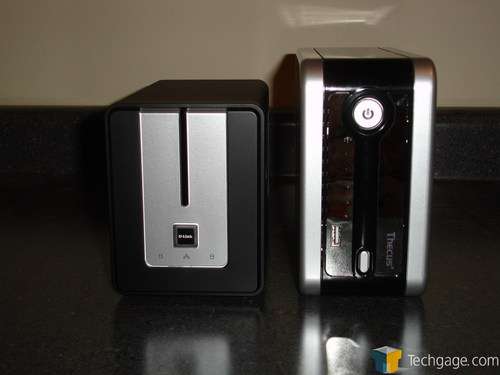
To give everyone a decent idea of the size of this unit, we are comparing it to the recently reviewed Thecus N2100. As you can see, the N2100 is a bit taller than the DNS but is slimmer when standing up compared to the D-Link.
Moving to the back, we see that the Thecus offers an extra USB and NIC slot but both have similarly sized fans.
When placed one in front of the other, we again see that the D-Link is shorter overall, but is the same length as the Thecus.
Support our efforts! With ad revenue at an all-time low for written websites, we're relying more than ever on reader support to help us continue putting so much effort into this type of content. You can support us by becoming a Patron, or by using our Amazon shopping affiliate links listed through our articles. Thanks for your support!


