- Qualcomm Launches Snapdragon 4 Gen 2 Mobile Platform
- AMD Launches Ryzen PRO 7000 Series Mobile & Desktop Platform
- Intel Launches Sleek Single-Slot Arc Pro A60 Workstation Graphics Card
- NVIDIA Announces Latest Ada Lovelace Additions: GeForce RTX 4060 Ti & RTX 4060
- Maxon Redshift With AMD Radeon GPU Rendering Support Now Available
Gentoo 2006.1

The Gentoo release team has just announced the launch of their 2006.1 version, so we are going to take a look at what’s new. Included in the updates is an improved installer/LiveCD with Networkless mode, smarter partitioner, updated compiler and more. This release also adds the addition of an AMD64 Live CD.
Page 2 – Live CD & Installation
Not too much has changed in way of the live desktop. The wallpaper is darker, and clearly states that this is the 2006.1 version. The 2006.0 had a stray icon on the desktop, which seems to be fixed in this release! Besides that though, GNOME is version 2.14.2… less than a month old. In addition to the usual GNOME desktop icons, you will have the option to install via console or GTK. There is also a link to the Gentoo website for the installation FAQ. If you have never installed Gentoo before, you should read it.
I find the fact of a console installer beside a GTK one somewhat funny, as you will just be making it more difficult on yourself. For ultimate control, using the minimalist CD and installing completely via CLI may be the one to choose. However, the GTK installer offers complete customization to your installation, and can get you up and running quickly.
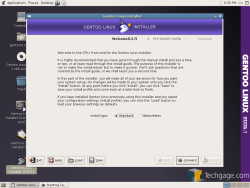
The first screen we are greeted with is whether or not we want to have a standard or networkless install. If you are planning to GRP install, then it won’t really matter what you choose. If you specify different programs not on the CD though, you will need to choose the standard method.
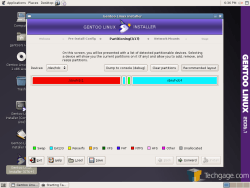
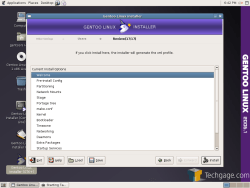
As I mentioned earlier, one major complaint regarding the 2006.0 Live CD was the fact that it had a subpar partitioner. I have never personally had a problem with it, but I know people who have. This one has had it’s backend improved though, and is smarter when it comes to those with many partitions or weird setups. In this case, I was installing it on my laptop which is also shared with Windows. The red partition is for NTFS while the other half of the bar was grayed out. Clicking the “Recommended layout” results in what you see below. Created were root, swap and boot partitions. On the laptop, it created 1GB worth of swap space, and on the AMD64 it created a 2GB space. The computers had 512MB and 2GB of ram, respectively.
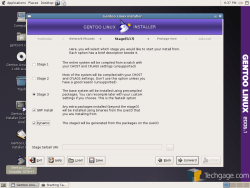
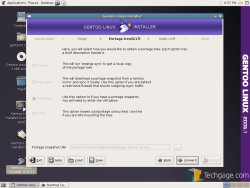
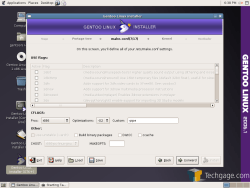
Next up, you can choose between a stage and whether or not you want GRP packages. For the sake of my laptop not taking 18 hours to install a complete system, I chose to install everything straight off the CD. The portage screen following will be completely grayed out because of those options. The same goes for the make.conf configuration. According to the live CD profile, it will set a slew of flags for you.
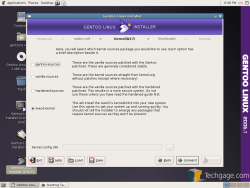
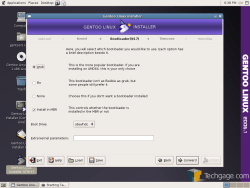
Time to pick the kernel. If you want to get what you currently see, you don’t have to choose anything. If you want kernel with the Gentoo patchset, you can choose that. However, that is not included in the GRP install, so it will need to be downloaded. You will be able to choose from GRUB or LILO as your boot loader, and whether or not you want it to be installed in the MBR.
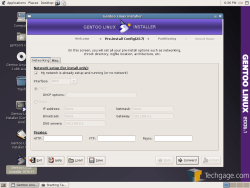
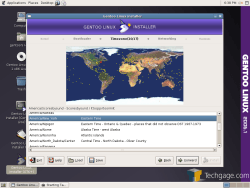
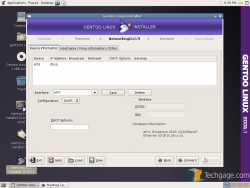
The timezone selection gives an interactive map, so you can pinpoint your location quicker. Following that, If you have a dhcp capable network, your Internet will already be configured. You need to ifconfig to see which interface was configured, and then select it here to run at default runtime level.
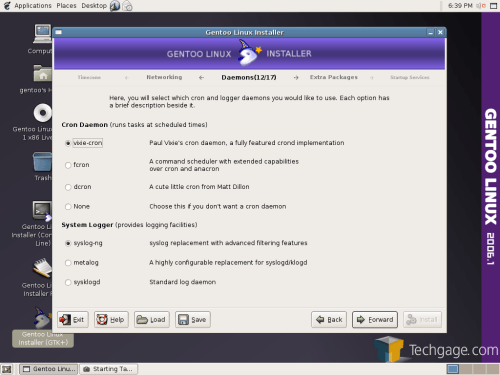
If you want to use a crontab, you can select whichever manager you want. You can also choose a syslogger. Defaults work fine here if you want them both systems, but don’t know the difference between the apps. Personally, I have no idea what dcron offers over vixie-cron.
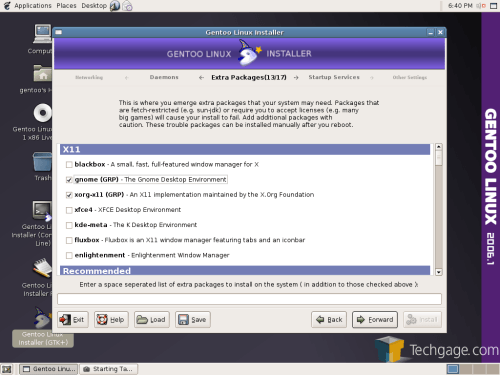
Here is the fun part! In the package selection, some of the applications will have (GRP) beside them, which signifies that they can be installed without compilation… meaning a much faster install time. Since you are already in GNOME, it’s no surprise that it and X are listed for GRP. If you are not a GNOME user, you must select another desktop environment if you want one. At the bottom is a blank line for packages you want that are not in the list. This is generally good if you want to leave your computer to install the OS and walk away for a few hours.
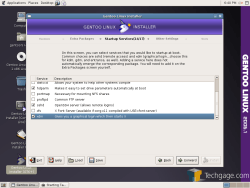
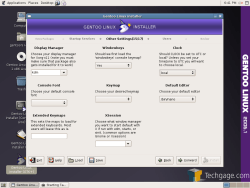
The next two screens offer you the choice of startup services and other things such as default editor and display manager.
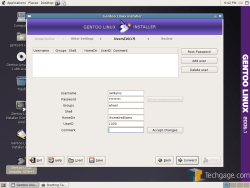
Finally, you can set up your users and root password. You don’t have to immediately set up a new user if you don’t want to. Once you are finished here, you can finally proceed with the installation.
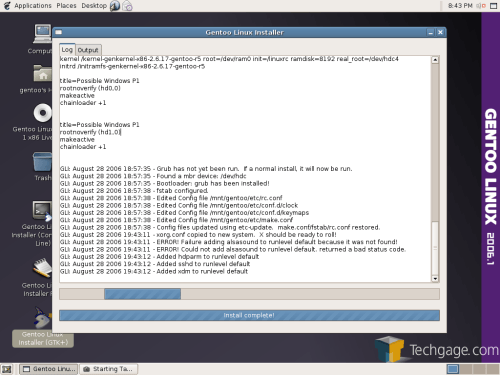
While running this particular installer, I don’t recall what programs I chose but all were GRP. It took just an hour, which I found pretty good for this slow laptop. That was without X and a desktop environment though. Overall, the installation is similar to 2006.0, so it’s rather simple. It’s the configuring you will need to do following the install that’s the fun part ;-)
I installed 2006.1 on two systems using both the AMD64 and x86 Live CDs, and I can say they are both identical except for the kernel of course. Installing on my AM2 system proved a sticky situation though. I am not sure what it is about the ASUS M2N32-SLI Deluxe motherboard, but it results in Linux quirks that don’t really have anything to do with Gentoo specifically. I had to install using the gentoo-nofb noapic options. Though installing with those options, the resulting grub.conf does not have noapic listed, so I had to add it prior to a reboot in order to get into the freshly installed environment.
Support our efforts! With ad revenue at an all-time low for written websites, we're relying more than ever on reader support to help us continue putting so much effort into this type of content. You can support us by becoming a Patron, or by using our Amazon shopping affiliate links listed through our articles. Thanks for your support!


