- Qualcomm Launches Snapdragon 4 Gen 2 Mobile Platform
- AMD Launches Ryzen PRO 7000 Series Mobile & Desktop Platform
- Intel Launches Sleek Single-Slot Arc Pro A60 Workstation Graphics Card
- NVIDIA Announces Latest Ada Lovelace Additions: GeForce RTX 4060 Ti & RTX 4060
- Maxon Redshift With AMD Radeon GPU Rendering Support Now Available
GIGABYTE G1.Assassin 2 Review
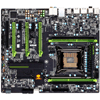
If you’re a gamer looking to build a high-end multi-GPU PC, GIGABYTE’s X79 G1.Assassin 2 deserves a look. Built from the ground up for gamers, it features onboard Creative X-Fi audio and Killer NIC solutions, supports three GPUs, has a proper EFI and sports aesthetics that perfectly complement the goals of the board.
Page 2 – Assassin 2’s EFI
With the X79 chipset launch, GIGABYTE released its first EFI-equipped motherboards, including this one. This was a big move for the company, as it had been lagging behind, delivering only “Hybrid EFI” solutions beforehand which is just a marketing name for “standard BIOS with software that can interact with it”. Given ASUS’ EFI solutions have been so robust for so long, I looked forward to seeing what GIGABYTE pulled out of its hat here.
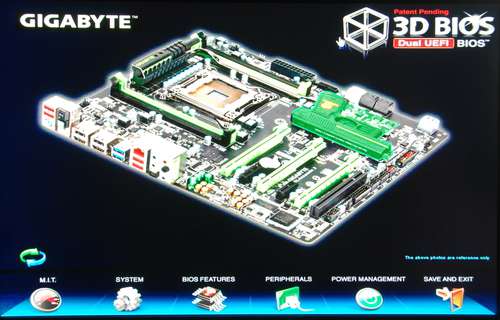
Similar to ASUS’ EFI implementation, GIGABYTE’s starts up with a splash screen. Here, you can use your mouse or keyboard to navigate different areas around the board for quick access to certain functions, or go to the sub-sections listed at the bottom.
There are two minor flaws with this EFI right from the get-go. First, there is no way to disable this start-screen (dubbed “3D BIOS”), so whenever you enter it, this is what you will be seeing. The reason this is a problem is that using the mouse or keyboard to get to one of the bottom options requires multiple keystrokes; if overclocking, that can become a little frustrating after a while. Second, the transitions from the 3D BIOS to the regular layout we’ve come to expect is a little choppy – something I don’t recall ever seeing on ASUS’ EFIs.
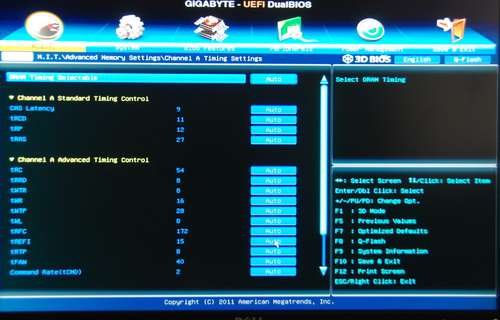
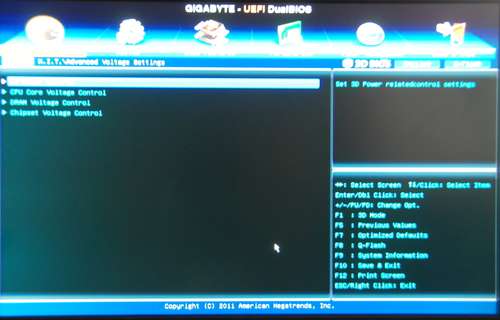
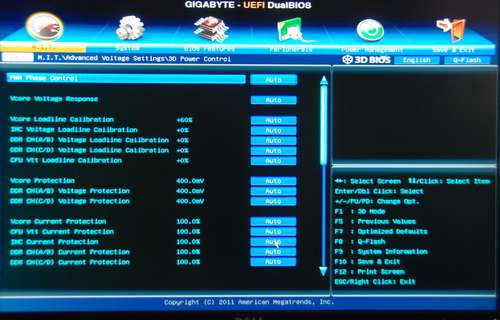
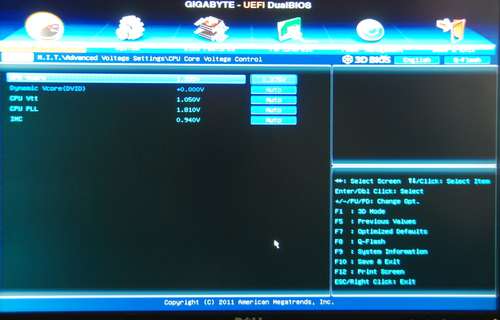
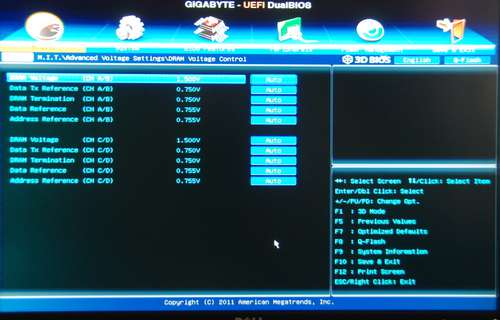
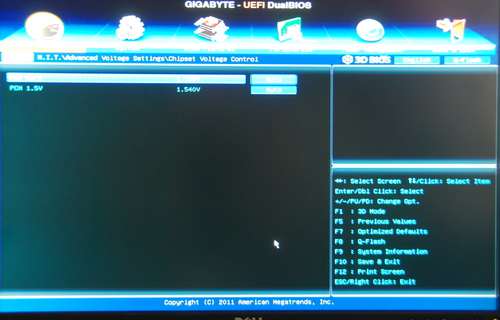
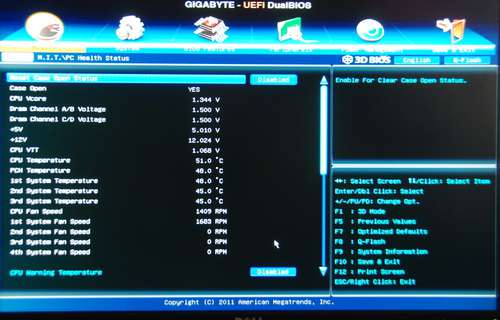
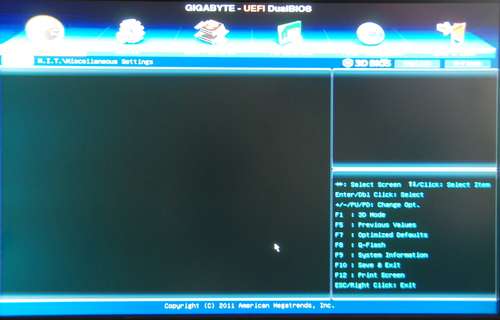
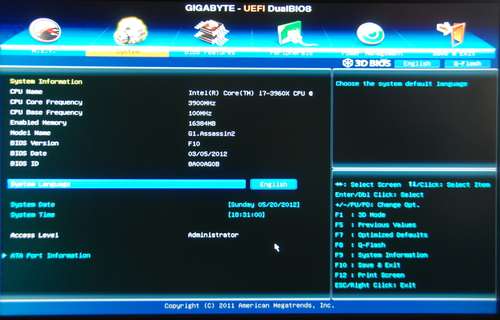
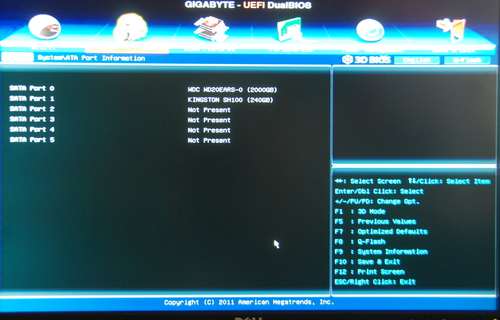
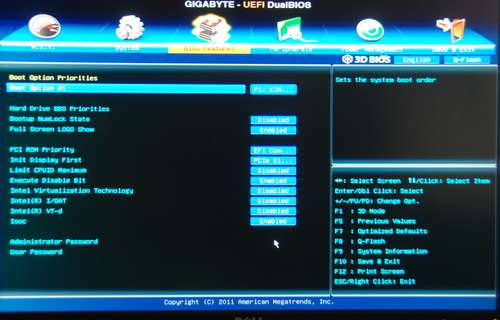
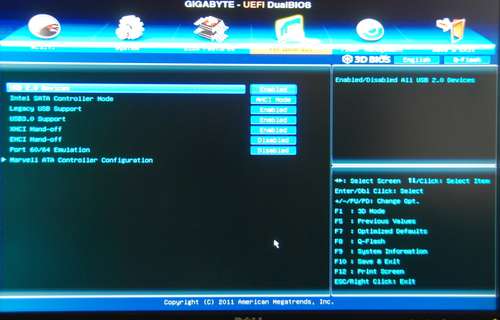
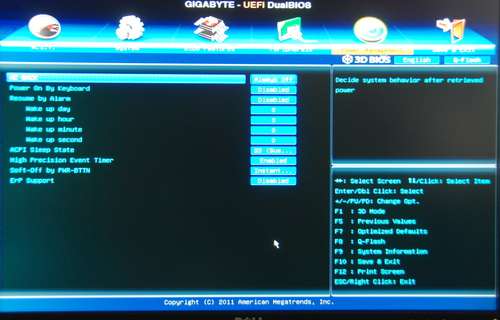
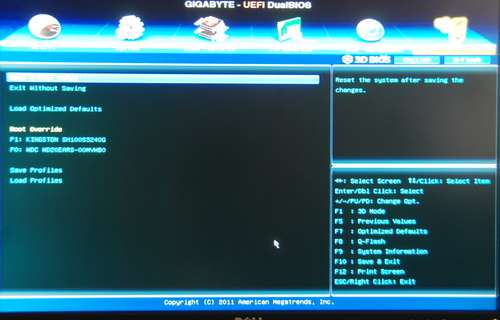
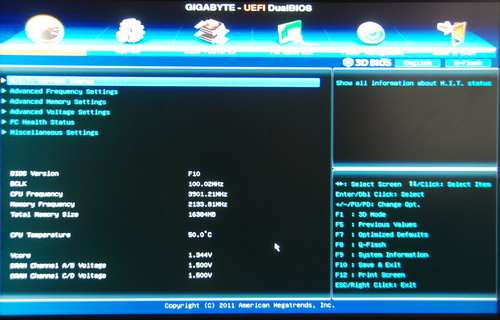
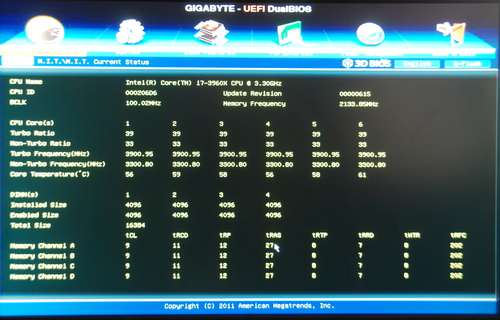
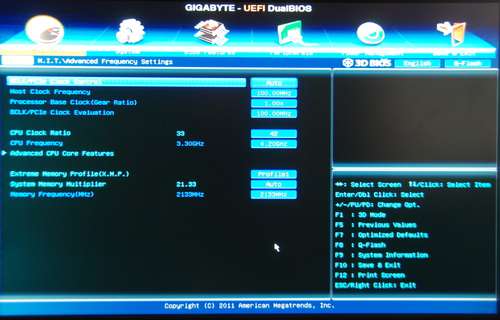
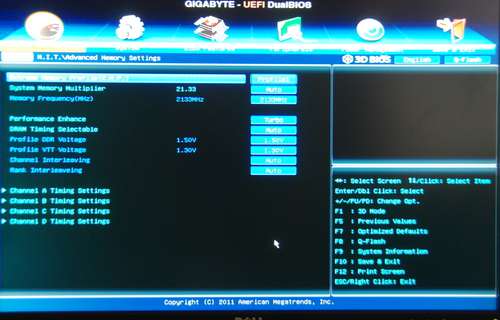
Apologies in advance for some horrible photographs here. This EFI was complicated to photograph due to its black background. As always, I’ll let the photos speak for themselves.
For the most part, I like this EFI implementation. It’s not the smoothest out there, and I hate the fact that I can’t disable the “3D BIOS” which I’ll never use, but once in, it’s easy to use. There’s also a ton of functionality here, and while it’s not touted as being an overclocking motherboard, GIGABYTE sure doesn’t hold things back. It’s a good first attempt, but I hope to see some refinement with future GIGABYTE EFIs.
Support our efforts! With ad revenue at an all-time low for written websites, we're relying more than ever on reader support to help us continue putting so much effort into this type of content. You can support us by becoming a Patron, or by using our Amazon shopping affiliate links listed through our articles. Thanks for your support!


