- Qualcomm Launches Snapdragon 4 Gen 2 Mobile Platform
- AMD Launches Ryzen PRO 7000 Series Mobile & Desktop Platform
- Intel Launches Sleek Single-Slot Arc Pro A60 Workstation Graphics Card
- NVIDIA Announces Latest Ada Lovelace Additions: GeForce RTX 4060 Ti & RTX 4060
- Maxon Redshift With AMD Radeon GPU Rendering Support Now Available
Gigabyte GA-P31-DS3L
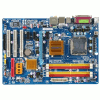
There are few P31-based motherboards on the market, but as we find out, they are well-deserving of some attention. The board we are taking a look at today hovers around $100, but despite it’s value status, it’s a great offering.
Page 2 – The BIOS
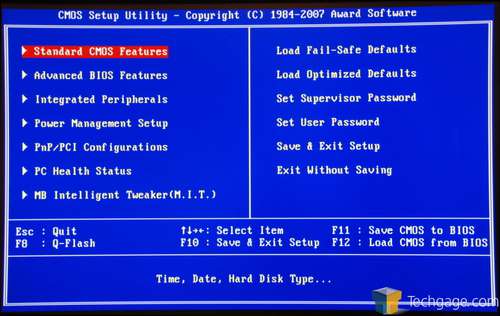
The P31-DS3L, as we’ve found out, is a value offering, so does the BIOS reflect that? Yes and no. While there is no major functionality missing, there is none added, either. Many people who purchase this board are unlikely to be concerned with that though.
I am not a fan of Award BIOS’ at all… I find them clunky and difficult to wade through, and this one is no different. AMI’s offerings, to me, makes more sense from a functionality standpoint, but it could all be a matter of personal tastes.
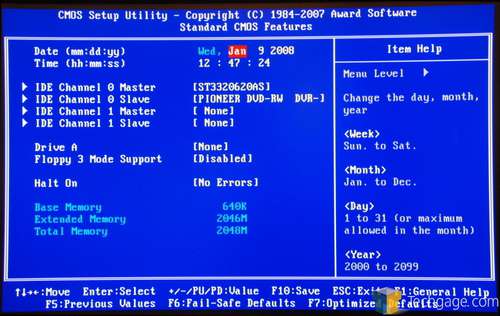
The Standard CMOS Features screen allows you to configure the time, hard drives, ODDs, floppy drives and also “halt on” error configuration.
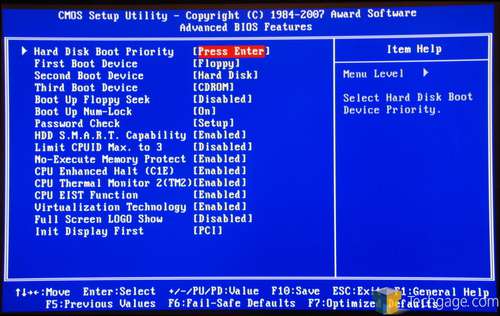
The Advanced BIOS Features is where things become more interesting. By default, SMART is turned off, but should be turned on if you wish to track hard drive information (such as temperatures). The boot configuration is also found here, although F12 can be pushed during POST to select a different device if need be.
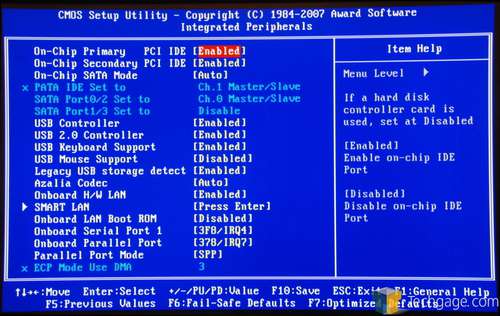
Integrated Peripherals is your one-stop shop for configuring USB devices, LAN devices, IDE/S-ATA connectors and audio.
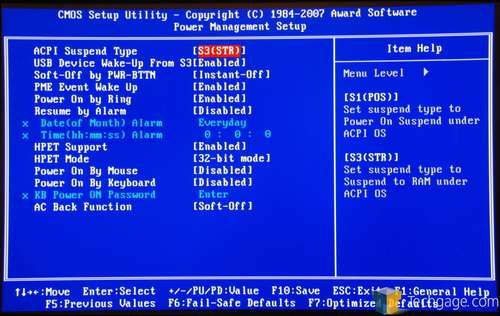
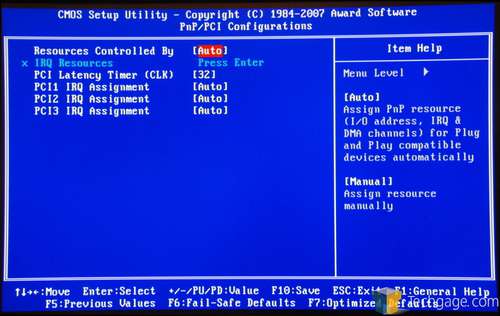
Power Management is a screen I’ve never had to touch in any BIOS, but you might have specific needs that need to be addressed here. The same applies to the PCI/PnP configurations.
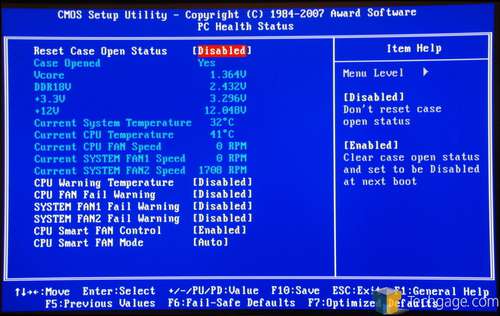
PC Health is the first screen I tackle on any new build, to make sure that temperatures and PSU voltages are within reason. The BIOS here doesn’t delve too much into such information, but all the bases are covered.
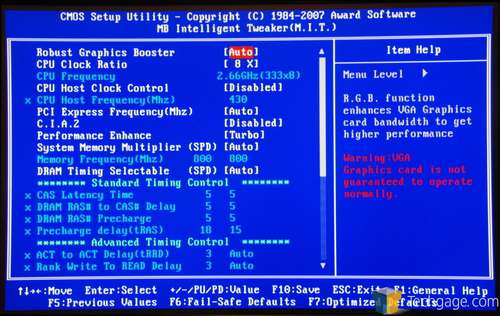
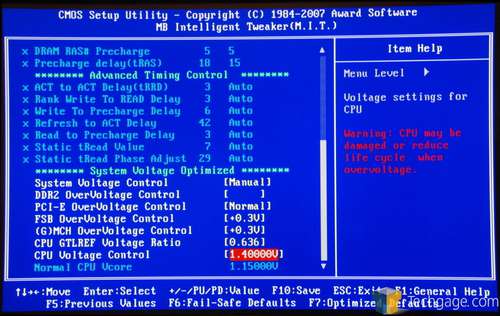
Of course, it’s the tweaking screen that will get the most attention from overclockers, and overall, this one doesn’t disappoint too much. In order to access full functionality, CTRL + F1 needs to be pressed at the BIOS main screen.
While the BIOS covers the bases here, such as voltages and basic memory timings, it will leave much to be desired for the enthusiast overclocker. That said, there is still some fair potential here, and as we will discuss on the final page of the review, 430FSB was possible with a 100% stability rating (8 hours of stressing), so there is definitely some potential.
-
GA-P31-DS3L BIOS Voltages
- CPU Voltage: Dependant on CPU Installed, can go up to 2.0V
- DDR2 Voltage: Up to 2.5V using +0.7 Option
- PCI-E: Unknown stock value, can be adjusted to +0.3V
- FSB: 1.2v Stock, can be adjusted to +0.3V
- (G)MCH: Unknown stock value, can be adjusted to +0.3V
The biggest downside here is the FSB voltages, but even that might not hold many back from tweaking out every last inch of performance. When I ran the motherboard at 440MHz FSB, I deemed it unstable after a few hours worth of testing, which is why I dropped it down to 430MHz, which did prove to be a very stable solution. As with overclocking in general, your mileage may vary.
Time for benchmarking!
|
|
Support our efforts! With ad revenue at an all-time low for written websites, we're relying more than ever on reader support to help us continue putting so much effort into this type of content. You can support us by becoming a Patron, or by using our Amazon shopping affiliate links listed through our articles. Thanks for your support!


