- Qualcomm Launches Snapdragon 4 Gen 2 Mobile Platform
- AMD Launches Ryzen PRO 7000 Series Mobile & Desktop Platform
- Intel Launches Sleek Single-Slot Arc Pro A60 Workstation Graphics Card
- NVIDIA Announces Latest Ada Lovelace Additions: GeForce RTX 4060 Ti & RTX 4060
- Maxon Redshift With AMD Radeon GPU Rendering Support Now Available
HP Scanjet 4890 Scanner
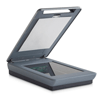
There are many scanners out there today that boast a great deal of features that would be appealing to the casual user and the professional alike. Today we are looking at the HP Scanjet 4890. It has many great features, one that most impresses me, film scanning. Want to know more? Read on!
Page 2 – Setup and Usage
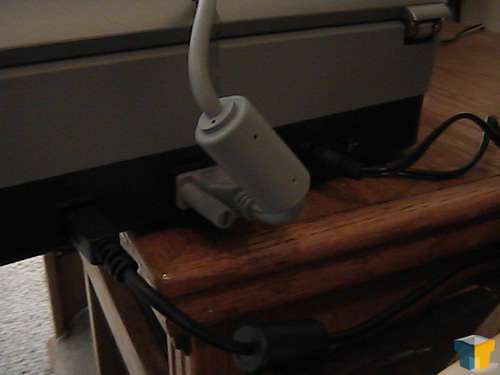
As listed the scanner comes with a set up poster that guides you step by step on how to hook up your scanner. If your familiar with scanner hook up this would be a breeze and the poster wouldn’t really be needed. But, if this is your first scanner, then go through the posters directions step by step. They are very easy to follow and before you know it your scanner will be up and ready to go. For me the difficult part was not on how to set it up, but rather where to put it on my small desk.
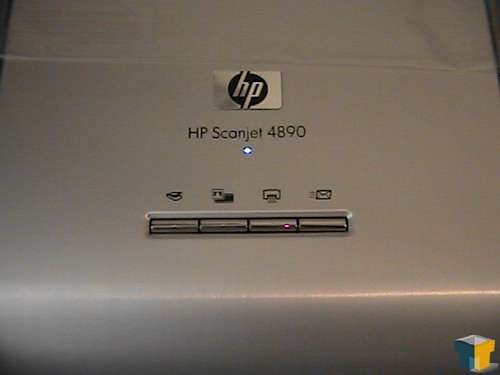
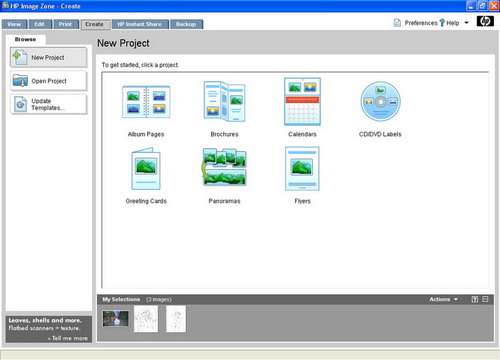
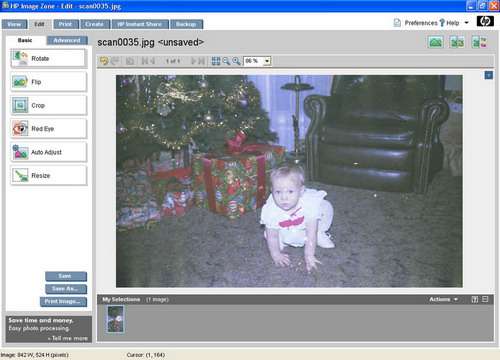
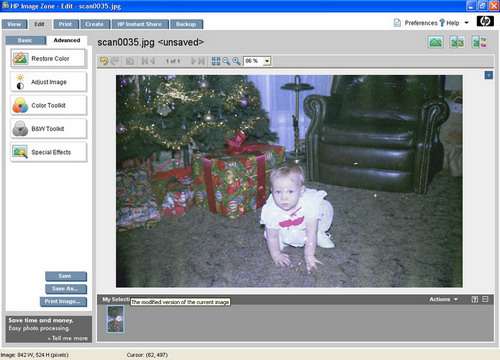
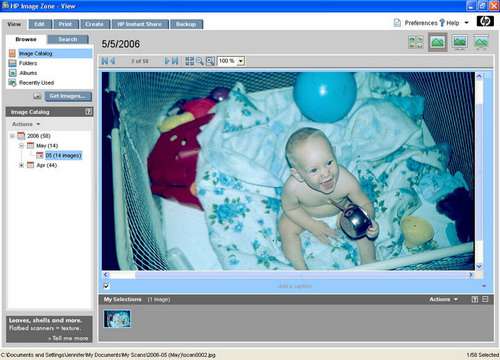
Once all hooked up, you can turn the scanner on by flipping the switch in the back. There is a small blue LED light on the front of the scanner, just above the quick buttons, that indicates it is on. Then begin your software installation. This was also easy and straight forward, and took only a few minutes. The software package is really good and simple enough to use. When installing the software it places two icons on your desktop, the HP Solution Center and HP Image Zone. In the Solution Center it can help you set up and perform scans and copies, access trouble shooting information, access HP Image Zone and modify your scanning settings and preferences. The HP Image Zone is a light editing tool used for minor manipulating, printing, archiving and sharing your images.
First you need to get familiar with the scanner. The quick buttons on the scanner make inputting files to your system even faster. Instead of having to go in and manually open the HP Solution Center you can click on any of the four quick buttons on the scanner’s cover. The first button is the scan button, which is the one you’ll likely use the most. Second button is to scan film using the TMA. Third button is for scanning and sending to the printer for a direct copy, and last is the scan to share button, which works with the HP Instant Share feature included in the software, or send scanned documents as email attachments.
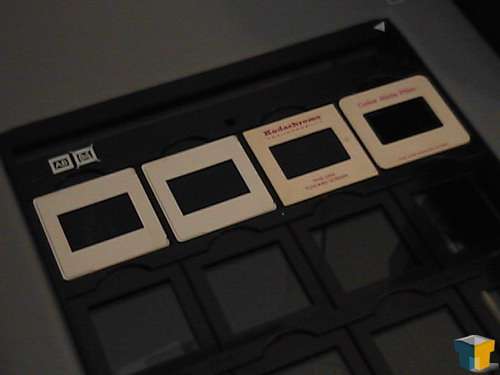
To start I borrowed some 35mm slides from my parents, who were more than happy to have their pictures scanned, having not seen the photos on them in nearly thirty years. Taking the slide template you place it into the scanner bed using the alignment reference marks, where it fits snuggly. Next I remove the soft white cover that goes over the TMA, which is held into place by a clip on the inside, just below the lid handle. Setting the soft white cover/scanner back aside I begin setting the 35mm slides into the templates place spots, being sure to put them face up. What’s great about this is you can scan up to sixteen 35mm slides at once, or just a couple. I scanned sixteen of them, but a few didn’t show, appearing too dark on the preview for them to register.
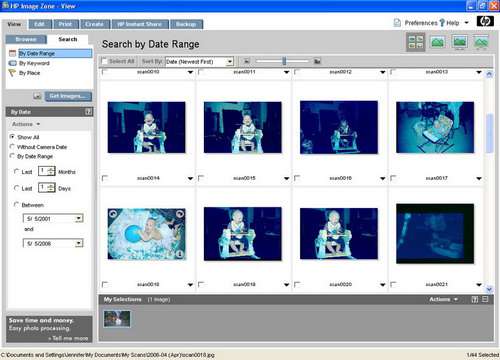
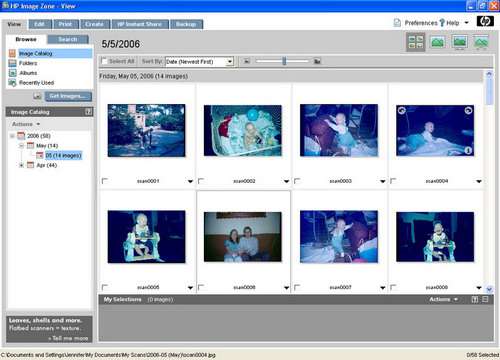
But the majority of the slides came through, and all in decent quality. Many are scratched up but that’s what happens with nearly thirty years of being tossed around. So I open the slides and view them in HP Image Zone, where you have all your scans automatically saved to your HD after scanning, usually in a folder called My Scans in your My Documents. All scans will be organized by the date you scanned them. Loading HP Image Zone you can access those scans and edit them, remove red eye, do color correction and a bunch of other minor effects. I still haven’t found where or how to remove scratches, and I find that even if it could for restoration needs there’s still only one program I’d recommend, and its Photoshop. But still, for minor editing HP Image Zone works well enough.
Next I scanned some 35mm negatives, just two strips, and those came out alright. If you have any bends or folds in your negatives then your image is likely not going to turn out, for a few of mine had creases and were unsuccessful at scans even after several attempts at fixing the negatives. Its to be expected though. Again color corrections were needed and some of the images came out a bit dark, but overall good.
Some people find speed a big factor with scanners, yet not so much for me because I’m a casual user, so I won’t be running any extreme timed tests. I can say that running a scan on sixteen 35mm slides at 200 ppi, millions of colors [24 bit] took it approximately 4 minutes and 37 seconds, so that’s about 18-19 seconds per slide. Increasing the resolution makes the scan time increase dramatically, not to mention an annoying pop up window that reminds you the resolution is higher than the default and can create large files. I think anyone familiar with image formats and ppi would know this. You can turn this box off, though, by clicking on a check box.
|
|
Support our efforts! With ad revenue at an all-time low for written websites, we're relying more than ever on reader support to help us continue putting so much effort into this type of content. You can support us by becoming a Patron, or by using our Amazon shopping affiliate links listed through our articles. Thanks for your support!


