- Qualcomm Launches Snapdragon 4 Gen 2 Mobile Platform
- AMD Launches Ryzen PRO 7000 Series Mobile & Desktop Platform
- Intel Launches Sleek Single-Slot Arc Pro A60 Workstation Graphics Card
- NVIDIA Announces Latest Ada Lovelace Additions: GeForce RTX 4060 Ti & RTX 4060
- Maxon Redshift With AMD Radeon GPU Rendering Support Now Available
Microsoft Reclusa Gaming Keyboard
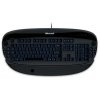
We took a look at Microsoft and Razer’s first team effort a few weeks ago with our Habu review. Overall, we were left very impressed. Will we receive the same reaction from the new Reclusa gamers keyboard?
Page 2 – Disassembly
For those modders among you who might be wondering how easy it is to change the color of those LEDs, here’s a little disassembly guide for you – although you may not like what you see in the end. You should know that taking this keyboard apart will void your warranty, and that neither Techgage nor myself (nor anybody else, for that matter) can be held responsible for your any damage or malfunction caused by disassembling your Reclusa.
That said, this is going to be pretty easy so even if you’re a ham-fisted klutz who can’t see two feet in front of yourself, you might do ok. All you’ll need is a medium-sized Phillips head screwdriver.
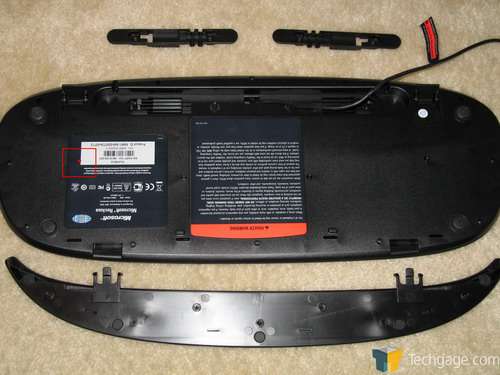
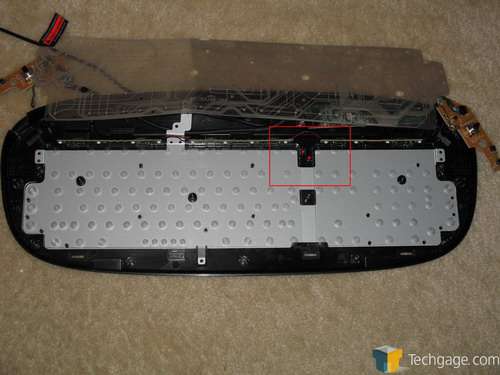
First, here’s another shot of the underside where I’ve marked the location of a hidden screw underneath the Microsoft product ID sticker. Remove this screw and all other visible screws. When removing screws, I always suggest keeping track of where they came from! Plastic baggies are a cheap way to do this. Once they’re all removed, prying open the board should be fairly easy.
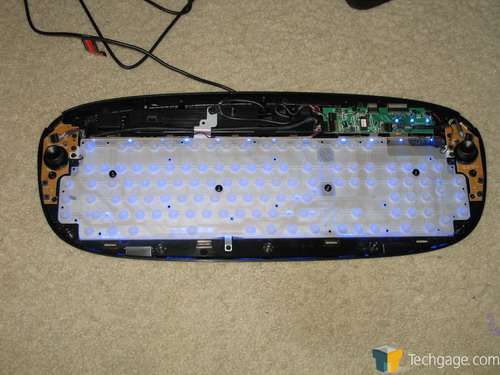
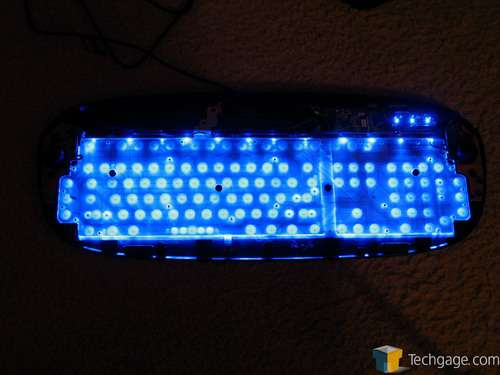
Once you get the top of the keyboard off, you’ll be left with this. You can see that all of the LEDs are mounted near the top of the board. The night shot should also help you see that there are two very thing rectangular pieces of Plexiglas inside to help spread the light – the edges extend around the perimeter of the keys and they are split to the right of center. These two pieces of Plexiglas are what we are ultimately trying to get at.
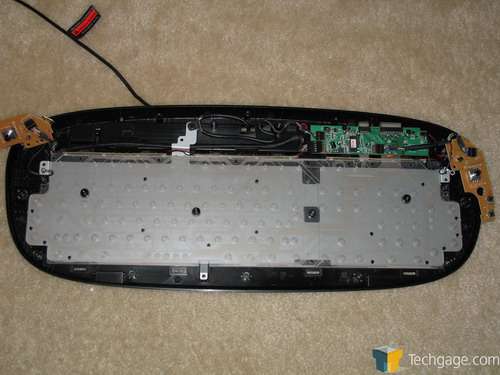
Removing all the visible screws will allow you to move the small PCBs out of the way and lift up the two films that for the key circuits. I have marked the last two screws that need to be removed before the Plexiglas can be removed.
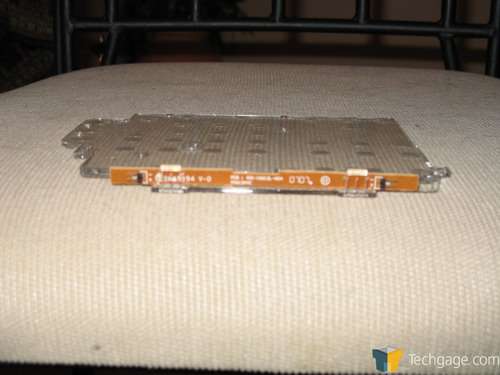
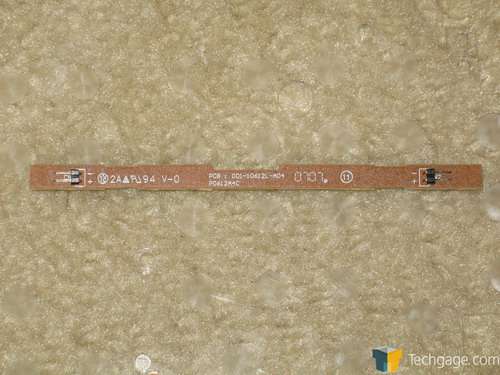
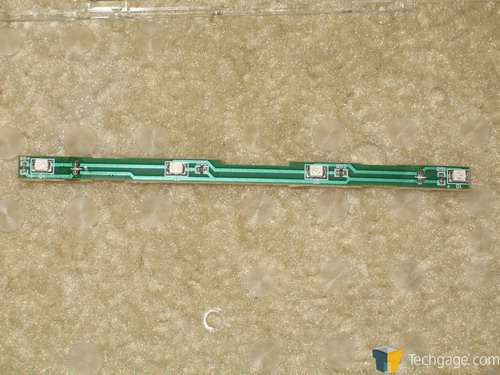
The LED strips have nice little plugs on either side to pass power. I have unplugged these and removed the smaller piece of Plexiglas (which has clips to attach the LED strip). You can also see the front and back of the LED strip. I’ll point out two things here – 1) There won’t be enough room between the LED strip and the edge of the Plexiglas to mount standard round 3mm LEDs, and 2) the LEDs are surface mounted, so soldering new LEDs into place is going to be very hard.
So now you know what the inside of the Reclusa looks like. Now let’s talk about performance and function.
|
|
Support our efforts! With ad revenue at an all-time low for written websites, we're relying more than ever on reader support to help us continue putting so much effort into this type of content. You can support us by becoming a Patron, or by using our Amazon shopping affiliate links listed through our articles. Thanks for your support!


