- Qualcomm Launches Snapdragon 4 Gen 2 Mobile Platform
- AMD Launches Ryzen PRO 7000 Series Mobile & Desktop Platform
- Intel Launches Sleek Single-Slot Arc Pro A60 Workstation Graphics Card
- NVIDIA Announces Latest Ada Lovelace Additions: GeForce RTX 4060 Ti & RTX 4060
- Maxon Redshift With AMD Radeon GPU Rendering Support Now Available
NZXT Switch 810 Full-Tower Chassis Review
From cases to cooling, NZXT has something for everyone – and for every budget. With this review, we’re taking a look at the company’s Switch 810 full-tower chassis, designed for those who want solid design, big space, effective cooling, and can appreciate other smaller features not often seen on the competition’s products.
Page 2 – Interior
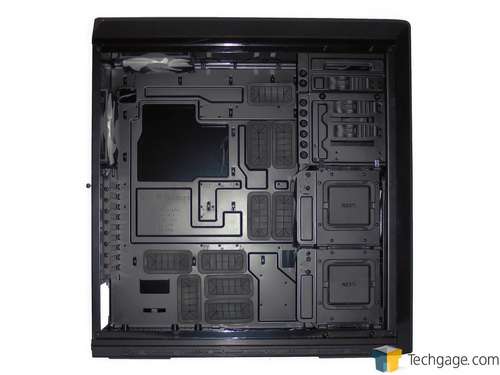
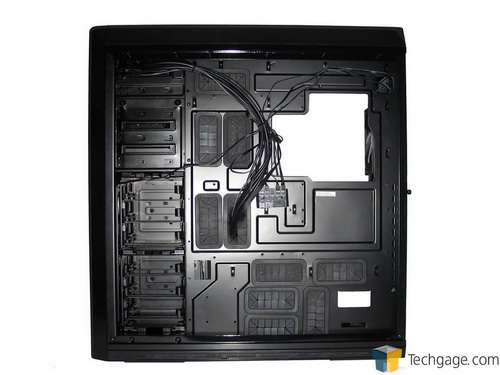
I’ll start off with an overall shot so that you can see there’s a ton of features to cover. I wish this accounted for the tardiness of my review, but sadly it doesn’t.
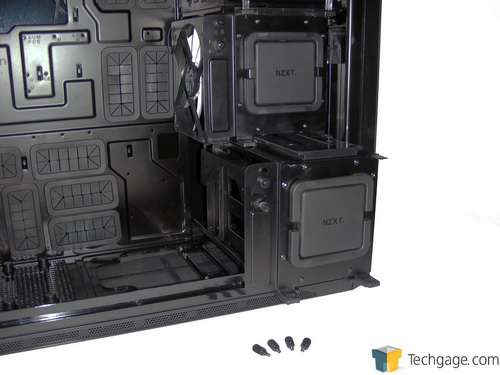
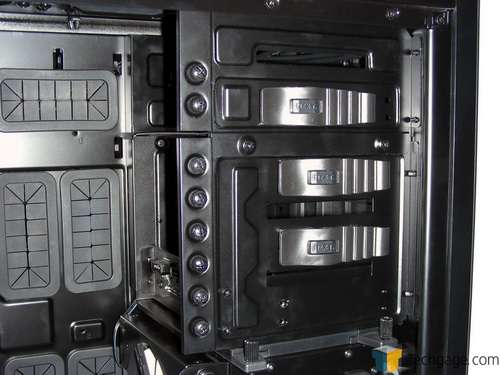
Starting at the bottom towards the front are two removable drive cages that can each support three 2.5″ or 3.5″ drives. These cages are different in that they can slide out of the case from the left side once four thumbscrews are removed, or the individual drive trays can be accessed from the right side, as you’ll see shortly.
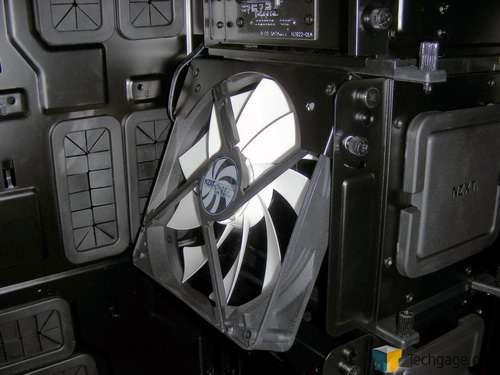
The top drive cage features a 140mm fan that can be tilted upward to direct airflow to where it’s needed most such as a hot-running GPU. There is a similar moveable bracket on the bottom drive cage where an extra 120mm or 140mm fan can be installed.
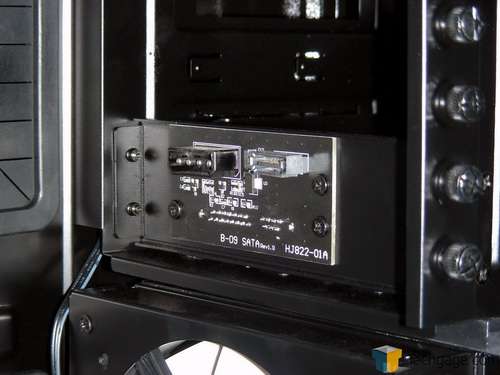
Further up are the power and data connections for the hot swap drive bay.
At the top are the release mechanisms for the 5.25″ drive bays along with a ton of thumbscrews for those who want a little bit of added insurance that their drives won’t move if the case is being transported.
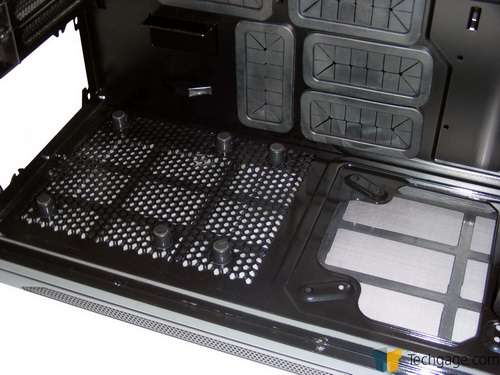
The bottom of the Switch 810 allows for another 120mm or 140mm fan to be installed in front of the power supply with both drive cages installed or double the amount with the bottom cage removed. If mounting a radiator at the top of the case won’t work there is also room to mount radiators up to 240mm long in this location, but again the bottom drive cage needs to be taken out. With longer, higher wattage power supplies becoming more popular, NZXT has provided two sets of rubber-topped risers that the unit can rest on while absorbing any vibrations.
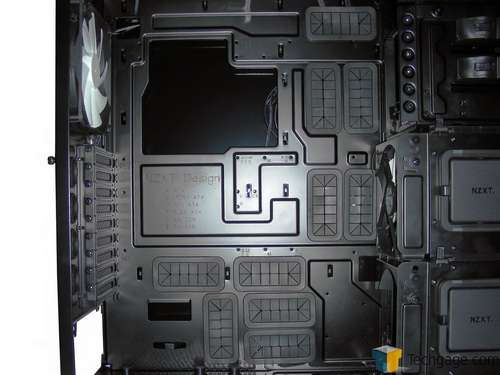
If cable management is your thing you’re more than covered thanks to a ton of grommet-lined openings in the motherboard tray. The Switch 810 should allow for a clean build regardless of the motherboard or power supply being used. There is also a large cut-out around the CPU area and another opening in the top left for the 12v power cable.
On the backside of the motherboard tray are the pre-routed cables for the front panel connections and the hard drive trays that can be individually accessed from this side.
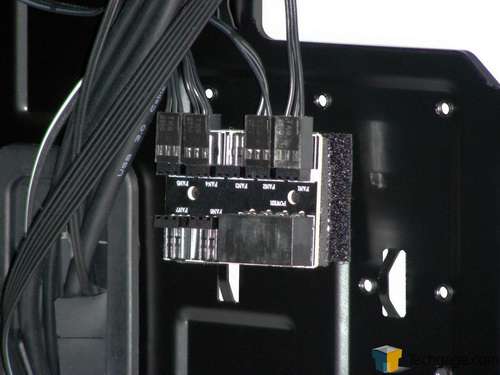
At about the midway point is the PCB for the fan controller with the four included fans already wired up. It is held in place with a piece of Velcro meaning it can be repositioned or removed all together. There’s open connections for three more fans so there should be more than enough cooling available for most users, but the controller requires a spare 4-pin Molex power connection.
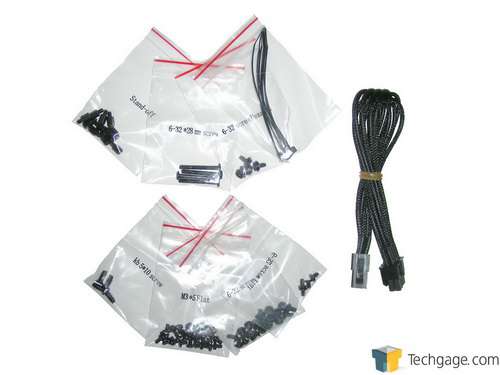
Included with the case are various screws to secure all of your devices along with a socket to help with installing the motherboard standoffs. There is also a 12v extension to ensure this cable can be routed behind the motherboard tray in order to keep your build looking as clean as possible. One obvious omission is a SATA cable for the hot swap bay.
This review is well past late so let’s get right to the build and testing sections to see if it was worth the wait.
Support our efforts! With ad revenue at an all-time low for written websites, we're relying more than ever on reader support to help us continue putting so much effort into this type of content. You can support us by becoming a Patron, or by using our Amazon shopping affiliate links listed through our articles. Thanks for your support!


